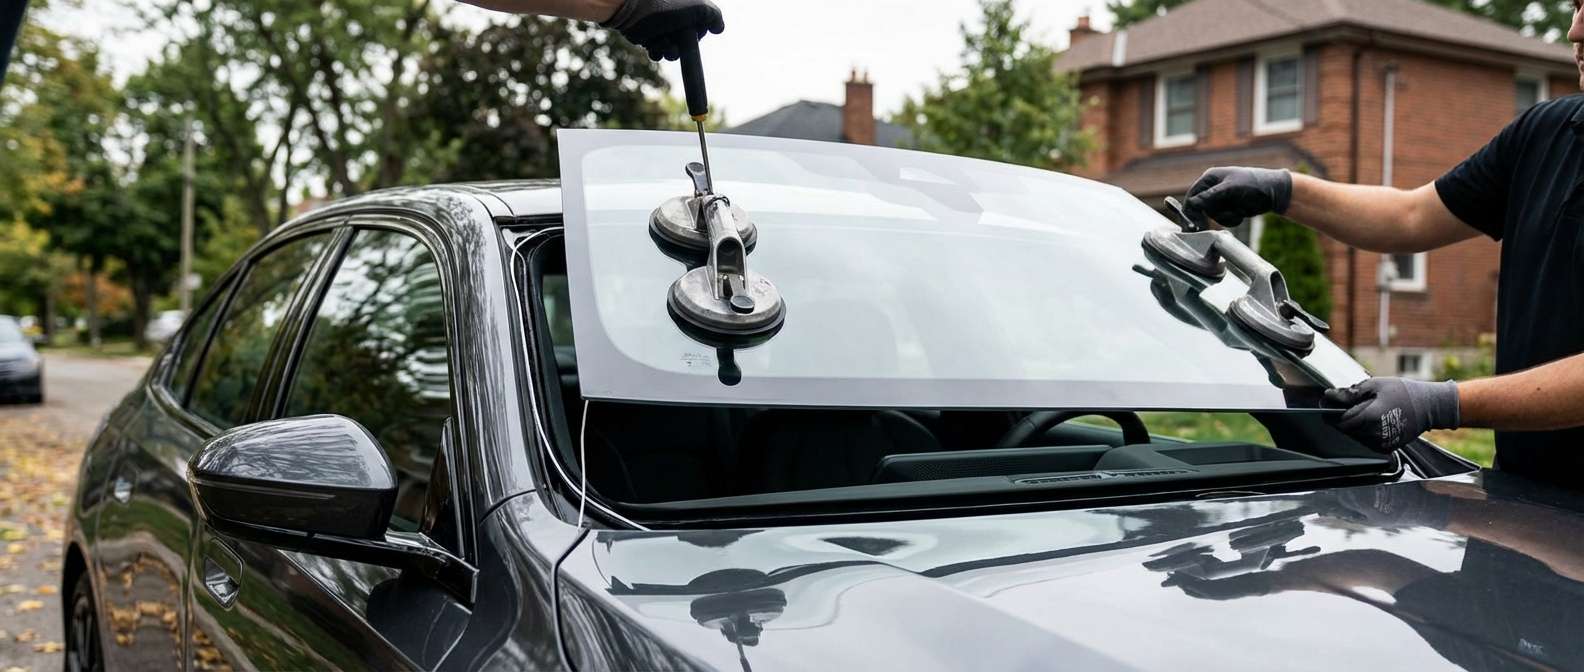
Owner Complaints About Ghosting on the Head-Up Display
Early G60 owners on the forums are finding out the hard way that cutting corners on windshield replacement ruins the full-color Head-Up Display. Because this vehicle projects driving metrics and navigation prompts high up into your line of sight, the glass itself requires a specialized PVB wedge interlayer. Standard aftermarket glass without this tapered internal layer creates an immediate double image, where speed digits appear blurred or shadowed by a ghost reflection just above the true readout. The factory green-tinted acoustic glass—represented under BMW part number 51315B336B4—relies on this precise wedge geometry alongside solar-attenuating tint to keep the digital projection crisp against bright daylight.
Beyond the display distortion, supply chain shortages have left dealership parts counters backordered for months on G60 windshields. When sourcing high-grade aftermarket alternatives built to factory optical tolerances, matching the exact sensor and camera brackets is vital. The top center of the glass holds an integrated bracket cluster housing the rain, light, solar, and condensation sensors right behind the rearview mirror, sitting beside the dedicated mounting cradle for the KAFAS multi-function camera system. I back the glass itself against defects for a full year and stand behind my installation workmanship for the lifetime of your vehicle, ensuring those brackets and acoustic boundaries remain watertight.
Sky Lounge Glass Alignment and Scuttle Trim Integration
The G60 moves away from the thick rubber perimeter mouldings seen on older 5 Series variants, adopting low-profile, aerodynamic lateral channels along the A-pillars. These channels rely on concealed bead profiles that sit flush with the pillars to minimize high-speed turbulence. At the roofline, the windshield must align evenly against either the standard steel roof skin or the leading edge of the fixed Sky Lounge panoramic glass roof module. Any height variance here creates severe cabin whistling, largely defeating the acoustic noise-reduction interlayer manufactured into the core of the windshield.
At the bottom edge, the glass mates directly with a multi-piece cowl scuttle panel that encases the front wiper pivots. The bottom driver's side corner also incorporates a dedicated VIN sight window through the black frit band. Reassembling this lower section demands that every plastic cowl clip seats cleanly into the lower glass edge guide, preventing engine bay fumes from entering the fresh-air HVAC intake or wiper mechanism vibration from transferring into the cabin.
Post-Replacement Inspection Checklist
Before driving away after new glass is fitted to this 5 Series, walk around the car and run through these vehicle-specific points:
- Head-Up Display Clarity: Switch on the HUD and verify that numbers and navigation arrows appear as a single, razor-sharp image without double edges or vertical ghosting.
- Roofline Transition: Run your hand across the gap where the top glass border meets the painted roof or the Sky Lounge panoramic panel to verify an even, parallel height profile.
- A-Pillar Aero Channels: Check both lateral A-pillar boundaries to ensure the edge trim sits fully flush within the aerodynamic recess rather than bulging outward.
- Base Cowl Seating: Inspect the lower multi-piece plastic cowl around the wiper pivots to confirm it locks flush against the bottom frit line without gaps or loose pushpins.
- Bracket and Sensor Clustered Area: Look through the exterior windshield frit around the rearview mirror to ensure the KAFAS camera lens is clean and the circular rain/condensation sensor shows no trapped air pockets inside its optical gel pad.
- VIN Window Alignment: Confirm the lower left dash plate is clearly readable and properly framed by the cut-out sight window at the base of the driver's side.


