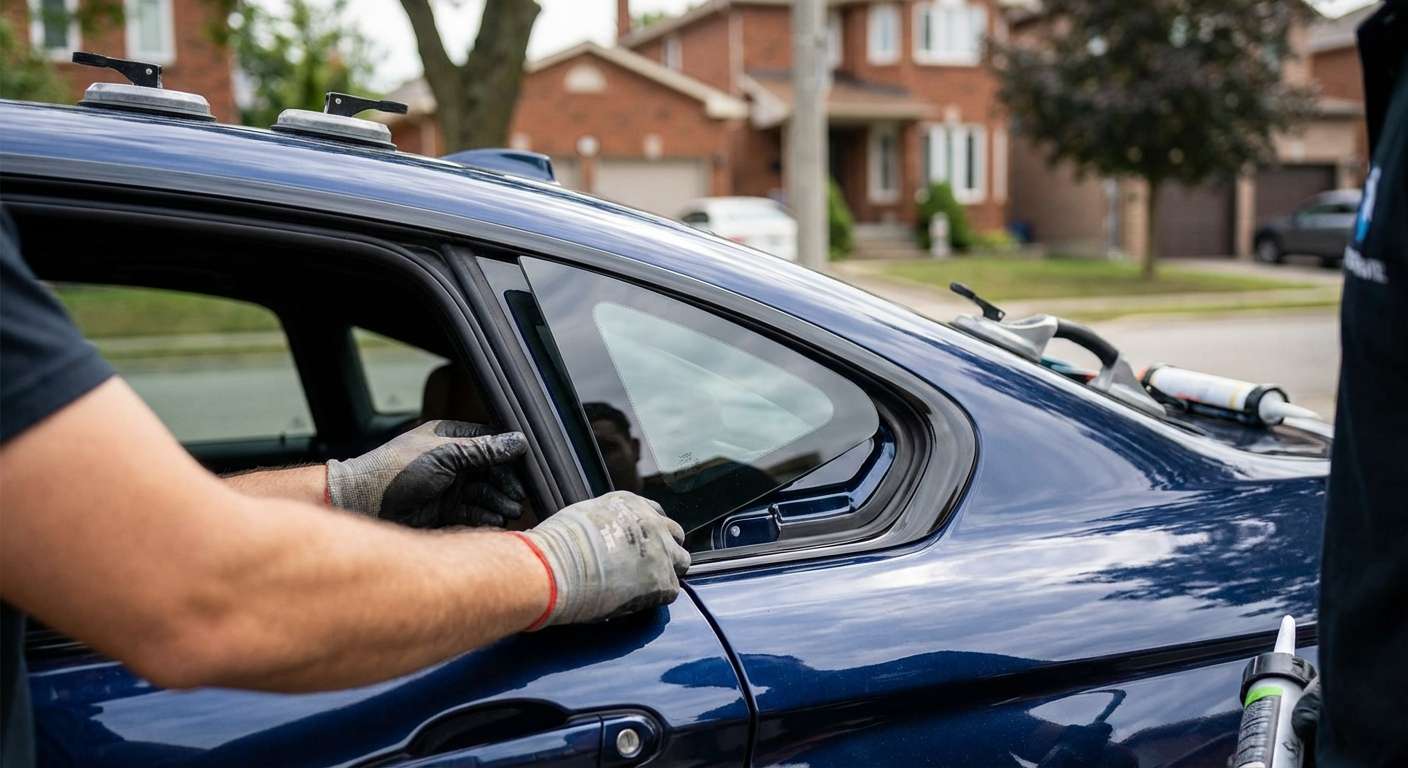
Restoring the Hofmeister Kink: Precision Vent Glass Replacement for BMW 4 Series (F32/F36)
The BMW 4 Series, spanning the 2014-2020 F32 Coupe and F36 Gran Coupe models, is defined by its aggressive stance and the legendary "Hofmeister kink"—the distinct counter-curve at the base of the rear window pillar. However, nothing disrupts the sleek aerodynamics and security of your ultimate driving machine quite like a shattered vent glass. Unlike the windshield, the vent glass (often the small, triangular fixed glass in the rear door or the quarter panel area) is a common target for break-ins due to its size and location. Replacing this specific component on a German-engineered vehicle is not a generic task; it requires an intimate understanding of BMW’s complex door assemblies, electronic regulators, and acoustic insulation systems.
At AlexWindshield, we do not simply swap glass; we restore the structural integrity and aesthetic perfection of your vehicle. As Master Technicians serving the Greater Toronto Area (GTA), we specialize in the intricate glass work required for luxury European models.
Understanding Your Vehicle: The F32 vs. F36 Glass Configuration
Before initiating a repair, it is vital to identify the specific nuances of your chassis. The BMW 4 Series comes in two primary body styles during this generation, and the glass replacement protocols differ for each:
- F32 Coupe (2-Door): The "vent" or quarter glass is a larger, movable piece of glass that retracts into the body panel. Replacement here involves accessing the rear cabin panels and intricate window motors.
- F36 Gran Coupe (4-Door): This model features a traditional rear door setup where the vent glass is a fixed triangular piece separated from the main drop glass by a vertical division bar (run channel). This is the most common replacement we perform due to vandalism.
Our guide below focuses heavily on the technical rigor required for the F36 Gran Coupe rear door vent glass, a process that demands complete disassembly of the door interior to ensure no glass shards destroy your window regulator mechanism.
The Dangers of Tempered Glass Shards in BMW Doors
Unlike the laminated glass found in your windshield, the side vent glass in your BMW 4 Series is made of tempered safety glass. When impacted, it explodes into thousands of pebble-sized cubes. While this prevents major lacerations, it creates a mechanical nightmare for your car doors.
If not cleaned by a specialist, these shards fall deep into the door cavity, lodging themselves in:
- The window regulator gears (causing grinding noises or motor failure).
- The door drain holes (leading to rust and electrical shorts).
- The door lock actuators (preventing the door from latching or locking).
At AlexWindshield, we consider the cleanup phase as critical as the installation itself.
Step-by-Step Technical Process: BMW F36 Vent Glass Replacement
We pride ourselves on transparency. Below is the detailed, A-to-Z workflow our Master Technicians follow when replacing the vent glass on your BMW 4 Series. This is a complex procedure involving high-voltage electronics and fragile trim pieces.
Phase 1: Site Preparation and Exterior Protection
Whether we are working in Vaughan, Richmond Hill, or your driveway in Markham, safety comes first. We begin by applying protective automotive masking tape to the exterior paint surrounding the window frame. This prevents accidental scratches from tools or glass debris. Inside the cabin, we install seat covers and floor mats to protect your leather upholstery from glass dust and technician traffic.
Phase 2: Comprehensive Debris Removal and Vacuuming
Before touching a screwdriver, we must manage the mess. Using an industrial-grade high-suction vacuum, we remove all visible glass from the rear seats, carpet, and window sill. We pay special attention to the perforated leather seats common in the 4 Series, ensuring no glass is trapped where it could cause injury later.
Phase 3: Door Panel (Door Card) Removal
This is where expertise is mandatory. BMW F-chassis door panels are held on by a combination of hidden screws and extremely tight retention clips.
- Trim Removal: Using non-marring nylon pry tools, we carefully remove the decorative trim strip (wood, aluminum, or carbon fiber) on the door handle to reveal the hidden T20 Torx screws.
- Disconnection: We remove the screws and carefully pop the perimeter clips. We must then disconnect the Bowden cable (door latch mechanism) and the electrical harnesses for the window switch, ambient lighting, and speakers without breaking the fragile locking tabs.
- Vapor Barrier Access: We carefully peel back the foam vapor barrier. This seal is crucial for sound deadening and waterproofing. If torn, it is repaired to prevent water leaks into the cabin.
Phase 4: Interior Cavity Cleaning
Once the door panel is off, we gain access to the bare metal door shell. We insert a flexible vacuum attachment deep into the bottom of the door cavity. This is the most important step for the longevity of your window regulator. We blindly vacuum and use compressed air to dislodge every single shard of broken tempered glass that fell inside the door structure.
Phase 5: Disassembling the Window Run Channel
On the BMW F36, the fixed vent glass is held in place by a vertical division bar (the sash). To install the new vent glass, we cannot simply force it in.
- We lower the main drop glass to a service position.
- We locate and remove the bolts securing the division bar at the top and bottom of the door frame.
- We loosen the window run channel rubber gaskets.
- In some cases, the main glass must be unbolted from the regulator clamps and carefully tilted or removed to create enough clearance to slide the new vent glass into position.
Phase 6: Primer and Adhesive Application
If the vent glass is an encapsulated part (surrounded by rubber) that bolts in, we proceed to fitment. However, if it is a bonded part (glued directly to the frame), we must prepare the surface.
- Surface Prep: We clean the metal pinch weld where the glass sits, removing old urethane and road grime.
- Priming: We apply a high-quality Sika or DuPont black primer to any bare metal scratches and to the glass ceramic band. This prevents rust and ensures the adhesive bonds molecularly.
- Urethane Application: We apply a consistent bead of high-modulus, non-conductive automotive urethane adhesive. This adhesive meets OEM specifications, ensuring the glass contributes to the structural rigidity of the roof pillars.
Phase 7: Installation and Reassembly
We carefully slide the new OEM-standard vent glass into the rubber run channel and press it into the adhesive or bolt points. The division bar is effectively slid back into place, locking the vent glass in position.
We then re-secure the division bar bolts and re-seat the main drop glass into the regulator clamps. Before closing up the door, we perform a function test: checking the main window for smooth operation (no grinding sounds) and ensuring the "one-touch" auto-up/down feature works correctly.
Phase 8: Final Reassembly and Cleanup
The vapor barrier is resealed with butyl tape. The door panel is snapped back onto its clips, and the Torx screws are torqued to spec. The decorative trim is snapped back in. We finish with a final vacuum of the interior and a glass cleaner wipe-down of the new installation, leaving your BMW looking as if the damage never happened.
Mobile Service Across the GTA: Vaughan, Richmond Hill, and Markham
We understand that driving a BMW with a smashed window is unsafe and exposes your luxury interior to the unpredictable Canadian weather. That is why AlexWindshield offers a premium mobile auto glass service.
We bring our workshop to you. Our mobile units are fully equipped with generators, lighting, and all the specialized BMW tools required for the job. We have a massive presence in:
- Vaughan: From Woodbridge to Maple, we service all residential and commercial districts.
- Richmond Hill: Whether you are near Yonge Street or Bayview, our technicians can reach you quickly.
- Markham: Servicing Unionville, Cornell, and surrounding business parks with same-day appointments.
Our technicians are familiar with the local geography, ensuring prompt arrival times so you can get back on the road without disrupting your schedule.
Why Choose AlexWindshield?
Your BMW 4 Series is a precision machine; do not trust it to a generalist. Incorrect installation of vent glass can lead to wind noise (whistling at highway speeds), water leaks that damage the Harman Kardon amplifier often located in the trunk or side panels, and rust formation on the door frame.
AlexWindshield guarantees:
- OEM Quality Glass: We use glass that matches the tint, thickness, and acoustic properties of your original BMW glass.
- Master Technicians: Our staff is trained specifically on European luxury vehicles.
- Zero Debris Left Behind: We respect your vehicle's interior.
The AlexWindshield Lifetime Warranty
We stand firmly behind our craftsmanship. All our auto glass replacements, including the complex BMW 4 Series vent glass, come with a Lifetime Warranty covering leaks, workmanship errors, and manufacturer defects for as long as you own the vehicle.
Don't let a broken window compromise the beauty and security of your BMW. Contact AlexWindshield today for a quote and experience the premier auto glass service in the Greater Toronto Area.


