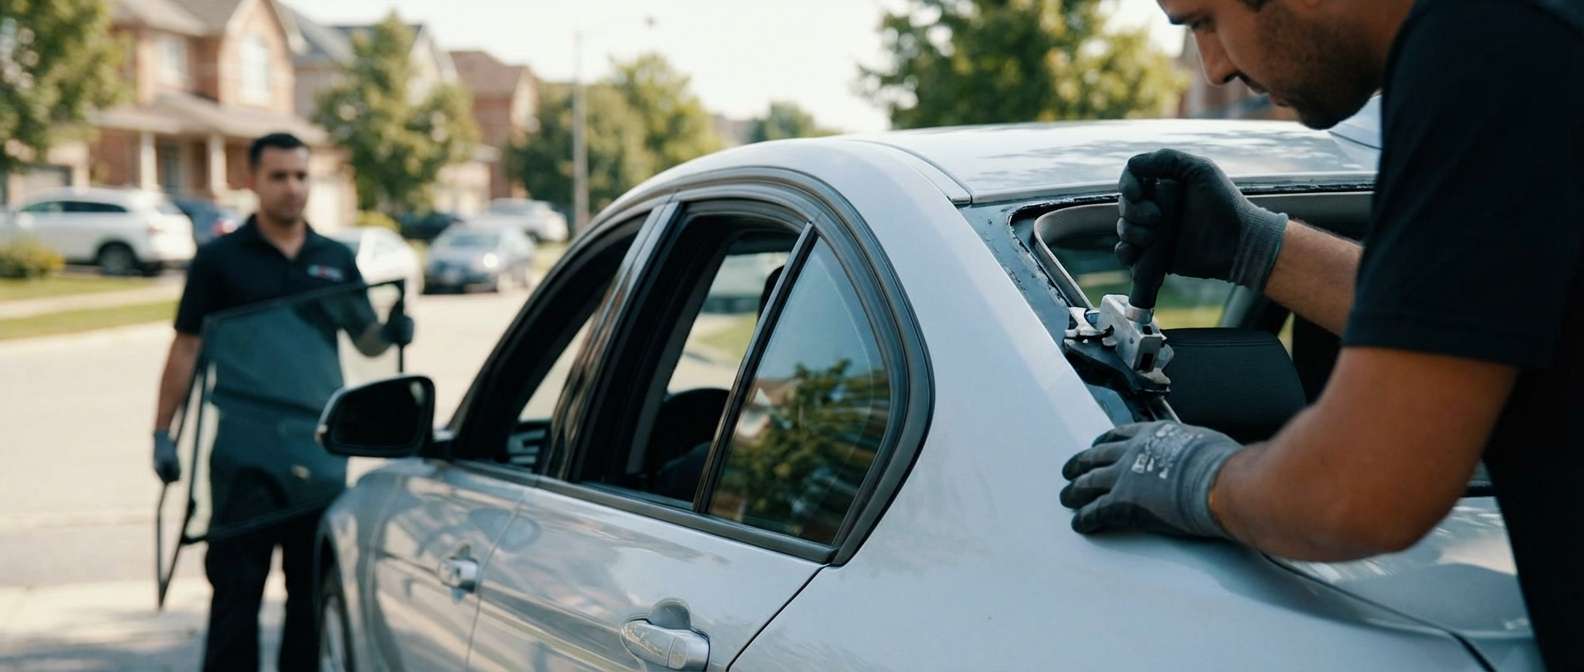
Expert Vent Glass Replacement for BMW 3 Series 2012-2018 (F30)
The BMW 3 Series (F30 generation) is widely regarded as the benchmark for luxury compact sports sedans, celebrated for its dynamic driving experience and the iconic design cue known as the Hofmeister Kink—that distinct forward bend at the C-pillar where the rear side window meets the body. When the rear vent glass (often called the quarter glass) on your 2012-2018 BMW is shattered due to vandalism, road debris, or an accident, it does more than just break a window; it disrupts the vehicle's structural aesthetics and leaves your luxury interior exposed to the harsh Canadian elements.
At AlexWindshield, we understand that an F30 is not just a car; it is a precision-engineered machine that requires specific handling. Replacing a vent glass on a BMW requires far more than simply gluing in a new pane. It involves navigating complex door panel clips, managing electronic regulators, and ensuring the new glass aligns perfectly with the Shadowline or chrome trim. As the Master Technician at AlexWindshield, I am here to walk you through our meticulous, factory-standard process for restoring your BMW to its original glory.
Why F30 Vent Glass Replacement Requires Specialized Care
Unlike a standard door glass that slides up and down, the vent glass on the BMW 3 Series is a stationary component that is integral to the rear door's sealing system. On the F30 chassis (Sedan models produced from 2012 to 2018), this glass is often bonded or mechanically locked into the separation bar (the pillar dividing the main window from the vent). Incorrect installation can lead to wind noise (whistling at high speeds on Highway 400), water leaks damaging the door's electronics, or a misalignment that prevents the rear door from closing with that solid BMW "thud."
We use only OEM-quality (Original Equipment Manufacturer) or OEE (Original Equipment Equivalent) glass that matches the specific tint, thickness, and curvature of your existing windows. This ensures that the replacement piece looks indistinguishable from the factory glass on the other side of the vehicle.
Our Detailed A-to-Z Replacement Process
At AlexWindshield, we do not cut corners. Our mobile technicians follow a rigorous protocol designed to protect your vehicle's leather, wood trim, and electronics while ensuring a permanent, safe repair. Here is exactly how we handle the Vent Glass Replacement for your BMW F30:
Phase 1: Site Preparation and Vehicle Protection
Before we touch a single tool, we prepare the work area. Whether we are in Vaughan, Richmond Hill, or Markham, our mobile units are equipped to create a safe workshop environment in your driveway or office parking lot.
- Exterior Protection: We apply high-grade automotive masking tape to the C-pillar and the rear door paint surrounding the window frame. This protects your clear coat from accidental scratches during the removal of glass shards and trim.
- Interior Shielding: We place protective covers over the rear leather seats (Dakota or Merino leather), the center console, and the floor mats to prevent glass fragments from embedding in the upholstery.
Phase 2: Door Panel Removal and Disassembly
Replacing the vent glass on an F30 requires access to the internal door cavity. This is a delicate process as BMW door cards are secured with hidden screws and fragile plastic clips.
- Trim Removal: Using non-marring pry tools, we carefully pop off the interior door handle trim to reveal the hidden Torx screws (usually T20 or T30) securing the panel.
- Panel Detachment: We release the perimeter clips and lift the door panel off the frame. We carefully disconnect the Bowden cable (door latch mechanism) and the wiring harness for the window switch and ambient lighting.
- Vapor Barrier Management: We carefully peel back the foam vapor barrier. This barrier is crucial for sound insulation and preventing moisture from entering the cabin. We ensure it remains intact for resealing later.
Phase 3: Debris Cleanup and Safety Measures
Vent glass is made of tempered glass, designed to shatter into thousands of small, granular chunks upon impact. These shards get everywhere.
- Vacuuming the Interior: We meticulously vacuum the seats, floor, and carpet to remove all visible glass.
- Internal Door Cleaning: This is the most critical step often skipped by budget shops. We insert a flexible vacuum attachment inside the door shell. We vacuum the bottom of the door cavity to remove shards that have fallen inside. If left behind, these shards will rattle every time you close the door or drive over a bump, and they can jam the window regulator drain holes, leading to rust.
Phase 4: Removal of the Damaged Component
With the door prepped, we proceed to remove the remnants of the old vent glass assembly.
- Weatherstrip Removal: We remove the outer belt molding (the chrome or black strip at the bottom of the window) and the run channel rubber seals to gain clearance.
- Divider Bar Manipulation: On the BMW F30, the vent glass is separated from the main drop glass by a metal divider bar. We loosen the bolts securing this bar and the main window regulator rails. This allows us to shift the bar slightly forward, creating the necessary gap to extract the old vent glass frame or seal.
- Urethane Cut-Out (If Bonded): If the specific sub-model uses a bonded vent module, we use cold knives to slice through the existing urethane bead without damaging the pinch weld (the metal frame of the door).
Phase 5: Surface Preparation and Primer Application
A leak-free install depends on chemical adhesion.
- Cleaning the Pinch Weld: We clean the metal frame where the new glass will sit, removing dirt, old adhesive, and road grime.
- Abrading and Priming: If we have exposed any bare metal during the removal process, we apply a specialized anti-corrosion primer. This prevents rust from forming under the glass.
- Glass Preparation: We clean the new vent glass edges with an activator to ensure the fresh adhesive will bond instantly and permanently.
Phase 6: Installation of the New Vent Glass
This is the moment of precision.
- Adhesive Application: We apply a high-viscosity, high-modulus urethane adhesive to the glass or the vehicle frame (depending on the specific OEM attachment method for your VIN). This adhesive is rated to meet Federal Motor Vehicle Safety Standards (FMVSS).
- Setting the Glass: We slide the new vent glass into position, carefully engaging it with the rubber run channels. We tighten the divider bar back into place, ensuring the gap between the vent glass and the main roll-down window is perfectly parallel.
- Torque Verification: We re-torque all bolts on the regulator and divider bar to BMW factory specifications.
Phase 7: Reassembly and Quality Control
Once the glass is secure, we rebuild the door.
- Vapor Barrier Reseal: We re-adhere the vapor barrier using butyl tape to ensure the cabin remains airtight and waterproof.
- Panel Installation: We reconnect the door handle cables, window switches, and ambient lighting plugs. The door panel is snapped back onto its clips, and the Torx screws are tightened.
- Operational Check: We test the main window to ensure it rolls up and down smoothly without binding against the new vent glass assembly. We also check the door locks and handles for proper function.
- Final Clean: We perform a final glass cleaning using alcohol-based cleaner to remove any fingerprints, leaving your BMW spotless.
Serving the Greater Toronto Area: Local Experts You Can Trust
Living in the GTA means dealing with busy commutes and unpredictable road conditions. When your BMW needs glass service, you shouldn't have to waste time driving to a shop and waiting in a lobby. AlexWindshield brings the repair shop to you.
We proudly offer our mobile vent glass replacement services across the entire region, with specific focus on:
- Vaughan: From Woodbridge to Maple, our technicians can meet you at your home or workplace near Vaughan Mills or Canada's Wonderland.
- Richmond Hill: Whether you are near Yonge Street or off Bayview, we provide rapid response times to get your BMW secured quickly.
- Markham: We service all areas from Unionville to Cornell, ensuring that your vehicle is repaired with the highest standards of quality.
We understand the local climate and road salt conditions, which is why our priming and rust-prevention steps are non-negotiable for every installation we perform in Southern Ontario.
Lifetime Warranty and The AlexWindshield Promise
Your BMW 3 Series is a premium vehicle, and it deserves a premium repair. We are so confident in the quality of our glass, our adhesive materials, and our technical workmanship that we back every installation with a Lifetime Warranty. This covers you against wind noise, water leaks, and manufacturing defects for as long as you own the vehicle.
Don't let a broken vent glass compromise the security or the look of your F30. Trust the Master Technicians at AlexWindshield to restore your vehicle to factory condition with precision, cleanliness, and care.
Contact AlexWindshield today to schedule your BMW F30 Vent Glass Replacement. We are the GTA's trusted choice for mobile auto glass excellence.


