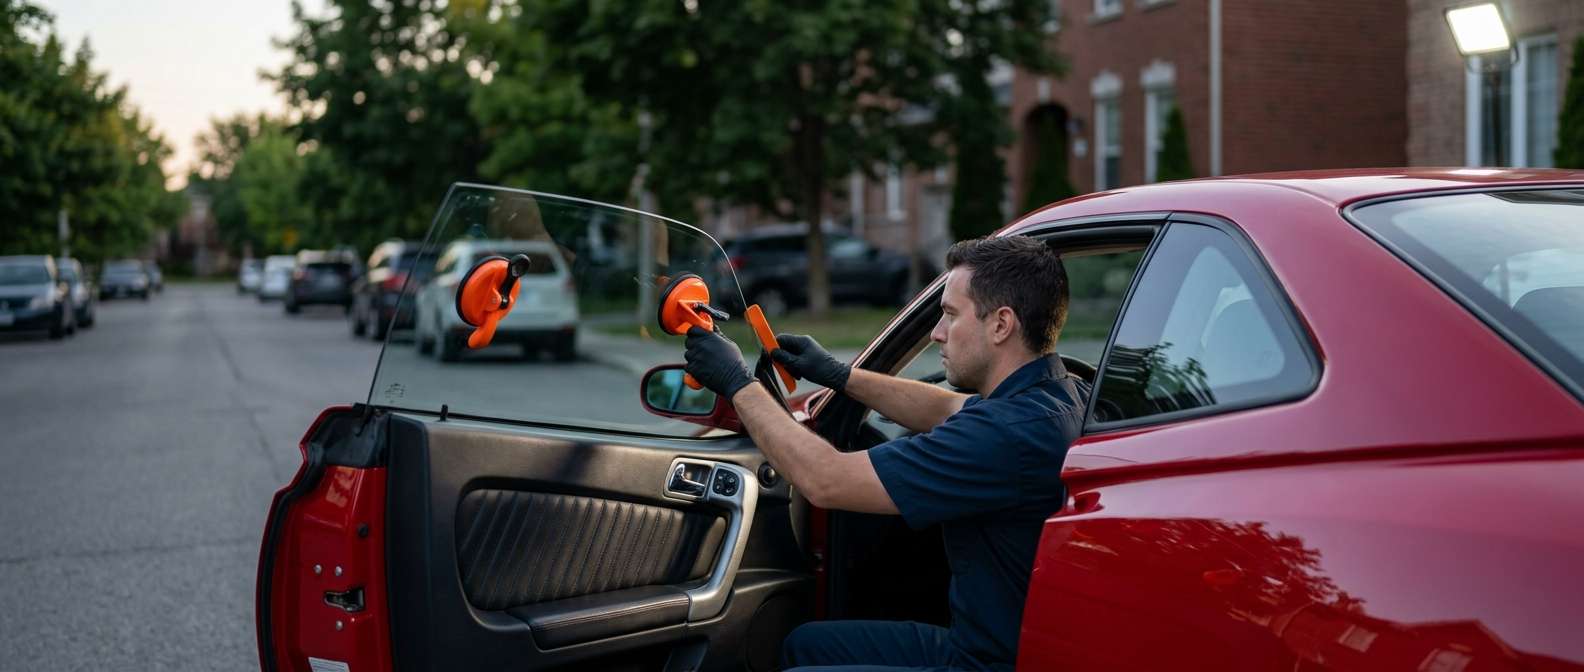
Identifying Phase Variations and Glass Characteristics on Tipo 916 Models
Pinpointing the exact glass profile for an Italian grey-market import starts with the door mechanism rather than the exterior body styling. Both the Tipo 916 GTV coupe and the open-top Spider share identical frameless side glass across their entire production span, but the way the car controls and seals that panel changes dramatically between production runs. The curved, single-pane tempered unit carries a light-green factory tint—cataloged in European inventories under Eurocode 2038LGNH2FD for the left side and 2038RGNH2FD for the right—and lacks any embedded defroster lines, antennas, or acoustic interlayers.
The critical distinction lies in whether your vehicle uses an active window-drop sequence. Phase 1 cars (built from 1995 to roughly spring 1998) feature an entirely manual closure cycle. When you lift the exterior door handle, the glass remains stationary, requiring the upper edge to sit precisely at the borderline of the roof rail and A-pillar weatherstrip so it does not snag or buckle the rubber when the door swings shut. When you open a Phase 2 (1998–2003) or Phase 3 (2003–2004) car, microswitches in the door latch signal the motor to index the glass down by roughly one to two centimeters, raising it back up into the sealing channel only after the latch catches the striker.
Frameless Geometry and Regulator Failure Realities
Because these doors have no upper metal frame, the physical panel relies exclusively on lower clamp mounts and adjustable internal stops. Inside the door cavity, the glass base is secured into a cable-driven regulator assembly. Over time, the factory pot-metal drive pins fatigue or the internal plastic slider blocks crack, causing the glass to drop abruptly into the bottom of the door shell. Pushing directly against the top trailing corner of the glass to shove the door closed accelerates this wear, knocking the camber adjustment loose or snapping the bottom brackets.
When unexpected regulator failure drops a side window into the door or road debris shatters it, I aim to reach you roughly an hour after your booking is confirmed so the vehicle interior stays protected from the elements. Once an aftermarket replacement panel is clamped in place, the true labor involves balancing the inward tilt against the upper cabin seals. If the camber is too slack, highway airflow creates a violent whistle; if the upper mechanical limit stops are set a fraction too high, closing the door on a Phase 1 car will crush the upper seal lip against the roof gutter.
Post-Replacement Inspection Checklist
After a replacement side window is seated and adjusted on this platform, inspect the mechanical clearance and sealing behavior before putting the car back at speed:
- Waist weatherstrip alignment: Verify the inner waist wipe and outer beltline strip lie uniformly flat against both faces of the glass along the full length of the door, with no binding near the door mirror base.
- Indexing drop operation: On Phase 2 and Phase 3 models, ensure the glass drops cleanly away from the roof rail rubber the instant the door handle is pulled, and powers fully upward into the channel once the door is latched.
- Phase 1 mechanical stop height: On early models without drop-down microswitches, verify that the top edge clears the A-pillar and roof weatherstrip cleanly during closure without catching or rolling the rubber hem.
- Lateral camber compression: Check that the glass maintains firm, continuous pressure against the body seals from the front mirror triangle all the way to the rear edge, preventing high-speed cabin draughts.
- Interior door card clearance: Confirm that the speaker grille, main lower speaker enclosure, armrest cubby, and inner latch surround clear the glass path with zero friction during a full travel cycle.


