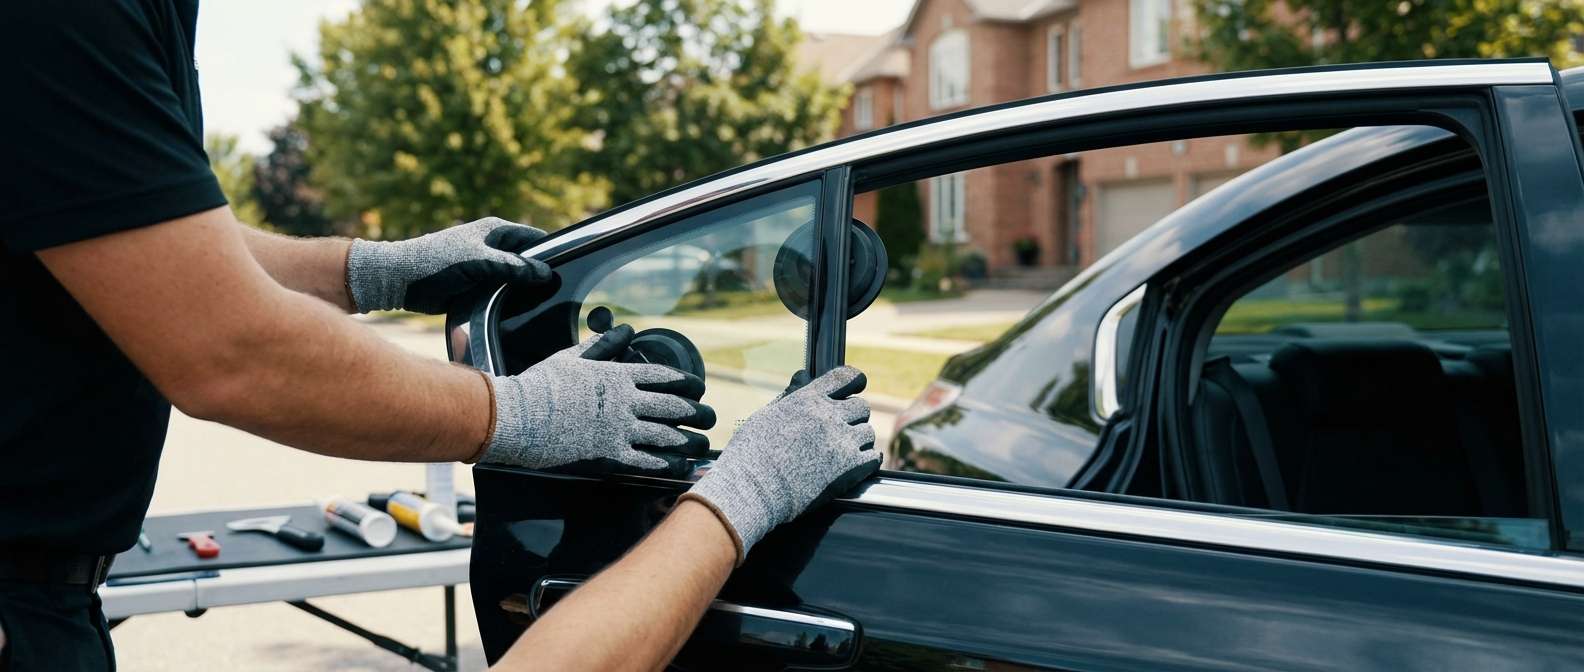
Framed Quarter Glass Design on Fourth-Gen Acura TL Doors
Replacing the stationary rear door vent glass on this sedan means working directly with the framed sash rather than a bonded quarter window. The small triangular window sits inside the upper frame of the rear passenger doors, separated from the roll-down window by an upright metal division bar. Because this glass is completely static, it uses no regulator or track mechanisms, nor does it carry antenna grids, defroster lines, or driver-assist sensors. The pane comes factory-tinted with standard green solar tinting to match the rest of the cabin glass.
Whether your TL is a Base model, equipped with the Technology Package, or set up with the Advance Package, the glass dimensions do not change across the 2009 to 2014 model run. The right-hand passenger side window corresponds to Acura dealer part numbers 73405-TK4-C01 and 73405-TK4-C02. To mount this unit correctly, the vertical division channel has to be freed from both its hidden upper mounting bolt behind the rubber weatherstripping and its lower fastener inside the door cavity, while the surrounding rubber run-channel seal holds the pane tight to prevent cabin drafts.
Hardware, Division Bars, and Outer Belt Trim Pitfalls
Working around the rear doors on the fourth-generation TL requires careful handling of the surrounding exterior trim. A frequent issue with these cars is the condition of the exterior chrome window belt moldings and the adjacent rubber seals, which commonly crack, peel, or show heavy weather exposure over time. The plastic retaining clips securing the exterior belt molding are particularly brittle; if they are forced or pried at the wrong angle, they snap instantly.
When I replace this quarter glass, I make sure the vertical division bar returns to its exact alignment so the main roll-down door glass slides cleanly without binding in its rubber channel. I back every replacement with a one-year warranty on the aftermarket glass itself, alongside lifetime protection covering my workmanship for as long as you own the car. Getting the perimeter weatherstrip fully seated around the sash frame is what stops wind noise at highway speeds.
Post-Installation Inspection for TL Owners
After the rear door vent window has been replaced, verify that the moving components and trim were properly reset by checking the following items:
- Smooth operation of the main rear door glass as it travels up and down against the newly secured division bar.
- Even gap and solid alignment between the stationary vent glass, the division channel, and the surrounding door sash.
- Full seating of the rubber run-channel weatherstrip around the perimeter of the vent pane with no folded or pinched edges.
- Flush positioning of the exterior chrome window belt molding with no loose ends or broken clips.
- Matching solar tint hue against the adjacent roll-down door pane.
- Quiet interior seal with zero wind hiss or cabin whistling at highway speeds.


