Restoring the Icon: Vent Glass Replacement for the Acura RSX (2002-2006)
The Acura RSX, known internally as the DC5 chassis, remains a staple in the tuner community and a beloved icon of the sport compact era. Whether you are driving a base model or the high-revving Type-S, this vehicle represents a golden age of Honda engineering. However, owning a vehicle from the 2002-2006 era comes with maintenance challenges, and unfortunately, the RSX is occasionally targeted for break-ins due to its desirable interior components and classic status. When thieves strike, or road debris causes damage, the vent glass (often referred to as the rear quarter glass on this coupe body style) is a frequent casualty. Unlike a standard door glass replacement, swapping out the fixed vent glass on an Acura RSX is a complex procedure involving structural adhesives and intricate interior disassembly.
At AlexWindshield, we understand that your RSX is more than just a car; it is a project, a passion, and a daily driver. We treat every 2002-2006 Acura RSX with the white-glove care it deserves. Below, we detail our master-technician-approved process for restoring your vehicle’s glass to factory specifications, ensuring leak-proof performance and restored security.
Mobile Auto Glass Expertise Across the GTA
When you are dealing with a shattered window, the last thing you want to do is drive your vehicle through the unpredictable weather of Southern Ontario, risking further damage to your leather interior or electronics. AlexWindshield brings the repair shop to your driveway or workplace. We are the premier choice for mobile auto glass replacement throughout the Greater Toronto Area (GTA).
Our mobile units are fully equipped workshops on wheels, capable of performing structural glass replacements in:
- Vaughan: From the busy streets of Woodbridge to the industrial parks of Concord.
- Richmond Hill: Servicing neighborhoods from Oak Ridges to the downtown core.
- Markham: Providing rapid response to Unionville, Milliken, and surrounding business districts.
- Toronto & The Wider GTA: Covering the entire metro area with prompt, professional service.
The Master Technician’s Guide: Step-by-Step Replacement Process
Replacing the vent/quarter glass on a 2002-2006 Acura RSX is not a "pop-in, pop-out" job. This glass is encapsulated and bonded to the unibody of the car using high-strength automotive urethane. It provides structural rigidity to the roofline and safety for rear passengers. Our process at AlexWindshield adheres to strict safety standards to ensure the vehicle retains its structural integrity.
Step 1: Site Preparation and Vehicle Protection
Before our technicians touch a single tool, we prepare the patient. The Acura RSX has distinct body lines and often features aftermarket paint or pristine factory clear coats that must be preserved.
- We apply protective automotive tape around the perimeter of the broken glass area. This prevents accidental scratches to the C-pillar and rear quarter panel paint during the removal of glass shards and old adhesive.
- We place heavy-duty covers over the front seats, steering wheel, and specifically the rear bucket seats—a signature feature of the RSX—to protect the upholstery from glass dust and adhesive drips.
- If the glass is shattered, we lay down a perimeter mat on the ground to catch any debris that falls during the work, keeping your driveway clean.
Step 2: Interior Disassembly and Panel Removal
Accessing the mounting points and ensuring a clean installation requires removing interior trim. On the 2002-2006 RSX, this is a delicate process due to the age of the plastic clips.
- Rear Seat Removal: To access the lower trim properly, we often need to unbolt the bottom cushion of the rear seat.
- Side Quarter Trim: The interior plastic panel covering the C-pillar and wheel well must be carefully pried away. We use non-marring nylon pry tools to pop the retention clips without snapping the aged plastic.
- Seatbelt Anchor Management: The front seatbelt assembly is often mounted near this area. We carefully maneuver around the tensioner mechanisms to ensure no safety systems are compromised.
Step 3: Comprehensive Debris and Shard Removal
When vent glass breaks, it typically explodes into thousands of cubic granules of tempered glass. These shards don't just sit on the seat; they migrate into the body cavities of the car.
- High-Power Vacuuming: We use industrial-grade vacuums to extract glass from the rear seats, the floor mats, and the trunk area.
- Body Cavity Extraction: This is the step amateurs miss. Glass shards often fall down inside the interior quarter panel (the space between the interior plastic and the exterior metal). If left there, they will rattle incessantly every time you hit a bump or play music. We use flexible vacuum attachments and compressed air to dislodge and remove these hidden shards from the deep crevices of the unibody.
- Vent Cleaning: We ensure no glass obstructs the cabin pressure vents located in the rear of the vehicle structure.
Step 4: Excavating the Old Glass and Adhesive
The Acura RSX vent glass is bonded to the frame. Removing the remaining glass and the old urethane bead requires surgical precision.
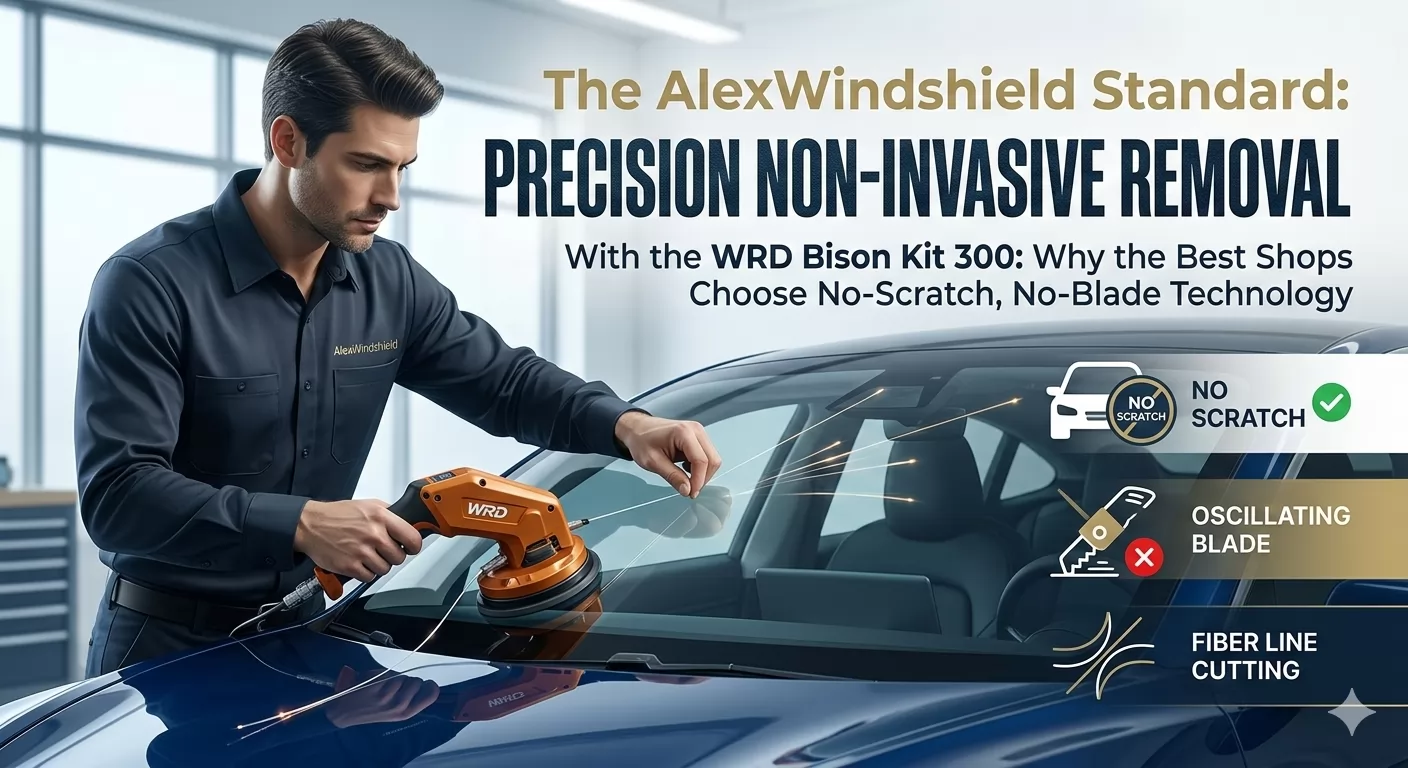
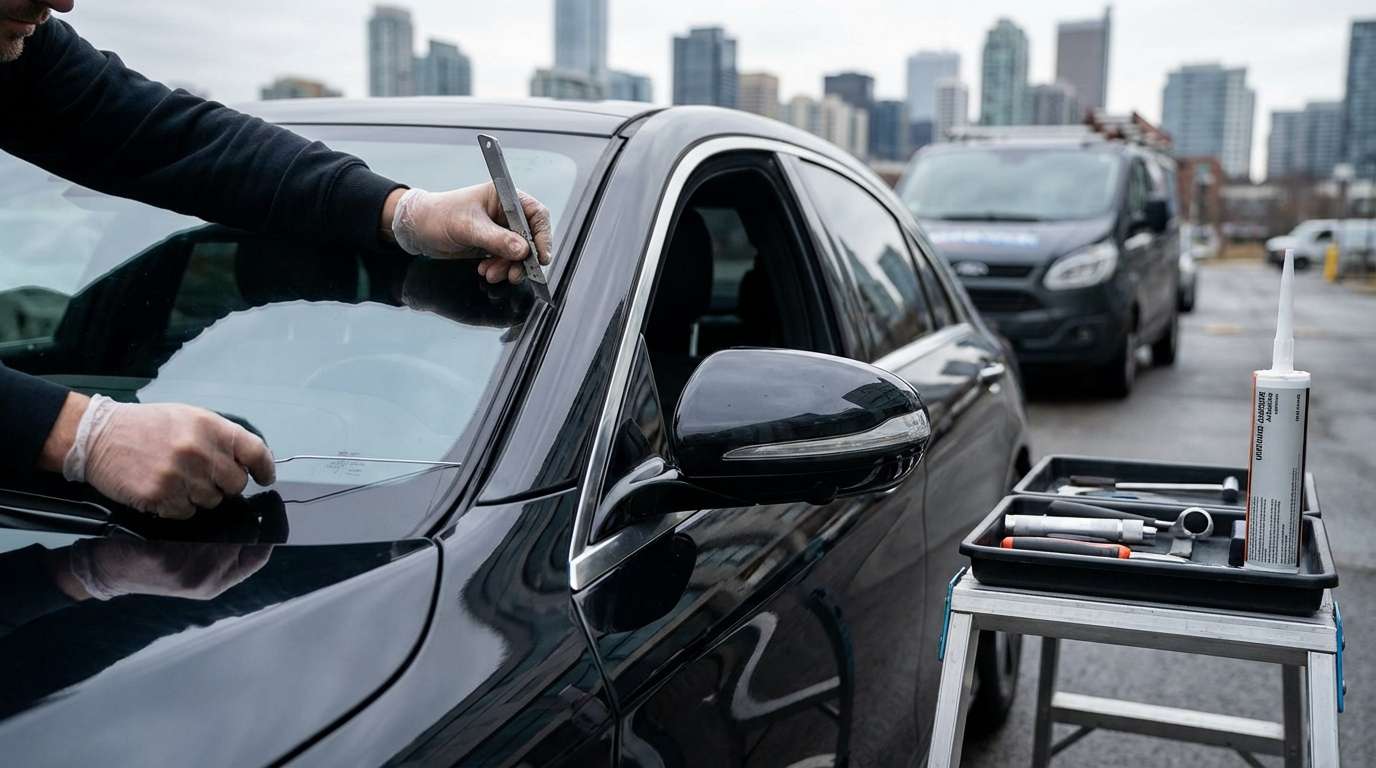
- Cutting the Bond: Using a specialized oscillating tool or a "cold knife" with a hooked blade, we slice through the existing urethane sealant. Great care is taken to keep the blade flush against the glass fragments to avoid scratching the metal pinchweld.
- Trimming the Bead: Once the glass is removed, the old adhesive on the car's frame must be trimmed down to a thickness of approximately 1mm to 2mm. This provides a fresh, clean base for the new bond while ensuring the new glass sits at the correct depth flush with the body panels.
Step 5: Surface Preparation and Primer Application
The longevity of the replacement depends entirely on chemical preparation. We do not skip steps here.
- Cleaning the Pinchweld: We clean the metal frame with a specialized bonding agent to remove dirt, grease, and silicone residues.
- Priming Scratches: If any minor scratches occurred on the metal frame during removal (a common occurrence with tight-fitting glass), we apply a rust-inhibiting black body primer. This prevents future rust bubbles that could compromise the seal.
- Glass Preparation: The new OEM-specification vent glass is cleaned, and a glass activator/primer is applied to the frit band (the black ceramic border). This primer ensures the urethane adhesive bonds molecularly to the glass.
Step 6: Urethane Application and Installation
This is the critical moment where the glass is permanently fixed to the vehicle.
- High-Modulus Urethane: We use only premium, rapid-cure automotive urethane (such as Sika or Dow) that meets or exceeds Acura’s factory safety standards. This adhesive is applied in a high-profile "V" bead to the glass or the vehicle body, ensuring a uniform seal that prevents water leaks and wind noise.
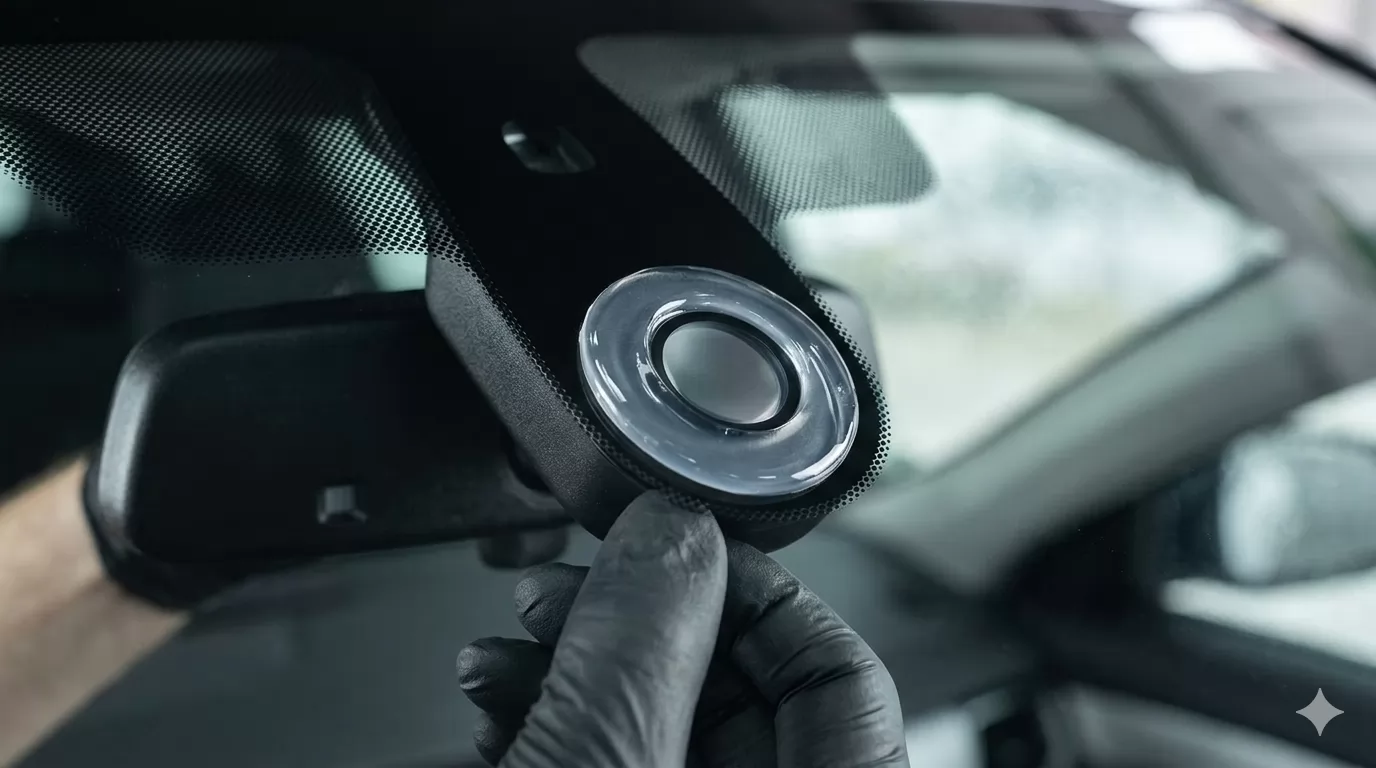
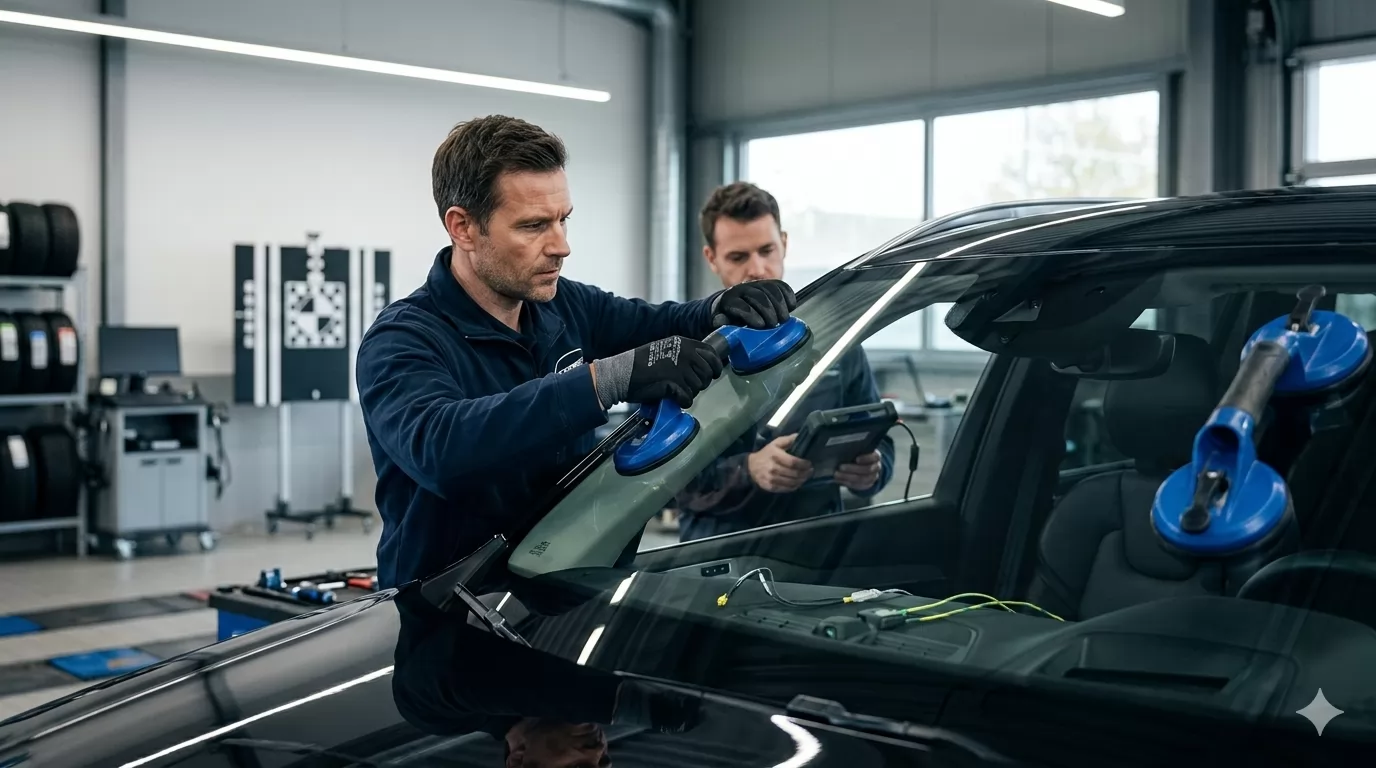
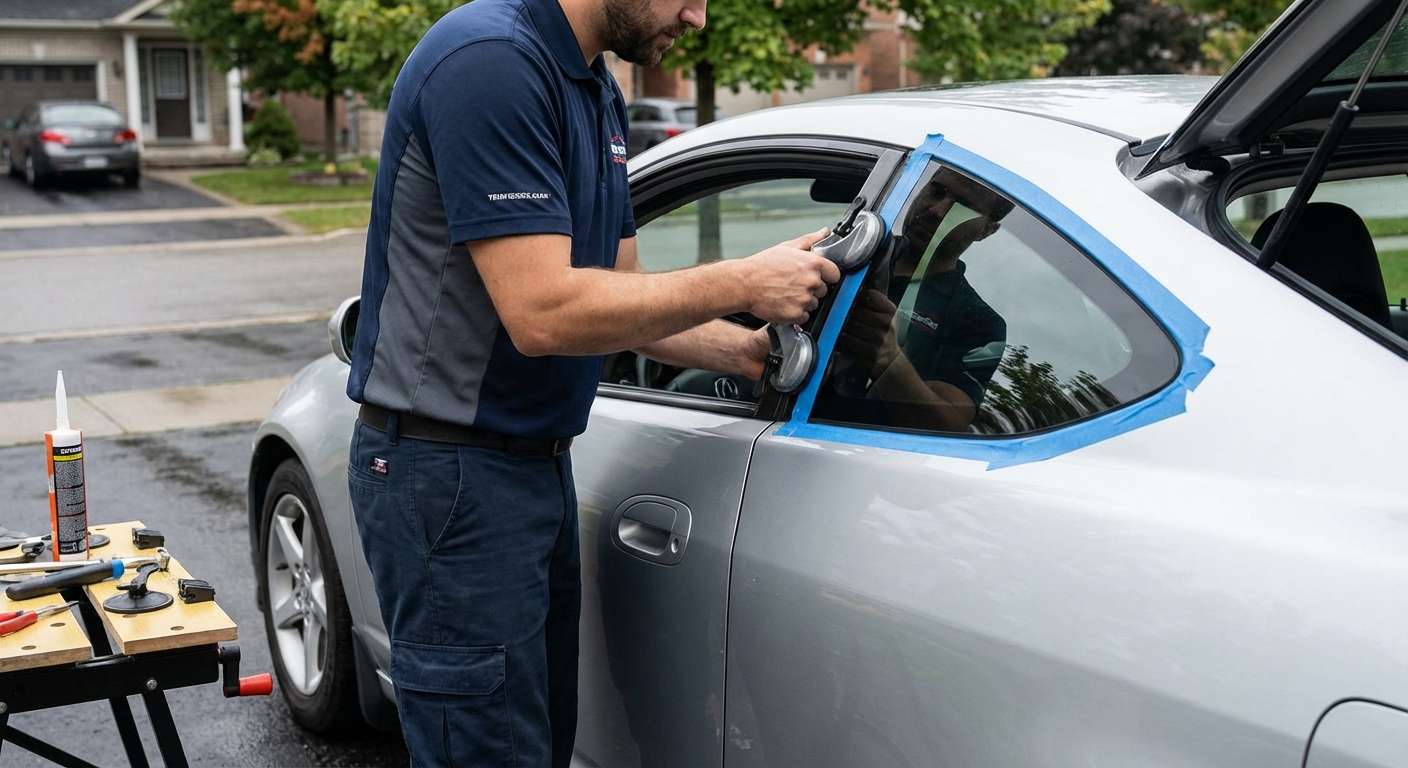
- Setting the Glass: Two technicians or one master technician with suction cups will carefully align the vent glass with the body lines of the RSX. Unlike a door window that moves, this fixed glass must be positioned perfectly within the first few minutes before the glue begins to cure.
- Compression and Tape: We press the glass firmly to wet out the adhesive and apply retention tape to hold the glass in position while the urethane sets. This tape prevents the glass from sliding down due to gravity during the initial cure time.
Step 7: Reassembly and Final Quality Control
Once the glass is set, we reverse the disassembly process.
- We reinstall the interior quarter panels, ensuring all clips engage with a satisfying "click."
- The rear seat cushions are bolted back into place.
- We perform a final "leak test" simulation and a visual inspection to ensure the weatherstripping around the vent glass sits flush against the exterior body, maintaining the sleek aerodynamic profile of the RSX.
- Final Clean: A final vacuum pass is performed, and the glass is polished to a streak-free shine.
Why Choose AlexWindshield for Your Acura RSX?
The Acura RSX is becoming a modern classic, and parts availability can sometimes be scarce. At AlexWindshield, we have an extensive network of suppliers ensuring we can source high-quality replacement glass for the 2002-2006 model years, often when others cannot.
The AlexWindshield Advantage:
- Certified Master Technicians: Our team is trained specifically in older vehicle disassembly, ensuring brittle clips and aged trims are handled with preservation in mind.
- Lifetime Warranty: We stand behind our workmanship. Our installation comes with a lifetime warranty against water leaks, air noises, and manufacturer defects for as long as you own the vehicle.
- Same-Day Mobile Service: We know you need your car back on the road. We offer same-day or next-day appointments in Vaughan, Richmond Hill, Markham, and beyond.
- Direct Insurance Billing: If your comprehensive insurance covers glass, we handle the paperwork for you.
Secure Your RSX Today
Don't let a broken vent glass ruin the look or security of your Acura RSX. Trust the experts who appreciate the engineering of your vehicle as much as you do. For professional, reliable, and detailed auto glass replacement in the Greater Toronto Area, there is only one name you need to know.
Contact AlexWindshield today to schedule your mobile service. Drive with clarity, drive with confidence.