Precision Windshield Replacement for the Acura RLX (2014-2020): Restoring Luxury and Safety
The Acura RLX, produced between 2014 and 2020, stands as a flagship sedan that prioritized technological innovation and a whisper-quiet cabin experience above all else. Unlike standard sedans, the RLX was engineered with specialized acoustic glass and the sophisticated AcuraWatch™ safety suite, making it a marvel of modern automotive engineering. When the windshield on this vehicle sustains damage, it is not merely a cosmetic issue; it is a disruption of the vehicle's structural integrity and its advanced safety ecosystem. At AlexWindshield, we understand that replacing the glass on an RLX requires a Master Technician’s touch, OEM-quality materials, and precise calibration technology.
As a senior specialist at AlexWindshield, I have performed countless replacements on the RLX platform. This guide outlines our comprehensive, rigorous approach to Acura RLX windshield replacement, ensuring that residents across the Greater Toronto Area (GTA)—from Vaughan to Markham—receive dealership-level service right at their doorstep.
Why the Acura RLX Windshield is Unique
Before we begin the replacement process, it is vital to understand what makes the glass in your 2014-2020 Acura RLX different from a standard vehicle. This model often utilizes acoustic interlay glass designed to reduce road noise and wind turbulence, contributing to the serene driving environment Acura is known for. Furthermore, many RLX trims come equipped with a Heads-Up Display (HUD) and complex rain sensors.
If an improper, non-OEM equivalent glass is installed, you may experience:
- HUD Ghosting: A double image or blurry projection on the windshield.
- increased Cabin Noise: Loss of the acoustic dampening properties.
- Sensor Malfunction: Failure of the automatic rain-sensing wipers or safety cameras.
At AlexWindshield, we verify your specific VIN to ensure the replacement glass matches the exact specifications of your vehicle, preserving the luxury experience you paid for.
The Critical Role of ADAS Calibration in the Acura RLX
The most critical aspect of replacing the windshield on a 2014-2020 Acura RLX is the Advanced Driver Assistance Systems (ADAS). Hidden behind the rearview mirror, mounted directly to the glass, is a high-definition camera responsible for life-saving features such as:
- Lane Keeping Assist System (LKAS)
- Collision Mitigation Braking System™ (CMBS™)
- Adaptive Cruise Control (ACC) with Low-Speed Follow
- Road Departure Mitigation
When we remove the old windshield and install a new one, the camera’s angle changes—even if only by a fraction of a millimeter. To the vehicle’s computer, this shift is significant. Without calibration, your RLX might drift out of lanes without warning or brake too late (or too early) during an emergency. At AlexWindshield, we do not view calibration as optional; it is a mandatory safety protocol. We utilize state-of-the-art opti-aim technology to recalibrate your camera to factory specifications immediately following installation.
Step-by-Step Technical Process: From Removal to Re-calibration
Our mobile service brings the workshop to your location, whether you are in Richmond Hill or downtown Toronto. However, we never compromise on the technical rigor of the installation. Here is the A-to-Z process our technicians follow for the Acura RLX:
Phase 1: Pre-Inspection and Interior Protection
The process begins before we touch the glass. The Acura RLX features a premium interior with soft-touch leather and high-end dashboard materials.
- We perform a pre-scan of the vehicle’s electronics to log any existing fault codes related to the ADAS system.
- We apply protective coverings to the front seats, steering wheel, and floor mats.
- Crucially, we tape off the exterior body panels and apply a heavy-duty dashboard protector to prevent any debris or adhesive from damaging the interior surfaces during removal.
Phase 2: Component Disassembly
To access the glass properly, we must remove several exterior and interior components. On the RLX, this requires patience and specific tools to avoid breaking delicate clips.
- Wiper Assembly Removal: The wiper arms are removed, marking their exact resting position to ensure they are realigned perfectly later.
- Cowl Grille Removal: We carefully detach the plastic cowl (the panel at the base of the windshield). The RLX cowl clips can be brittle; we use specialized pry tools to remove them without damage.
- Interior Trim & Sensor Housing: Inside the cabin, we remove the plastic housing behind the rearview mirror. We carefully unplug the Lane Departure Camera, the Rain Sensor, and the humidity sensor.
- Mirror Removal: The rearview mirror is detached from the glass button.
Phase 3: Safe Removal of the Damaged Glass
This is the most technically demanding phase. We use a method designed to protect the "pinch weld"—the metal frame of the vehicle where the glass sits.
- We utilize a high-tech cutting system, often a Fiber Line or Cold Knife depending on the damage severity. The Fiber Line method is preferred for the Acura RLX as it uses a high-tensile string to slice through the old urethane from the inside out, eliminating the risk of scratching the vehicle's paint.
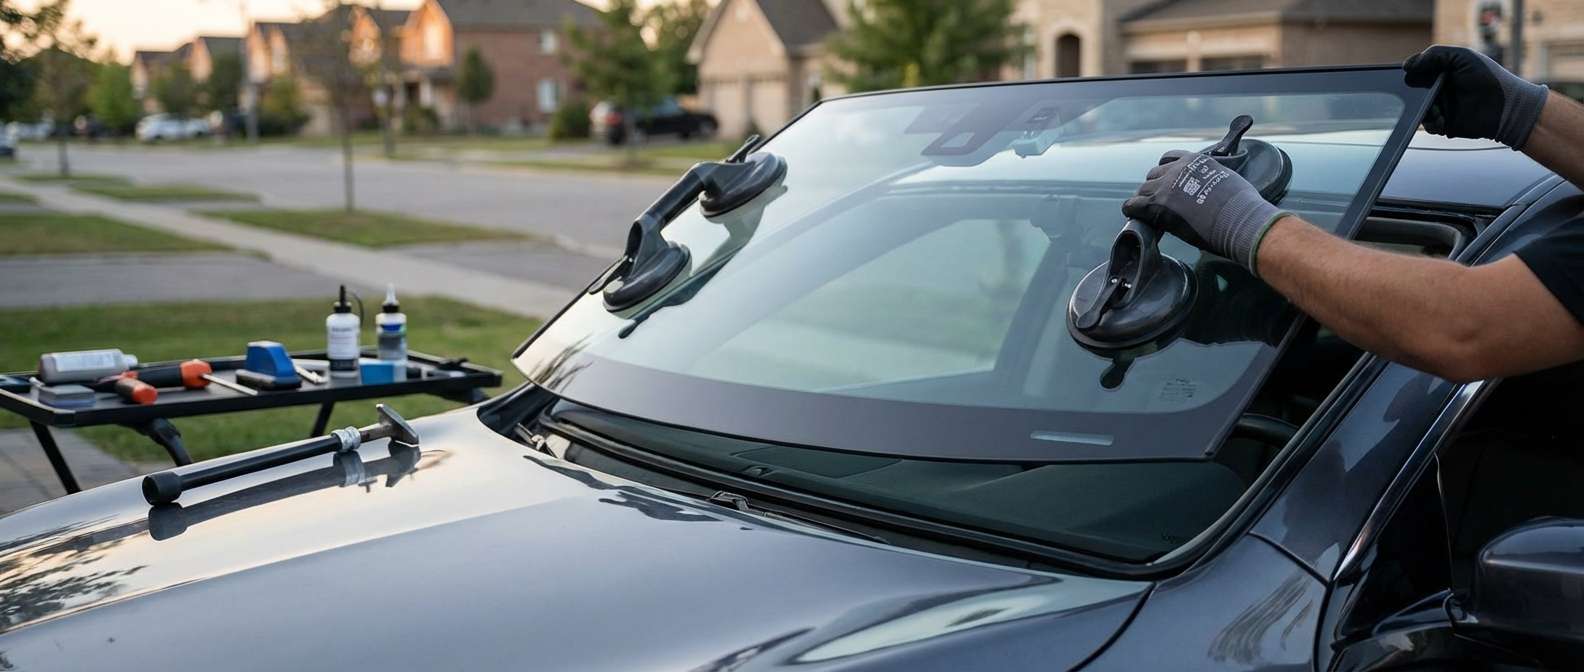
- Once the seal is broken, two technicians lift the damaged glass away from the vehicle using heavy-duty suction cups.
Phase 4: Surface Preparation and Primer Application
A windshield is only as safe as the bond holding it in place. The Acura RLX relies on the windshield for roof crush strength during a rollover, so surface prep is non-negotiable.
- Old Urethane Trimming: We trim the old adhesive down to a thin, uniform layer (approximately 1-2mm). This serves as the best base for the new bond.
- Cleaning and Activation: The pinch weld is cleaned of all dirt and contaminants. If there are any scratches on the metal frame (even microscopic ones), we apply a rust-inhibiting primer to prevent future corrosion.
- Glass Preparation: The new windshield is cleaned with a specialized glass activator. We then apply a black primer to the frit band (the black border) of the new glass. This primer blocks UV light from degrading the adhesive over time and ensures a chemical bond.
Phase 5: Adhesive Application and Installation
We use only high-modulus, non-conductive Sika™ or Dow™ Urethane. This is critical for the RLX because standard conductive urethane can interfere with the radio antenna and GPS systems often embedded in or near the glass.
- Using a high-ratio battery-operated caulk gun, we apply a triangular bead of urethane. This "V-bead" shape ensures that when the glass is compressed, the glue spreads evenly without creating air pockets or leaks.
- Setting the Glass: Using our "Lil Buddy" setting tool or a two-man team, we lower the new Acura RLX windshield into the frame with millimeter precision.
- We press the glass firmly to ensure full contact with the adhesive and verify the alignment with the roofline and A-pillars.
Phase 6: Reassembly and Sensor Gel Replacement
Before putting the car back together, we address the rain sensor. The RLX uses a gel pad between the sensor and the glass. We never reuse the old gel pad. We install a brand-new, optical-grade gel pad to ensure your automatic wipers function flawlessly.
- The cowl, wipers, and interior trim are reinstalled.
- The rearview mirror and ADAS camera are remounted securely to the new bracket.
Phase 7: Dynamic or Static ADAS Calibration
Once the glass is set, the job is not finished. The final step is the calibration of the AcuraWatch system. Depending on the specific year and trim of your RLX, this requires either:
- Static Calibration: Setting up precision targets at specific distances and heights in front of the vehicle while it is parked on a level surface.
- Dynamic Calibration: Driving the vehicle at specific speeds on marked roads (like those in Vaughan or Markham) while a diagnostic computer connected to the OBDII port "teaches" the camera the new horizon line.
AlexWindshield technicians are trained in both methods and will provide a certificate of calibration upon completion.
Serving the Entire Greater Toronto Area (GTA)
We understand that Acura RLX owners value their time. You shouldn't have to drive across the city with a cracked windshield. AlexWindshield operates a robust mobile fleet serving the entire GTA.
Service Areas Include:
- Vaughan: From Woodbridge to Kleinburg, our technicians can perform replacements in your driveway.
- Richmond Hill: We service all neighborhoods, ensuring your commute down Yonge Street remains safe.
- Markham: Whether you are near Unionville or the tech hubs, we bring our calibration equipment to you.
- Toronto, Brampton, and Mississauga: Full coverage across the metro area.
Our mobile units are fully equipped workshops. We bring power, lighting, and shelter if necessary, allowing us to perform high-quality installations in various weather conditions, provided there is a covered area available.
The AlexWindshield Promise: Lifetime Warranty
When you choose AlexWindshield for your Acura RLX windshield replacement, you are choosing peace of mind. We stand behind our craftsmanship with an industry-leading Lifetime Warranty. This covers:
- Air and Water Leaks: If you hear wind noise or see water entering the cabin, we fix it for free.
- Stress Cracks: If the glass cracks due to installation pressure (and not impact), we replace it.
- Loose Moldings: We ensure all trim remains secure for the life of the glass.
Your Acura RLX is a sophisticated machine that deserves expert care. Don't trust your safety sensors and acoustic comfort to generalists. Trust the Master Technicians who understand the intricacies of Acura engineering.
Ready to restore your view and safety? Contact AlexWindshield today to schedule your mobile Acura RLX windshield replacement in the GTA. Drive with clarity, drive with confidence.


