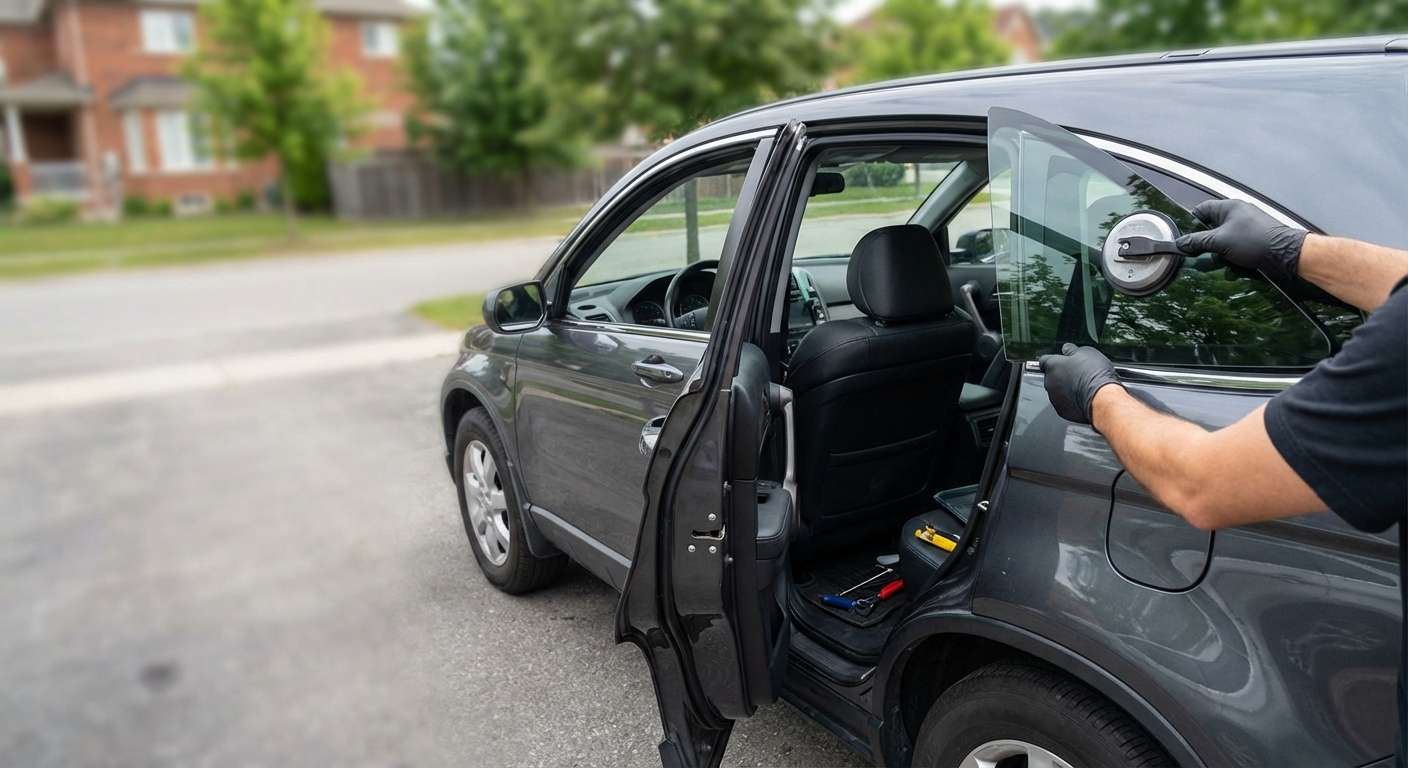
Restoring the Integrity of Your First-Generation Turbo Crossover: Vent Glass Replacement for Acura RDX (2007-2012)
The Acura RDX (2007-2012) represents a distinct era in automotive engineering, marking Acura’s bold entry into the turbocharged crossover market with its Super Handling All-Wheel Drive (SH-AWD) system. Owning one of these vehicles means you appreciate performance wrapped in utility. However, finding a shattered vent glass—often the small, triangular stationary window located in the rear door frame—can instantly disrupt the sleek aesthetic and security of your vehicle. Unlike a standard windshield chip, a broken vent glass is almost always a result of attempted theft or a significant impact, leaving your vehicle’s interior exposed to the unpredictable elements of the Greater Toronto Area (GTA).
At AlexWindshield, we understand that this specific piece of glass is not just a cosmetic filler; it is an integral component of the door’s structural assembly and weatherproofing system. Replacing the vent glass on a 2007-2012 Acura RDX requires more than just adhesive; it demands a mechanical disassembly of the door frame to ensure a factory-tight seal. As Master Technicians, we provide a specialized, mobile solution that restores your vehicle to its original condition, serving clients across Vaughan, Richmond Hill, Markham, and the surrounding GTA.
Understanding the Vent Glass Assembly on the Acura RDX
The vent glass (often called quarter glass) on the first-generation RDX is tempered safety glass. Unlike the laminated glass found in your windshield, tempered glass is designed to shatter into thousands of small, dull cubes upon impact to prevent injury. While this is a crucial safety feature, it creates a significant cleanup challenge.
On the 2007-2012 Acura RDX, the rear door vent glass is held in place by a division bar (the vertical pillar separating the main drop glass from the vent glass) and a rubber run channel. It is not glued in like a windshield; it is mechanically bolted and pressure-fitted. This distinction is vital because improper installation can lead to wind noise, water leaks, or the misalignment of the main power window.
Why Professional Installation is Non-Negotiable
- Water Leak Prevention: If the rubber gasket surrounding the vent glass is not seated perfectly within the door frame, water will channel directly into the door shell, potentially shorting out your window regulator motor or speaker wiring.
- Theft Deterrence: A poorly installed vent glass is a weak point. We ensure the glass is bolted securely, making it just as resilient as the factory installation.
- Debris Management: The most overlooked aspect of vent glass replacement is the broken glass shards that fall inside the door panel. If not removed, these shards will rattle indefinitely and can jam the mechanical components of your window lift system.
Step-by-Step Replacement Protocol: The AlexWindshield Standard
As a Senior SEO Specialist and Master Technician at AlexWindshield, I have standardized a rigorous, step-by-step protocol for replacing the vent glass on the Acura RDX. We do not skip steps. Here is exactly how we handle your vehicle from A to Z.
Phase 1: Site Preparation and Safety Assessment
Before touching the vehicle, our mobile technician assesses the damage and prepares the work area. Whether we are in a driveway in Richmond Hill or an office parking lot in Markham, safety is paramount.
- Vehicle Inspection: We verify the exact year (2007, 2008, 2009, 2010, 2011, or 2012) and trim level of your RDX to ensure the replacement glass matches the tint level of the original equipment (OE).
- Interior Protection: We apply protective covers to the leather seats, steering wheel, and center console. We also lay down heavy-duty mats on the floor to catch any falling glass during the removal process.
- Exterior Protection: The paint surrounding the rear door is taped off with low-tack automotive masking tape to prevent accidental scratches during the extraction of debris.
Phase 2: Door Panel Disassembly
To access the mounting points for the vent glass on the RDX, the interior door card (panel) must be removed. This requires precision to avoid breaking aged plastic clips common in vehicles from this era.
- Hardware Removal: We locate and remove the hidden screws. On the 2007-2012 RDX, these are typically concealed behind a small plastic cover in the inner door handle cup and under the armrest grip.
- Control Switch Disconnection: We carefully pry up the power window switch bezel and disconnect the wiring harness. This allows us to remove the switch assembly safely.
- Panel Separation: Using a non-marring trim removal tool, we pop the perimeter clips holding the door panel to the metal door shell. We lift the panel upward to clear the lock pin and window seal, setting the panel aside in a safe location.
- Vapor Barrier Treatment: We carefully peel back the plastic vapor barrier (moisture shield) without tearing it. This exposes the inner workings of the door, including the window regulator and the bottom of the division bar.
Phase 3: Critical Debris Removal
This is the step that separates AlexWindshield from generic auto glass shops. Because the glass is tempered, shards are everywhere.
- Interior Vacuuming: We vacuum the rear seats, floor mats, and any crevices where glass may have flown.
- Door Shell Vacuuming: Using a flexible, narrow shop-vac attachment, we reach deep into the bottom of the metal door shell. We articulate the nozzle to capture glass shards hidden in the corners or stuck in the grease of the window regulator tracks.
- Regulator Cleaning: We inspect the gears and cables of the power window regulator to ensure no glass is lodged in the mechanism, which could cause the main window to grind or fail later.
Phase 4: Division Bar Manipulation and Glass Removal
The vent glass on the RDX cannot be installed without moving the division bar.
- lowering the Main Window: We temporarily reconnect the window switch to lower the main drop glass, giving us clearance to work.
- Loosening the Run Channel: We pull the rubber run channel (weatherstripping) out of the top and back of the window frame to reduce friction.
- Releasing the Division Bar: We locate the bolts securing the bottom of the vertical division bar (inside the door shell) and the screw at the top of the door frame. We remove these fasteners.
- Shifting the Bar: We carefully slide the division bar forward or tilt it to create a gap large enough to remove the remnants of the old vent glass and its rubber seal.
Phase 5: Installation of the New Vent Glass
We use only high-quality, DOT-certified glass that meets or exceeds OEM specifications for the Acura RDX.
- Seal Preparation: We inspect the rubber gasket that wraps around the new vent glass. If the old one is damaged, we replace it. We apply a silicone-based lubricant to the rubber to facilitate a smooth entry into the frame without binding.
- Glass Insertion: We maneuver the new vent glass assembly into the door frame. This is a delicate process that involves angling the glass perfectly to seat it into the rear run channel while simultaneously aligning it with the division bar.
- Securing the Division Bar: Once the glass is seated correctly, we slide the division bar back into its original position, sandwiching the vent glass securely.
- Torque and Tighten: We reinstall the top screw and bottom bolts of the division bar, tightening them to factory torque specifications to ensure the frame is rigid and rattle-free.
- Run Channel Reinstallation: We press the rubber run channel back into the track, ensuring there are no kinks or folds that could impede the main window’s movement.
Phase 6: Reassembly and Quality Control
With the glass physically installed, we begin the process of putting the vehicle back together.
- Operational Test: Before putting the door panel back on, we test the main power window. We run it up and down several times to ensure it moves smoothly, does not bind against the new vent glass, and that the auto-reverse safety feature is functioning.
- Vapor Barrier Resealing: We re-adhere the vapor barrier to the door shell. This is critical for preventing moisture from entering the vehicle cabin.
- Panel Installation: The door panel is aligned and snapped back into place. All screws are reinserted, and the plastic cover caps are replaced.
- Final Clean: We perform a final vacuum of the work area and clean the new glass with professional-grade glass cleaner to remove any fingerprints or lubricant residue.
Serving the Heart of the GTA: Local Availability
A broken window is an emergency that disrupts your schedule. You should not have to drive across the province to get it fixed. AlexWindshield is deeply integrated into the local communities of the Greater Toronto Area. We provide same-day or next-day mobile service directly to your home or workplace.
- Vaughan: From the bustling area of Vaughan Mills to the residential streets of Kleinburg, our mobile units are constantly patrolling, ready to service your Acura RDX.
- Richmond Hill: Whether you are near Yonge Street or along Bayview, our technicians can perform the repair in your driveway, saving you the hassle of a tow truck or a dangerous drive with a broken window.
- Markham: We service the entire tech hub and residential areas of Markham. We understand the busy lifestyle of our clients here and offer flexible scheduling to accommodate you.
Why Choose AlexWindshield for Your Acura RDX?
The 2007-2012 Acura RDX is a vehicle that deserves respect. It is a machine built for longevity, and repairs should contribute to that lifespan, not detract from it. Choosing AlexWindshield means choosing expertise over expediency.
Our AlexWindshield Advantage includes:
- Master Technicians: Our team is not just trained; they are certified experts in complex glass assemblies involving door disassembly.
- Mobile Convenience: We bring the shop to you, fully equipped with power inverters, vacuum systems, and lighting to perform a shop-quality job on the road.
- Best Price Guarantee: We offer competitive pricing without sacrificing the quality of the glass or the adhesive materials used.
- Attention to Detail: We treat the hidden parts of your car (like the inside of your door panel) with the same care as the visible parts.
Our Lifetime Warranty Promise
We stand firmly behind our craftsmanship. When you choose AlexWindshield for your Acura RDX vent glass replacement, you are covered by our industry-leading Lifetime Warranty. This covers any leaks, air noises, or workmanship defects for as long as you own the vehicle. We install it right the first time, so you never have to worry about it again.
Don't let a broken vent glass compromise the safety and comfort of your Acura. Trust the local experts who know your vehicle inside and out. Contact AlexWindshield today to schedule your mobile service in Vaughan, Richmond Hill, Markham, or anywhere in the GTA.


