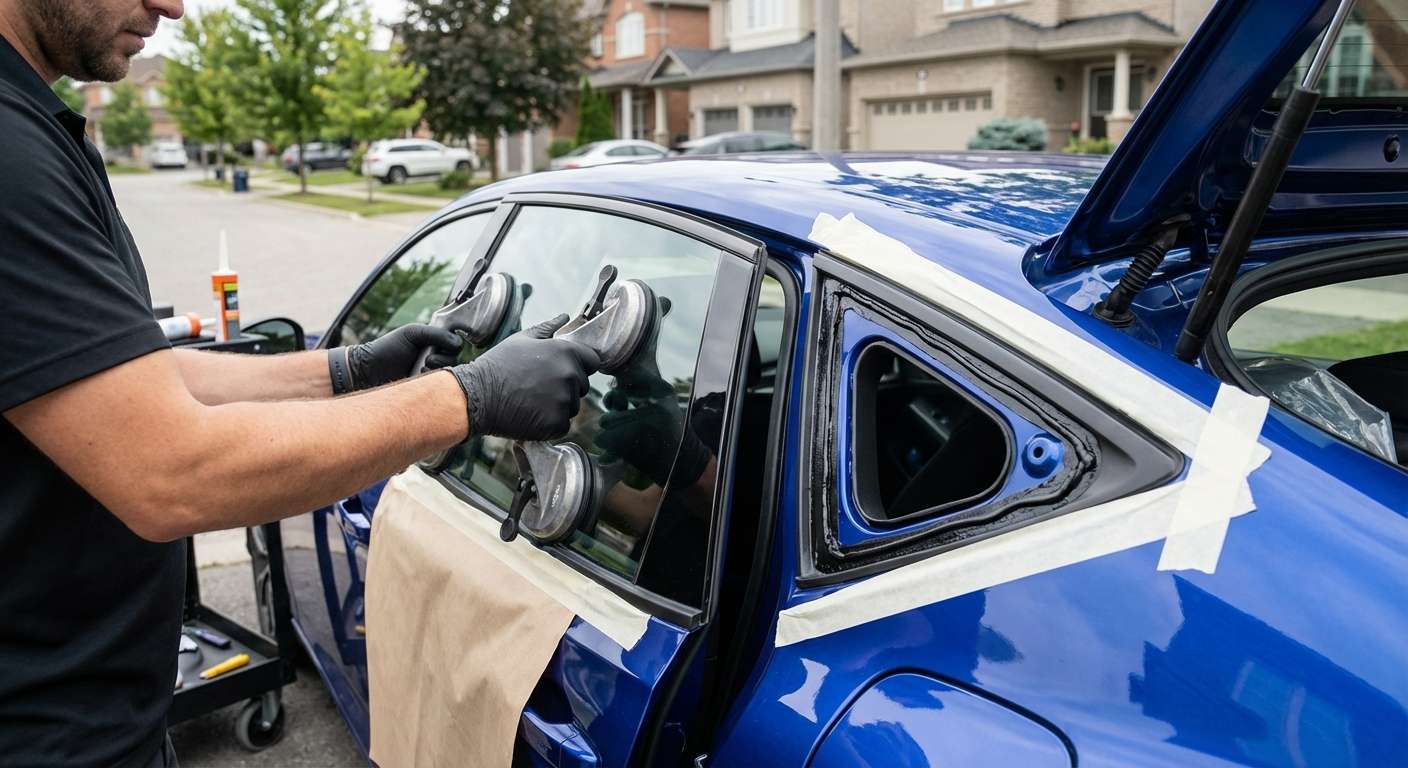
Trim Matching and Pre-Installation Checks on the Integra Liftback
Matching the perimeter moulding finish to the exact build package is the first thing I verify before unboxing a replacement quarter unit for this car. The base Integra uses bright chrome surrounding the glass, tracked under right-side part 73500-3S5-A01 and left-side 73550-3S5-A01. In contrast, the A-Spec and Type S variants demand high-gloss black mouldings, which correspond to right-side part 73500-3S5-A11 and left-side 73550-3S5-A11. Because this exterior surround is bonded directly to the tempered glass at the manufacturing stage, an incorrect finish cannot simply be swapped over; a scuffed or mismatched trim piece requires replacing the entire fixed window assembly.
Before any replacement window is set into the body aperture, I check the integrity of the integrated plastic retention and alignment locator pins embedded along the glass frame. Acura designs these locating studs as single-use break-away anchors that set the height and depth against the C-pillar frame. If an aftermarket supplier ships a unit with damaged locator pins, the glass will float unevenly against the outer skin. I also look over the factory dark solar tint density to confirm a complete match with the adjacent rear passenger door glass, as well as the unpopulated inner surface, ensuring no stray hardware obstructs the interior C-pillar garnish panel.
C-Pillar Panel Alignment and Body Line Continuity
Once the quarter window is bedded into the DE4 or DE5 liftback structure, flushness relative to the rear quarter panel shoulder line dictates whether the car looks right. The forward vertical edge of the quarter window sits directly along the rear door shut-face, meaning any discrepancy in mounting depth causes the door's outer window frame to catch air turbulence or visually step inward. The top arch must maintain an exact, parallel margin with the roof rail sheet metal running down toward the rear hatch hinge area.
I back every Integra installation with my own lifetime coverage on all workmanship alongside one year of protection on the glass panel itself. When inspecting the exterior after the window is positioned, I examine the gloss black or chrome beltline integration where the bottom of the glass meets the rear door's lower belt moulding. If the quarter unit sits even one millimeter too low, that crisp body character line breaks visibly across the rear door seam.
Interior Reveal and Final Sealing Confirmation
Inside the cabin, the upper and rear edges of the quarter glass meet the molded interior C-pillar trim panels. I inspect the entire interior perimeter to make certain the inner encapsulation lip cleanly overlaps the cabin trim edge without pinching or leaving an exposed gap into the quarter cavity. Because this window carries no embedded heating grids, FM antennas, or sensor wiring, the interior periphery must sit entirely flush and quiet against the cabin insulation without rattling against underlying sheet metal clips.
From the outside, I sight down the rear quarter panel from the tail lamps toward the front fender to verify the glass contour matches the fastback roofline curvature. A properly installed window follows the subtle compound curve of the outer quarter stamping smoothly, creating a uniform transition that prevents wind noise along the trailing edge of the rear passenger door frame.


