BMW A0B603 Rain Sensor Short Circuit: What It Means and How to Fix It
If you are scanning your BMW and the A0B603 code pops up, you probably already know your automatic wipers are acting up. I see this exact fault code in the shop all the time. It points directly to a short circuit in the power supply for the Rain/Light Sensor (RLS). Let's break down exactly what is happening behind the rearview mirror and how to get those auto wipers working again.
Signs Your BMW Has an A0B603 Fault
- Dead automatic wipers: Pressing the auto button on the wiper stalk does absolutely nothing.
- Headlights stuck on: The automatic headlights default to the 'on' position as a safety fail-safe when the module loses communication.
- Hidden codes: Sometimes there is no warning light on the dash, just a shadow code stored deep in the Roof Function Center (FZD) that you only see with a proper scanner.
Common Causes Behind the Short Circuit
This is rarely just a random electrical gremlin. When I trace an A0B603 code, it almost always comes down to physical damage or poor previous workmanship:
- Pinched wiring: This is the most common cause I find. It usually happens after a clumsy rearview mirror removal or a sloppy windshield replacement where the wiring harness gets crushed against the metal mounting bracket.
- Blown Fuses: A frayed wire will immediately pop the specific fuse feeding the FZD and RLS module to prevent a fire.
- Fried Sensor Unit: Moisture getting past a degraded silicone gel pad can short out the internal circuit board of the sensor itself.
Step-by-Step Diagnostic and Repair Guide
Step 1: Check the Fuses First
Before tearing the mirror assembly apart, check your fuse box. Depending on your specific chassis (E90, F30, F10, etc.), pull up the fuse diagram and locate the fuse assigned to the Roof Function Center. Pull it out and inspect it. If it is blown, replace it. If the new fuse blows immediately upon turning the ignition, you have a hard short in the wiring that needs tracking down.
Step 2: Inspect the Wiring Harness
Carefully pop the plastic clamshell cover off the rearview mirror base. You want to look closely at the three-wire connector plugging into the rain sensor. Look for exposed copper or pinched wires mashed against the metal retaining clip. If you find damaged wires, you will need to splice in a repair pigtail and wrap it in TESA tape.
Testing the Voltage at the Connector
Grab your multimeter. Unplug the sensor and test the pins. You should see a solid 12 volts at the power pin and good continuity on the ground pin with the ignition switched on. If you have clean power and ground but the code simply will not clear, the sensor unit is toast.
Replacing the Sensor and Gel Pad
If the sensor is dead, you need a replacement. You cannot reuse the old silicone gel pad. Clean the inside of the glass thoroughly with alcohol, apply a brand new gel pad, and carefully snap the new sensor into the bracket. Make sure you do not trap any air bubbles between the gel and the glass, or the sensor will not read the rain drops correctly.
Step 3: Recoding the RLS
You are not done just because the parts are bolted back together. Hook the car up to a diagnostic tool like ISTA or INPA. Clear the A0B603 code and run the initialization procedure for the new sensor. This step calibrates the optical lens to the exact tint and thickness of your specific windshield glass.
Need Expert Help in the GTA?
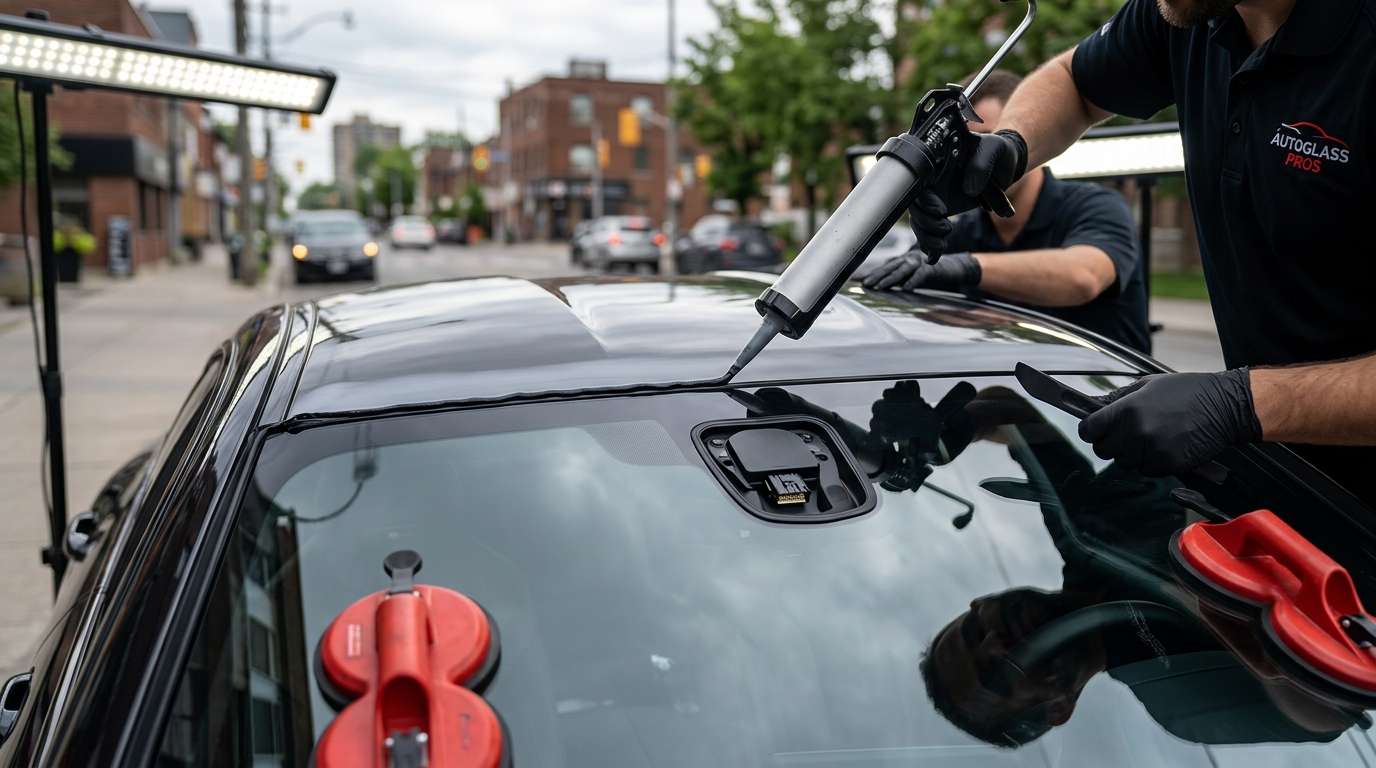
A lot of these rain sensor shorts happen right after a low-quality windshield install where the tech rushed the job and pinched the harness. If you need auto glass work done right the first time, reach out to AlexWindshield. We are the trusted experts for mobile auto glass services across the Greater Toronto Area. Whether it is a cracked windshield replacement or fixing a tricky rain sensor calibration, we handle it right in your driveway, completely backed by our Lifetime Warranty.


