B0112 Rain and Light Sensor Signal Too High: What It Means and How to Fix It
If your scanner just threw a B0112 code, you are probably dealing with automatic wipers that refuse to wipe and headlights that have a mind of their own. As a tech who replaces auto glass and recalibrates these systems every day, I can tell you this code specifically means the vehicle's body control module is reading an abnormally high voltage from the rain and light sensor mounted behind your rearview mirror.
Let's break down exactly what is going on, how to test it, and what you need to do to get your auto-wipers and lights working properly again.
Common Symptoms You Will Notice
When that sensor signal spikes too high, the system goes into a failsafe mode to prevent further electrical damage. You will usually experience the following:
- Automatic wipers failing to activate when rain hits the glass.
- Wipers stuck on a single continuous speed regardless of the weather outside.
- Automatic headlights malfunctioning, either staying on in broad daylight or failing to turn on at night.
- A generic warning message on your dash regarding the lighting or wiper system.
What Causes a B0112 Code?
In my experience in the shop, a "Signal Too High" fault almost always points to an electrical short or a physical hardware issue. Here are the usual suspects:
- Damaged Wiring or Connector: A short to power in the sensor's wiring harness.
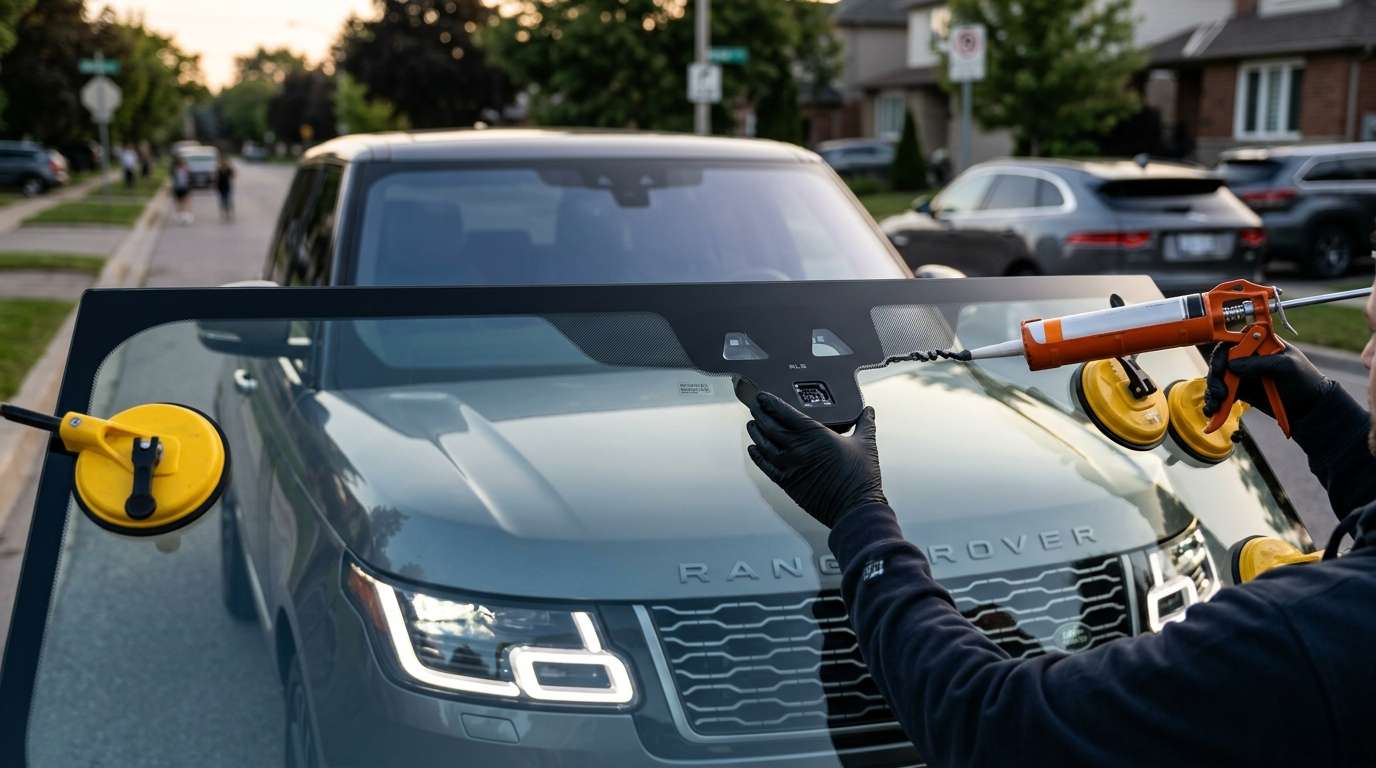
- Poor Windshield Installation: If you recently had your windshield replaced by a cut-rate shop, they might have damaged the sensor, pinched the wires, or messed up the silicone gel pad that bonds the sensor to the glass.
- Faulty Sensor Unit: The internal circuitry of the rain/light sensor is fried.
- Corrosion: Moisture getting into the connector plug up in the headliner.
Step-by-Step Diagnostic and Repair Guide
Step 1: Inspect the Sensor and Gel Pad
Look at the windshield from the outside, right where the rearview mirror sits. The sensor needs a perfectly clear, bubble-free gel pad to read light and moisture correctly. If you see air bubbles, dirt, or if the sensor is hanging loose from the bracket, that is your problem. A bad optical connection makes the sensor go crazy and throw erratic signals.
Step 2: Test the Wiring Harness
Pop the plastic trim off the rearview mirror and unplug the sensor. Grab your multimeter. You want to check for a short to battery voltage on the signal wire. Turn the ignition on and probe the pins. If you are seeing 12 volts on the signal return line where there shouldn't be, you have a pinched wire somewhere up in the headliner or A-pillar that needs repairing.
Step 3: Replace the Sensor Unit
If the wiring checks out and the gel pad is solid, the sensor itself is likely dead. You will need to order an OEM or high-quality aftermarket replacement. Snap it into the mounting bracket, connect the harness, and ensure the new gel pad sits flush against the glass without any air gaps.
Step 4: Clear Codes and Calibrate
Once the new part is in, hook up your OBD2 scanner, clear the B0112 code, and run a quick test. Pour some water over the sensor area outside the glass to make sure the wipers kick on. Keep in mind, many modern vehicles require a quick software calibration so the computer can learn the new sensor's baseline light readings.
Get It Fixed Right with AlexWindshield
Dealing with rain sensors and wiring shorts can be a massive headache, especially if the issue started after a bad glass job. At AlexWindshield, we specialize in mobile auto glass services and advanced driver assistance system (ADAS) calibrations across the Greater Toronto Area. Whether you need a fresh windshield installed correctly the first time or a sensor recalibrated to clear out that stubborn B0112 code, we have you covered. We bring the shop right to your driveway in the GTA, and every replacement comes backed by our Lifetime Warranty.


