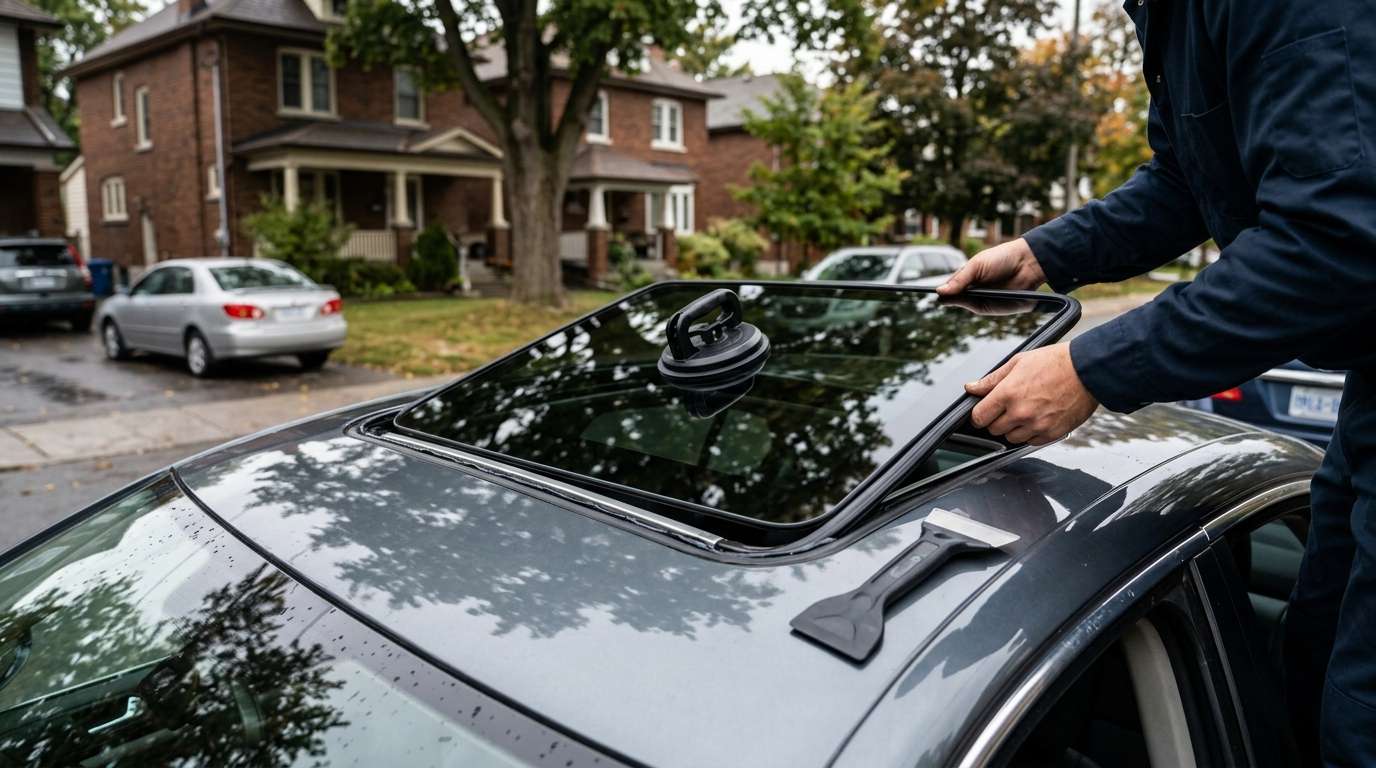
Handling Spontaneous Moonroof Glass Breakage on the Mk5 Jetta
When the single-pane glass panel over your head unexpectedly shatters on the highway, it usually stems from built-up thermal stress or nickel sulfide inclusions that plagued these tempered units, culminating in widespread consumer litigation. Because the tempered panel breaks into thousands of tiny pebbles rather than staying intact like a laminated windshield, fragments drop directly into the sliding fabric sunshade and fall past the internal cassette into the mechanical tracks.
Before fitting a replacement panel, clearing every crumb of debris out of the roof cavity is essential. If stray glass chips lodge inside the guide rails, they will strip the internal drive cables or bind the plastic sliders when the motor engages. I often head out and can be at your driveway roughly an hour after you set up your appointment, vacuuming out the roof tracks and clearing the cassette before the shattered panel causes electrical or mechanical damage to the drive assembly.
Panel Hardware, Drainage, and Replacement Details
The single-pane tilt-and-slide roof on the A5 sedan does not rely on glued-in urethane beads. Instead, the assembly bolts mechanically from above straight onto the drive brackets. The outer perimeter uses a dedicated rubber seal to keep highway wind noise and heavy downpours at bay, directing residual runoff into four internal drain tubes located at each corner of the cassette.
| Component / Feature | Mk5 Sedan Moonroof Details |
|---|---|
| Glass Assembly Reference | Equivalent to 1K5-877-071-A |
| Perimeter Rubber Seal | OE reference 8D0-877-297 |
| Fastener Hardware | Torx T25 machine screws into track carriers |
| Integrated Electronics | None (no sensors, defroster lines, or embedded aerials) |
| Drainage Routing | Twin A-pillar forward tubes, twin C-pillar rear tubes |
Early 2009 Jetta SportWagen models occasionally retained this specific sedan assembly before Volkswagen shifted production fully over to the larger panoramic glass format. If your SportWagen shares this compact single-pane layout, the hardware and attachment mechanism match the sedan line exactly.
Stopping Cabin Water Ingress and Aligning the Glass
Replacing the moonroof glass is only half the battle; preventing the classic footwell flood requires inspecting the surrounding drainage network and the flexible side trim. Flexible rubber accordion bellows conceal the mechanical rails on both sides of the glass panel. These bellows must be detached carefully to reveal the Torx T25 mounting fasteners holding the carrier brackets to the sliding tracks.
- Drain line maintenance: The forward drain hoses exit behind the front door hinges, while the rear lines empty near the rear wheel housings. Clearing these tubes prevents cabin leaks into the A-pillars and footwells, a frequent issue when road grime mixes with broken glass debris.
- Perimeter seal degradation: Over time, the rubber gasket (8D0-877-297) shrinks, letting excess rainwater bypass the frame and overwhelm the drainage cassette beneath the headliner.
- Guide track inspection: I check the track carriers for bent teeth or cracked plastic guides before torquing the side bolts to ensure the sliding drive cables pull both sides evenly without binding.
Mechanical alignment during installation prevents buffeting at high speeds. If the leading edge sits proud of the steel roof skin, wind catches the lip and creates cabin roar; if it sits too low, water pools heavily around the seal. Setting the carrier brackets correctly ensures the glass sits completely flush against the roofline while sealing tightly against the exterior aperture.


