The Iconic SG Generation: Why Your 2003-2008 Subaru Forester Vent Glass Deserves Master Craftsmanship
The 2003-2008 Subaru Forester, built on the legendary SG platform, remains a highly sought-after vehicle for outdoor enthusiasts, daily commuters, and utility-driven drivers. It perfectly bridged the gap between a rugged, capable wagon and a versatile compact SUV. Known for its symmetrical all-wheel drive and its iconic, boxy greenhouse design, this generation of the Forester offers unparalleled 360-degree visibility. However, this expansive glass profile means that your vehicle's smaller, stationary windows—specifically the vent glass—are highly exposed to potential damage from flying highway gravel, trail debris, or unfortunate smash-and-grab break-ins. When the vent glass of your Forester shatters, it instantly compromises the security, structural integrity, and cabin weatherproofing of your prized vehicle.
Unlike the front windshield, which is made of laminated glass that holds together upon impact, the side vent glass on your 2003-2008 Subaru Forester is constructed from tempered safety glass. When breached, tempered glass is engineered to shatter into thousands of tiny, pebble-like shards. This necessitates a meticulous, professional replacement process. Because the SG Forester utilizes a unique frameless window design for its main roll-down door glasses, the stationary vent glass serves as a critical anchoring point for the complex weatherstripping system. A flawless installation is mandatory to prevent severe wind noise and water leaks. As a Master Technician at AlexWindshield, I have engineered a foolproof, rigorous protocol for executing the perfect Vent Glass Replacement for Subaru Forester 2003-2008.
Master Technician’s Step-by-Step Vent Glass Replacement Process
At AlexWindshield, we do not cut corners. Replacing the encapsulated vent glass on a 2003-2008 Subaru Forester requires a precise, A-to-Z technical approach to restore your vehicle to factory OEM specifications. Below is our comprehensive, step-by-step methodology.
Phase 1: Interior Protection, Door Panel Removal, and Meticulous Vacuuming
Because vent glass shatters into thousands of pieces, our absolute first priority is the safety and cleanliness of your Forester's interior. We begin by laying down heavy-duty protective drop cloths over your vehicle's seats, center console, and floor mats to protect the upholstery from abrasive glass shards and installation chemicals.
- Door and Trim Panel Removal: To access the inner workings of the window channel and the base of the vent glass frame, we carefully remove the interior door panels and surrounding plastic trim. Given that the plastics on a 2003-2008 Forester have aged over 15 years, our technicians use specialized non-marring pry tools to unclip the trim without cracking the brittle retaining tabs.
- Comprehensive Glass Extraction: Once the interior door panel is removed, the inner door cavity is exposed. We use an industrial, high-powered HEPA vacuum to extract every single piece of broken glass from the bottom of the door shell, the window tracks, the weatherstripping, and the cabin carpets. Leaving even a single shard inside the door cavity will cause an irritating rattle while driving and can potentially damage the window regulator mechanism of your main frameless windows.
Phase 2: Precision Removal of the Old Glass and Original Polyurethane
With the interior secured and the panels safely removed, we proceed to extract the remaining structural elements of the shattered vent glass.
- Cutting the Old Urethane: The stationary vent glass on the Forester is bonded directly to the vehicle's body frame using a strong automotive adhesive. We utilize specialized cold knives and heavy-duty braided wire tools to carefully slice through the factory polyurethane bead that holds the encapsulated vent frame in place.
- Protecting the Pinchweld: We execute this cutting process with surgical precision to ensure the metal pinchweld (the frame where the glass sits) is not scratched. Scratching the paint on the pinchweld can lead to aggressive rust formation down the road, which is a known issue for older Subaru models.
- Trimming the Base: We trim down the old, cured urethane bead to a flat base of approximately 1 to 2 millimeters. This thin layer of original urethane acts as an optimal bonding surface for the new adhesive application.
Phase 3: Deep Cleaning, Surface Preparation, and Chemical Priming
Preparation is the most critical phase of any auto glass replacement. Even the most expensive glass will fail if the bonding surface is contaminated.
- Decontamination: We thoroughly clean the trimmed pinchweld and the surrounding body panels using an alcohol-based, lint-free cleaning solution. This removes all traces of road dirt, grease, old window tint residue, and moisture.
- Glass Preparation: The new replacement vent glass is inspected for optical clarity and perfect encapsulation fitment. We scrub the bonding edge of the new glass with an aggressive glass prep solution to activate the surface for bonding.
- Chemical Priming: We apply a high-quality, scientifically formulated black urethane primer to any microscopic scratches on the metal pinchweld to permanently seal the metal against future rust. We also apply a specialized glass primer to the frit band (the black painted edge) of the new vent glass. We allow this primer to undergo its mandatory chemical flash-off time, ensuring it is perfectly dry and activated.
Phase 4: High-Quality Adhesive Application and Precision Glass Installation
The structural integrity of your Subaru Forester relies heavily on the quality of the urethane adhesive used during installation.
- Urethane Extrusion: We load a high-viscosity, fast-curing automotive polyurethane adhesive into a power caulking gun. Using a specialized V-notch applicator tip, we lay down a continuous, uniform "V-bead" of urethane along the vehicle's pinchweld. The V-shape is mathematically engineered to collapse perfectly when the glass is applied, creating a watertight, air-tight, and void-free seal.
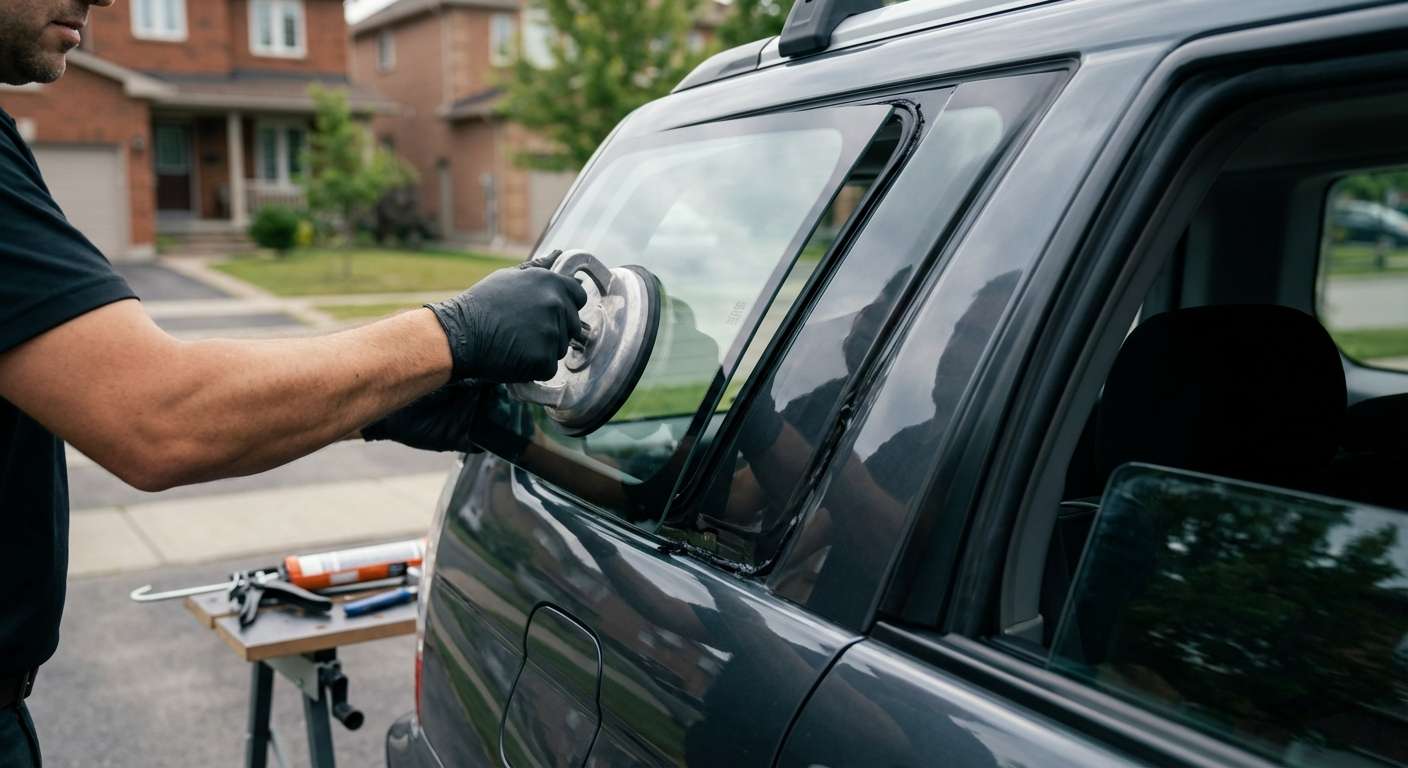
- Setting the Glass: Utilizing heavy-duty suction cups, our Master Technician carefully aligns the new vent glass with the complex weatherstripping of the Forester's frameless window system. The glass is firmly pressed into the urethane bead, ensuring it sits perfectly flush with the exterior bodylines.
- Securing the Alignment: We apply specialized retention tape to hold the vent glass firmly in place, preventing any microscopic shifting or sagging while the high-quality adhesive begins its chemical cross-linking and curing process.
Phase 5: Reassembly, Final Inspection, and Safe Drive-Away Curing
With the glass structurally bonded, we transition to restoring the vehicle to its fully functional state.
- Reinstalling Panels: We carefully reinstall the interior door panels, weatherstripping, vapor barriers, and interior plastic trim pieces, ensuring all retaining clips are securely fastened.
- Seal and Regulator Testing: We roll the adjacent frameless window up and down to guarantee there is zero friction or interference with the newly installed vent glass seal.
- Final Polish: The new vent glass, along with the surrounding windows, is cleaned with a streak-free, ammonia-free glass cleaner, leaving your Subaru Forester looking immaculate.
Premium Mobile Auto Glass Services Across the Greater Toronto Area (GTA)
At AlexWindshield, we understand that a shattered vent window is an urgent security risk and a massive inconvenience. That is why we bring our Master Technician expertise directly to your driveway, workplace, or emergency location through our state-of-the-art mobile auto glass replacement service.
Dedicated Service in Vaughan, Richmond Hill, and Markham
Our fleet of fully equipped mobile service vans proudly covers the entire Greater Toronto Area (GTA), with rapid deployment capabilities in key northern regions:
- Vaughan: Whether you are parked near Vaughan Mills or at a residential driveway in Woodbridge, our mobile units arrive with all the specialized tools, HEPA vacuums, and premium adhesives needed to perform a flawless vent glass replacement on-site. We secure your vehicle quickly so you can get back to your busy day.
- Richmond Hill: Navigating the bustling corridors of Richmond Hill means you cannot afford to leave your Subaru Forester vulnerable to the elements or theft. We offer priority dispatch to Richmond Hill, ensuring your broken vent glass is professionally vacuumed, removed, and replaced with zero hassle to your daily schedule.
- Markham: From the tech hubs to the historic main streets, our Markham clients trust us to deliver dealership-level precision right at their office parking lots. We handle the strict curing times and temperature requirements of our high-quality urethane to ensure your vehicle is safe to drive home on Highway 404 or 407.
Why Choose AlexWindshield for Your Subaru Forester?
Your 2003-2008 Subaru Forester is a resilient machine, and it deserves an auto glass service that matches its durability. By choosing AlexWindshield, you are not just getting a piece of glass; you are investing in Master Technician craftsmanship, premium OEM-quality materials, and localized expertise.
We pride ourselves on our transparent processes, meticulous shattered glass cleanup, and rigorous adherence to safety standards. Every single installation performed by our team is backed by our comprehensive industry-leading Lifetime Warranty, which guarantees our work against any air leaks, water leaks, or manufacturer glass defects for as long as you own your vehicle.
Do not let a shattered vent glass compromise the safety, security, and iconic look of your vehicle. Trust the leading experts in mobile auto glass repair across the GTA. Contact AlexWindshield today to schedule your expert Vent Glass Replacement for your Subaru Forester, and experience the ultimate standard in precision auto glass care.


