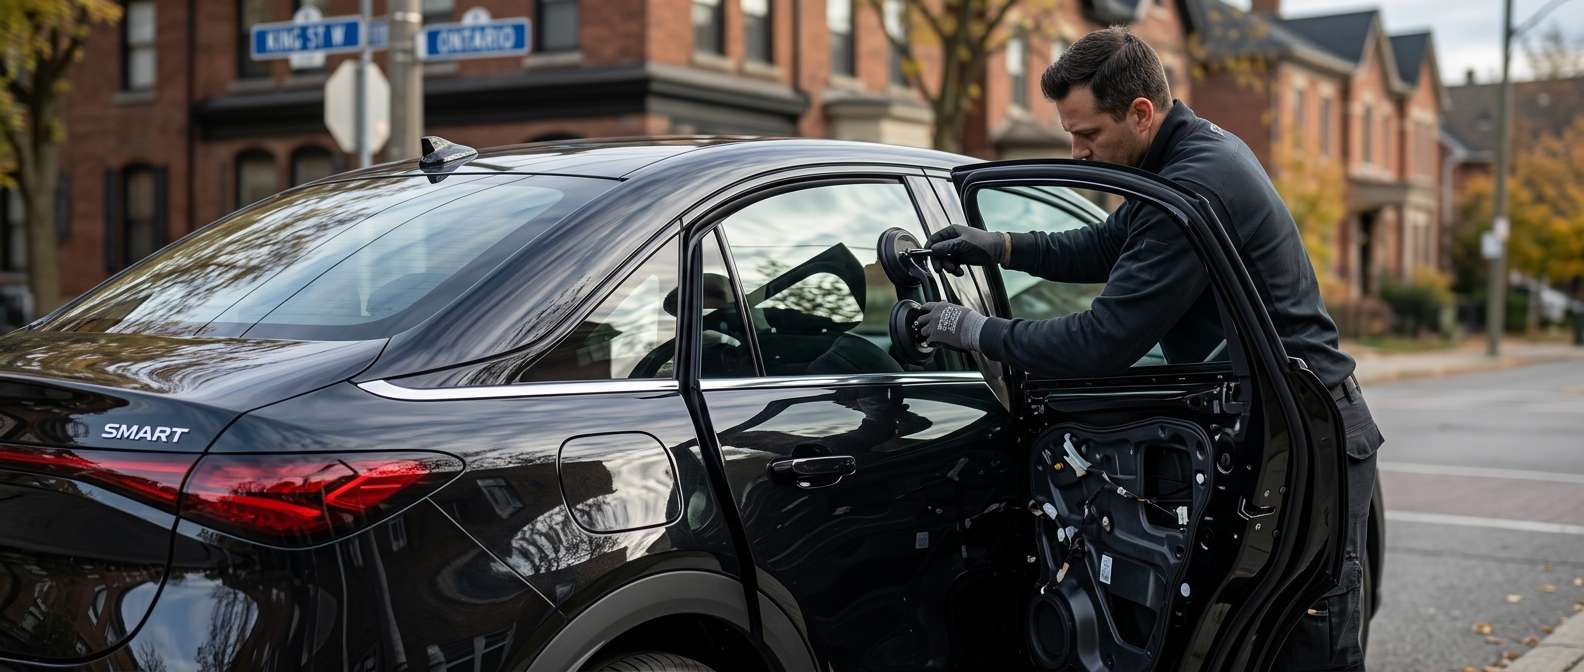
Frameless Door Glass Architecture on the Smart #6
When side window damage occurs on this fastback sedan, the immediate issue involves the frameless door glass setup developed under the Geely and Mercedes-Benz joint venture. Unlike standard sedans with rigid window frames, the door glass on this car stands unsupported along the upper perimeter and must slide precisely into heavy-duty multi-lip rubber edge seals mounted along the roof arch and the A, B, and C-pillars.
The front doors utilize acoustic laminated dual-pane glass treated with a solar-control green tint to filter ultraviolet rays and isolate cabin sound. The rear doors differ in layout: each side incorporates a lowering main pane set next to a fixed quarter glass, separated by an upright division bar. When swapping broken glass on either end, the sash clips must sit perfectly level on the regulator carriage. If the pane is tilted by even two millimeters, the edge will bind against the pillar rubber or fail to tuck cleanly underneath the roof seal when the door swings shut.
Short-Drop Window Indexing and Mechanical Integration
A critical operational component of this vehicle's side glass is the automatic indexing mechanism. Because the glass lacks a surrounding metal frame, the power-operated cable-driven window regulator commands the pane to lower a fraction of an inch the moment the exterior flush handle or interior release is pulled. Once the door latches back into the striker, the regulator pushes the pane back up into the deep roof weatherstrip recess.
I handle these replacements entirely through my mobile service, travelling directly to your driveway or workplace parking spot anywhere across Toronto and the GTA to replace shattered side panes on-site. Restoring this system requires precise pairing between the replacement pane, the waistline belt mouldings, and the door module programming. If the glass thickness deviates from the dual-pane acoustic front design or the single-pane rear configuration, the anti-pinch sensors can misread friction inside the vertical glass run channels as an obstruction, reversing the motor and leaving the cabin exposed to rain.
Post-Replacement Inspection Checklist
Once your new door glass is seated and secured, check these specific functions before driving to ensure the weatherproofing and electronic indexing perform correctly:
- Short-Drop Cycle: Open and close the door repeatedly from both inside and outside to confirm the glass drops slightly before the latch clears and drives upward tightly into the roof seal upon closing.
- Waistline Belt Moulding Alignment: Inspect the exterior rubber wipe seal at the base of the sill to verify it sits completely flat against the face of the glass without puckering or gaps.
- Division Bar Seating (Rear Doors): Check that the lowering rear pane travels up and down smoothly along the vertical division bar channel without catching the edge of the fixed quarter pane.
- Seal Seating at Highway Speed: Listen along the A-pillar and roofline for air hissing or wind buffeting that would indicate the top glass edge is sitting proud of the outer channel lip.
- Glass Tint Matching: Confirm that the green solar-control acoustic pane matches the factory shading of the opposite side door.
Winter Edge Freezing and Seal Care
Frameless glass assemblies are susceptible to winter issues where freezing rain or heavy frost bridges the gap between the lower waistline moulding, the upper pillar seals, and the glass pane. If ice locks the pane in place, the regulator motor cannot execute its short-drop sequence when you pull the handle, forcing the glass edge to drag hard against the body-mounted rubber moulding and risking stress fractures along the exposed top edge. Keeping the multi-lip body seals treated with a dedicated dry silicone conditioner prevents water accumulation from fusing the glass directly to the roof channels during sub-zero conditions.


