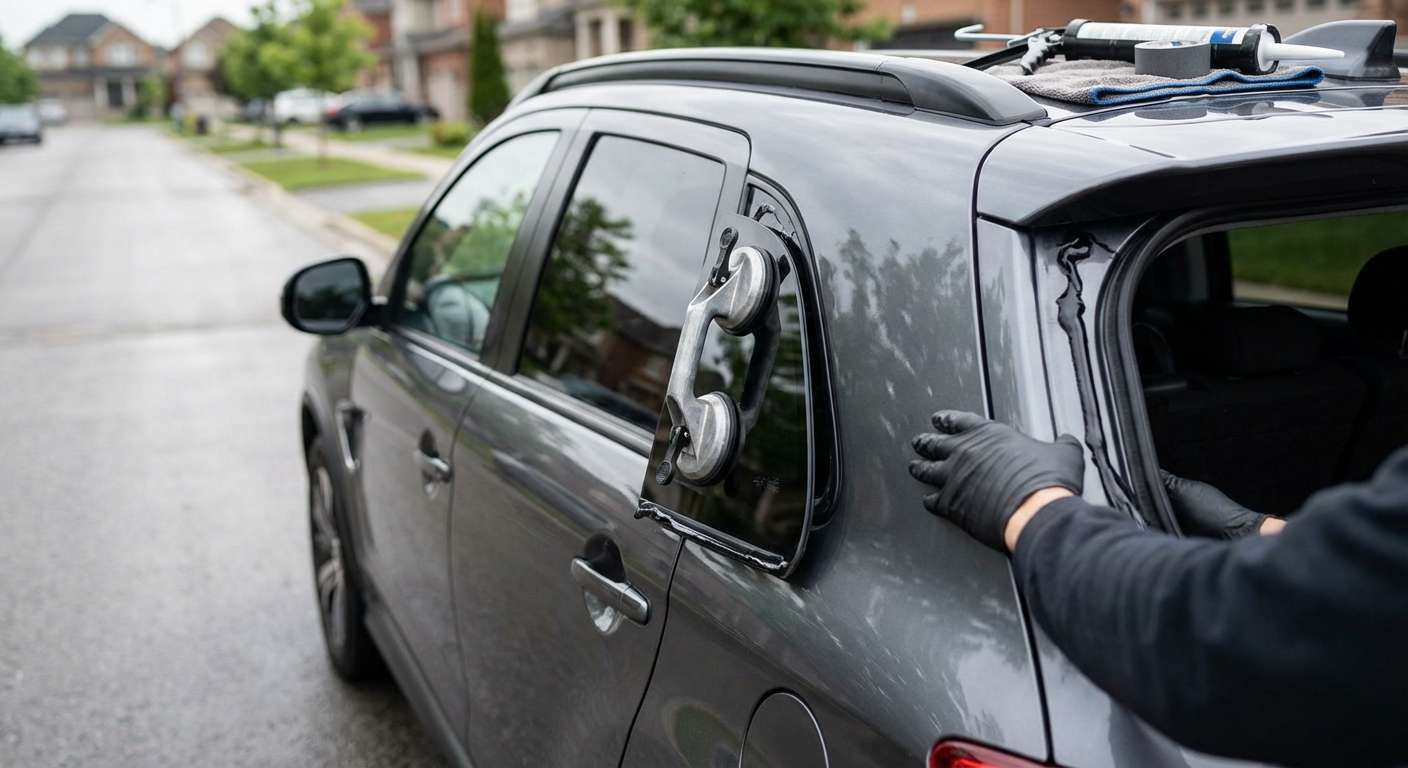
Distinct Beltline Mouldings and Encapsulated Quarter Glass
The compact Mitsubishi RVR (badged as the Outlander Sport south of the border) carries a sharply raked rear profile that separates it immediately from the larger three-row Outlander. Tucked tightly between the rear passenger door frame and the D-pillar right beside the liftgate aperture, this stationary glass panel does not roll down or vent. Because Mitsubishi engineered this panel as encapsulated tempered glass, the rubber perimeter moulding comes pre-bonded directly from the factory rather than sitting as a loose, separate weatherstrip.
Matching the replacement glass to your specific trim level comes down to the exterior finish along the bottom edge. While base trims like the ES utilize a flat black lower moulding, higher-tier editions such as the SE, SEL, or GT frequently feature bright chrome accent strips running beneath the glass to match the side window division channels. Beneath that cosmetic edge, the glass itself relies on standardized aftermarket industry part numbers: NAGS FQ25083 covers the right-hand passenger side, and NAGS FQ25084 covers the left-hand driver side (corresponding to factory references like 6121A304, 6121A488, and 6121A487). Most versions carry a factory-matched dark solar privacy tint, so verifying that your replacement piece matches the exact light transmittance of your opposite rear quarter window is critical before setting it into the pinch-weld.
Interior C-Pillar Clearances and Rear Quarter Structure
Replacing this glass demands precise interior clearance work inside the rear cargo bay. The interior C-pillar and D-pillar plastic trim wraps around the inner perimeter of the window aperture, overlapping the bonding plane. To access the perimeter properly without scarring the vehicle, I pull back the lower cargo side-wall panels and unseat the upper pillar trim. Mitsubishi uses rigid plastic retaining clips along these interior panels that turn notoriously brittle in lower temperatures, requiring controlled leverage so the trim mounts do not snap away from the quarter inner structure.
Whenever I handle an RVR or Outlander Sport, I back my installation craft with a lifetime guarantee against water leaks and bond separation, while the replacement glass panel itself is protected for one full year. The glass relies on solid, single-pane tempered safety glass with no defroster lines, light sensors, or forward-facing camera brackets to factor in. The key structural concern is purely physical alignment: ensuring the glass sits completely flush against the roof drip moulding strip at the top and lines up parallel with the rear door division channel at the front, preserving the vehicle's aerodynamic profile without whistling at highway speeds.
Inspection Checklist for the Outlander Sport and RVR Quarter Glass
Once your replacement quarter window is in place, walk around the rear corner of your crossover and run through these vehicle-specific checkpoints:
- Beltline Trim Continuity: Confirm that the lower moulding—whether black or chrome—sits on an uninterrupted, level horizontal line with the rear door glass trim directly forward of it.
- Upper Roof Drip Moulding Gap: Check the narrow reveal along the top edge to ensure the encapsulated rubber lip sits flush under the roof drip strip without buckling, pinching, or leaving exposed gaps.
- Privacy Tint Match: Look across the cargo area from one side of the vehicle to the other to confirm the dark solar tint on the new panel matches the factory darkness of the opposite quarter glass and liftgate window.
- Interior Cargo Trim Seating: Inspect the plastic interior panels around the rear quarter window inside the boot to make sure every retaining clip is fully engaged, with no loose seams or protruding edges near the rear seatbelt anchors.
- Liftgate Clearance: Open and close the rear hatch to verify that the outer edge of the hatch shell does not contact or rub against the trailing D-pillar edge of the new glass moulding.


