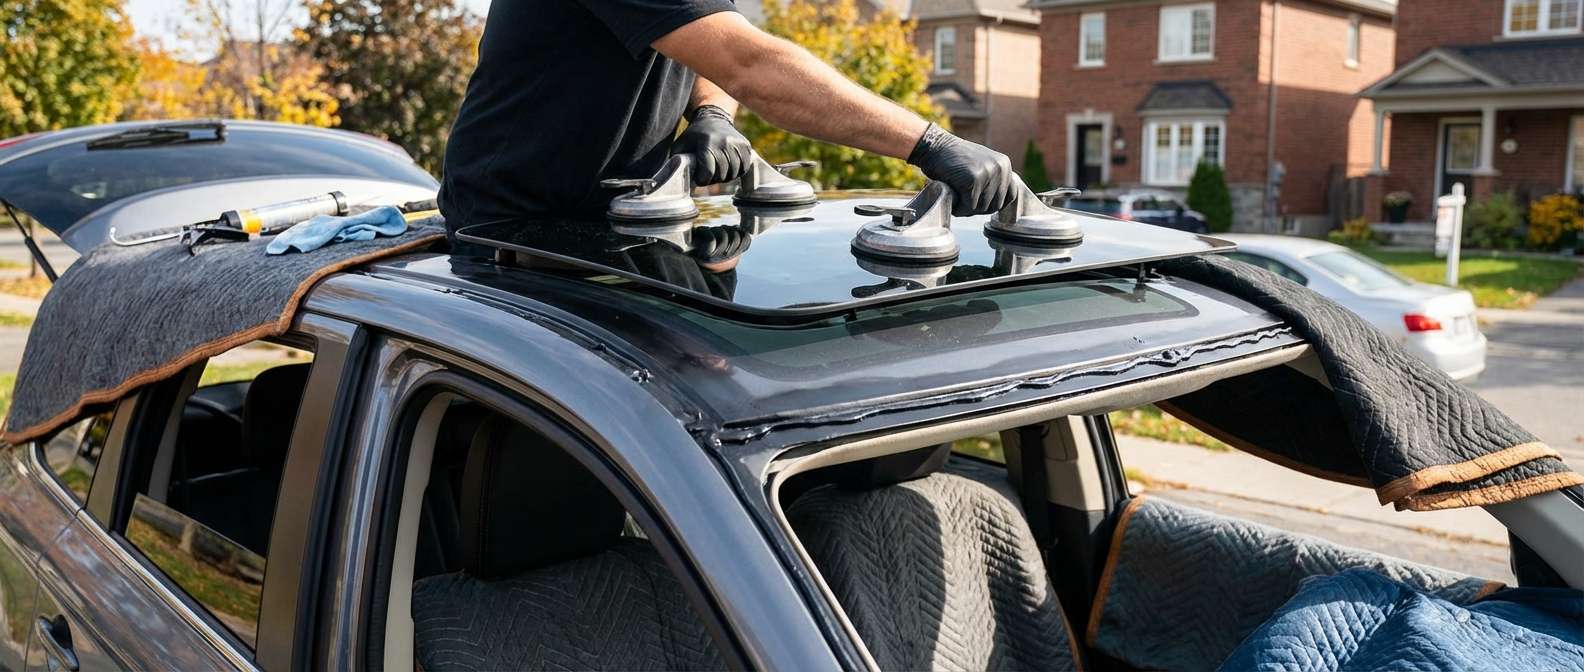
Checking the Replacement Lid Assembly and Brackets
Before any work begins on your roof, I unpack the replacement glass panel and inspect the hardware attached directly to it. On this third-generation platform, Mitsubishi designed the sunroof lid as a self-contained unit under OEM part number 5850A581 (which replaced the older 5850A269). The aftermarket panels built to match this assembly must come with the bonded metal side brackets already cured to the glass, as well as the dark solar-control tempered panel measuring roughly 860 mm by 450 mm. If those side brackets show any warping or uneven bonding height, the panel will fight the guide tracks every time it tries to tilt or slide.
I also inspect the perimeter rubber weatherstrip seal molded along the edge of the glass. Unlike panoramic roofs found on the smaller Outlander Sport / RVR, this is a traditional single-pane electric tilt-and-slide unit. The seal takes the brunt of exterior weather against the painted sheet metal roof opening, keeping heavy water away from the internal cassette tray and its four corner drain tubes. I bring my mobile setup directly to your driveway or workplace parking spot across Toronto and the GTA to replace this panel on-site, ensuring the new glass sits cleanly without pinching the headliner edges or the manual sliding sunshade resting beneath it.
Track Alignment, Flush Heights, and Pinch Reset
Mounting this glass panel involves securing side screws through oblong adjustment slots on the Outlander's lift arms. Setting the glass flush to the exterior sheet metal requires precise physical alignment; setting it a millimeter too low creates severe wind buffeting at highway speeds, while setting it too high forces water past the perimeter gasket into the A-pillar drain lines. The factory tolerance calls for the leading edge of the glass to sit slightly below or flush with the roof skin, while the trailing edge sits flush or marginally proud to deflect air over the gap.
Because the panel must be mechanically adjusted on its tracks, the sunroof motor often loses its position memory. The Outlander uses an electronic pinch-protection system that prevents the motor from crushing obstructions when auto-closing. Whenever the roof panel is loosened, re-torqued, or the battery is serviced, I run the mechanical reset sequence: holding the tilt switch upward until the motor cycles through its stop limits, locks in the open and close stops, and restores smooth one-touch operation across the GT, SEL Touring, or PHEV track assemblies.
Post-Replacement Inspection Checklist for Owners
- Flushness to Roof Skin: Sight down the roofline outside the vehicle. The front rubber edge should sit flush with the sheet metal, and the rear edge should not dip below the painted roof surface.
- Perimeter Gasket Uniformity: Check that the rubber seal is seated evenly on all four sides without bunching, gaps, or puckering in the rear corners.
- One-Touch Express Functions: Press the overhead console switch to verify that auto-open, auto-close, and full tilt-up execute smoothly without pausing or reversing halfway.
- Interior Sunshade Movement: Slide the manual interior shade back and forth by hand. It should move freely along its guides beneath the glass without binding or scraping against the lower bracket screws.
- Cabin Acoustic Seal: Drive at road speed with the sunshade pulled shut, listening for wind whistling or track rattles that signal an unevenly seated glass bracket.


