Restoring the Ninth-Generation Classic: Mitsubishi Galant 2004-2012 Vent Glass Replacement
The 2004 to 2012 Mitsubishi Galant represents an era of robust, reliable Japanese engineering, offering a spacious cabin and a smooth ride that still commands respect on the road today. Known for its distinct styling and dependable performance, the ninth-generation Galant is a fantastic daily driver. However, the peace of mind this sedan provides is instantly shattered when you walk out to your car and discover a broken vent glass. Often targeted by opportunistic thieves who mistakenly believe this small piece of glass is the cheapest and easiest access point, a shattered vent window actually exposes your vehicle to immediate security risks, severe weather elements, and a cabin filled with hazardous tempered glass debris.
As a Master Technician at AlexWindshield, I have witnessed the frustration that comes with this specific type of damage. Many vehicle owners assume that because the glass is small, the repair is simple. In reality, replacing the vent glass on a Mitsubishi Galant 2004-2012 requires a highly specialized, surgical procedure. Unlike a standard roll-up window, the vent glass is often tightly integrated into the door frame, secured by industrial-strength urethane, and bordered by a complex dividing bar assembly. Restoring your Galant’s structural integrity, security, and aesthetic appeal to factory-level perfection is an exact science—and it is exactly what we excel at.
Why Immediate Vent Glass Replacement is Critical for Your Galant
Driving with a compromised or missing vent glass is not just a cosmetic issue; it is a significant hazard. The longer you wait to secure professional vent glass replacement, the more vulnerable your vehicle becomes to compounding damages.
- Interior Water Damage: Even a minor rainstorm can introduce significant moisture into the cabin, leading to ruined upholstery, damaged door electronics, and the rapid development of toxic mold.
- Security Vulnerability: A patched or broken vent window is an open invitation for further vandalism and theft.
- Structural Integrity: Every piece of glass on your Galant plays a role in the vehicle's overall cabin rigidity.
- Cabin Noise and Climate Control: A missing vent glass destroys your cabin's acoustic insulation, resulting in deafening wind noise at highway speeds and rendering your heating and air conditioning completely ineffective.
The AlexWindshield Master Technician Process: Step-by-Step Vent Glass Replacement
At AlexWindshield, we do not cut corners. Our meticulous replacement process ensures that your Mitsubishi Galant 2004-2012 is treated with the utmost care. Below is the comprehensive, A-to-Z technical procedure we follow to execute a flawless vent glass replacement.
Step 1: Vehicle Assessment and Interior Protection
Before any tools are lifted, we conduct a thorough inspection of the damage. Tempered vent glass is designed to shatter into thousands of tiny, blunt pieces to prevent deep lacerations, but these shards scatter everywhere. Our first priority is protecting the interior of your Galant. We lay down heavy-duty protective covers over your plush seats, center console, and floor mats to ensure no further damage occurs to your vehicle's interior during the repair process.
Step 2: Interior Door Panel and Trim Removal
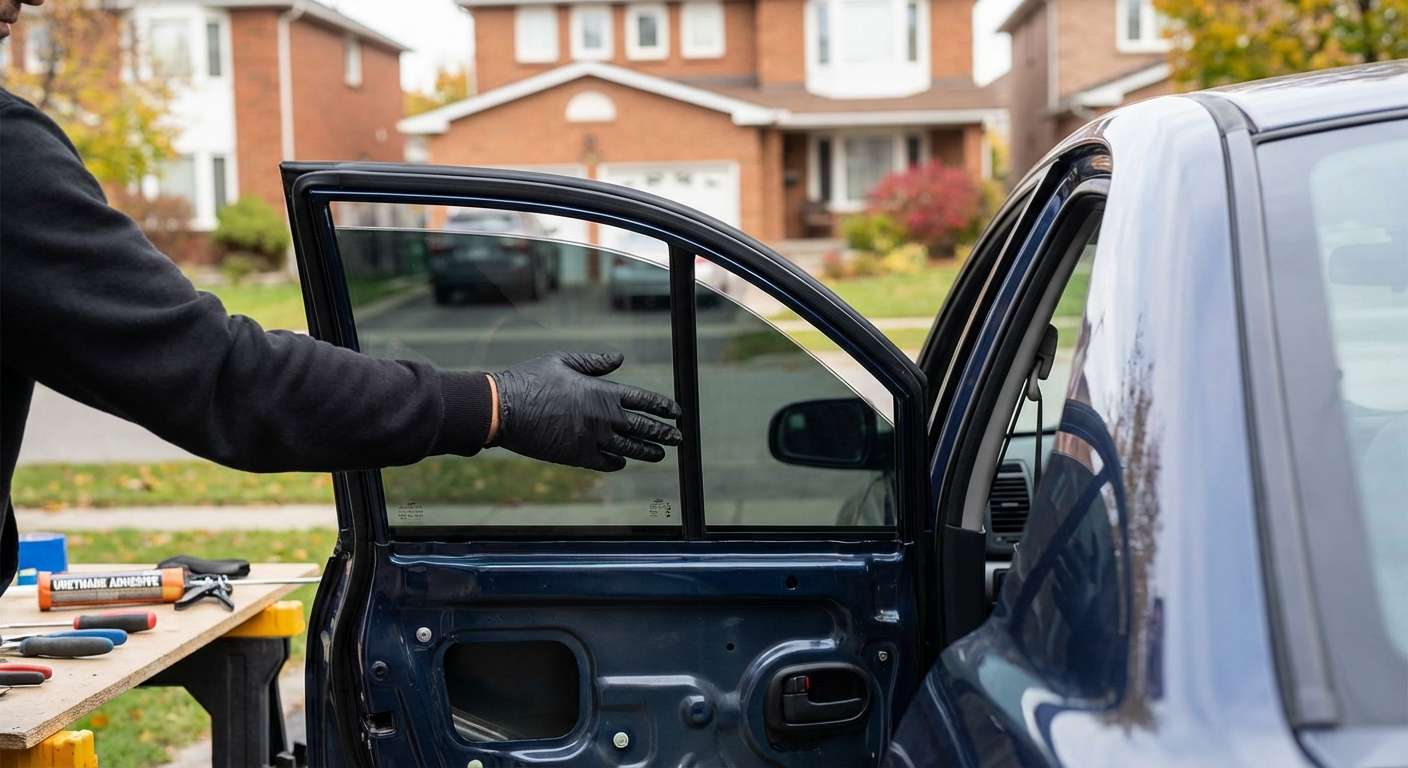
To access the structural frame of the vent glass, we must meticulously disassemble the interior door components. Using specialized, non-marring nylon pry tools, we carefully remove the interior door panel (door card) to expose the inner workings of the door. We carefully detach the window switch connectors, speaker harnesses, and the vapor barrier. Because the vent glass on a Mitsubishi Galant is separated from the main roll-up window by a vertical guide rail (the run channel), we must unbolt and carefully lower or remove this dividing bar to properly access the vent glass frame.
Step 3: Comprehensive Vacuuming of Broken Glass Shards
This is a critical step that separates amateur glass shops from Master Technicians. When a vent glass breaks, hundreds of glass shards fall deep into the internal cavity of the door structure. If ignored, these shards will create a highly irritating "rattling" or "maraca" sound every time you close the door or drive over a bump. Furthermore, stray glass can jam the regulator of your main roll-up window. We utilize high-powered, industrial-strength vacuums with specialized crevice attachments to extract every single piece of broken glass from the door cavity, the window tracks, the seats, and the floor carpets. We leave your interior completely spotless and hazard-free.
Step 4: Removing the Old Urethane and Frame Preparation
With the area clear and the dividing bar moved, we address the remains of the old glass and adhesive. Using precision cold knives and specialized auto glass cut-out tools, we slice through the factory polyurethane that held the original vent glass in place. We carefully pare down the old urethane bead to a thickness of about 1 to 2 millimeters. This thin base layer acts as an optimal bonding surface for the new adhesive. We then clean the exposed pinch weld (the metal frame of the vehicle) with high-grade, alcohol-based glass cleaners to remove all dirt, grease, and environmental contaminants.
Step 5: Primer Application for Optimal Adhesion and Rust Prevention
A flawless seal requires chemical perfection. If there are any bare metal scratches on the pinch weld resulting from the old glass removal, we apply a specialized anti-corrosion black body primer to prevent future rust development. Next, we prepare the brand new, OEM-equivalent vent glass. We clean the frit band (the black painted edge of the glass) and apply a specialized glass primer. This primer is essentially the chemical bridge that allows the structural adhesive to aggressively bond to the smooth surface of the new glass.
Step 6: Precision Installation Using High-Quality Adhesive
Once the primer has flashed (dried to the exact required specification), it is time to apply the adhesive. We use only premium, fast-curing, OEM-grade automotive polyurethane. Using a specialized caulking gun, we pump a continuous, uniform V-shaped bead of urethane along the prepared pinch weld. The new vent glass is then meticulously aligned and pressed firmly into the door frame. Due to the precise nature of the Galant’s door geometry, this requires a steady hand and expert alignment to ensure the glass sits perfectly flush with the exterior bodylines, ensuring zero wind noise or water leaks.
Step 7: Reassembly and Final Quality Inspection
While the high-quality adhesive begins its rapid curing process, we reverse the disassembly steps. We re-secure the vertical dividing bar, ensuring it is perfectly aligned so that the main roll-up window travels smoothly up and down its track. We reattach the moisture vapor barrier, reconnect all electronic wiring harnesses, and securely snap the interior door panel back into place, fastening all screws and trim covers. Finally, we conduct a rigorous quality control check. We test the functionality of the roll-up window, clean the new vent glass to a streak-free shine, and inspect the exterior seals to guarantee a watertight finish.
Premium Mobile Auto Glass Services Across the Greater Toronto Area (GTA)
Dealing with a shattered vent glass is stressful enough without the added burden of driving a vulnerable vehicle to a repair shop. At AlexWindshield, we bring the repair shop directly to you. Our fleet of fully equipped, state-of-the-art service vehicles provides premium mobile auto glass services right to your home, office, or emergency location across the Greater Toronto Area (GTA).
We understand that a shattered window in the GTA requires urgent attention due to unpredictable weather and security concerns. That is why we proudly offer priority, rapid-response dispatch specifically tailored for residents and professionals in Vaughan, Richmond Hill, and Markham. Whether you are parked in a commercial lot in Markham, an office building in Richmond Hill, or your residential driveway in Vaughan, our Master Technicians arrive promptly with the exact glass and materials required for your Mitsubishi Galant 2004-2012, ensuring your day is interrupted as little as possible.
Why Choose AlexWindshield for Your Mitsubishi Galant?
When it comes to the safety and integrity of your vehicle, you cannot afford to compromise. Here is why AlexWindshield remains the top-rated auto glass specialist in the region:
- Master Technician Expertise: Our technicians are rigorously trained and deeply experienced with the specific architectural nuances of the ninth-generation Mitsubishi Galant.
- OEM-Quality Materials: From the precise tint and curvature of the vent glass to the advanced chemical polymers in our urethane adhesives, we use only top-tier materials.
- Comprehensive Debris Removal: We don't just replace the glass; we ensure your safety by meticulously vacuuming all broken glass shards from your door cavity and cabin.
- Convenient GTA Mobile Service: Fast, reliable mobile service targeting major hubs including Vaughan, Richmond Hill, and Markham.
- Unbeatable Lifetime Warranty: We stand behind our craftsmanship. Every vent glass replacement comes with a robust Lifetime Warranty covering wind noise, water leaks, and manufacturer defects.
Contact AlexWindshield Today for Expert Vent Glass Replacement
Do not let a shattered vent glass compromise the safety, security, and comfort of your Mitsubishi Galant. Trust the experts who combine technical mastery with unparalleled customer convenience. For the most reliable, precise, and professional vent glass replacement in the GTA, look no further than our dedicated team.
AlexWindshield is your premier destination for exceptional mobile auto glass repair and replacement. Protect your vehicle and your peace of mind—contact us today to schedule your mobile appointment and experience the security of our industry-leading Lifetime Warranty!


