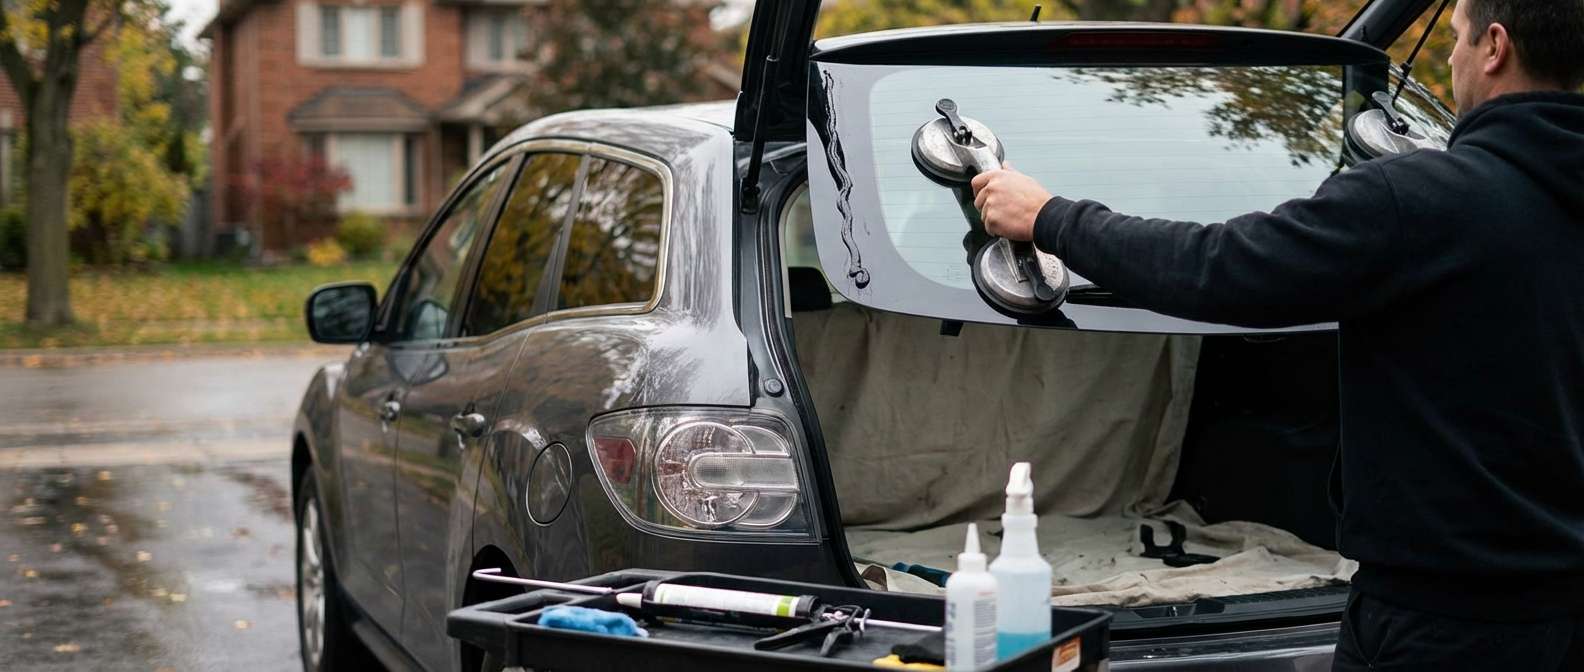
Restoring the Sleek Profile of Your Crossover: Expert Back Glass Replacement for the Mazda CX-7 (2007-2012)
When Mazda unleashed the Mazda CX-7 (2007-2012) onto the market, it disrupted the mid-size SUV segment by combining the aggressive, aerodynamic styling of a sports car with the practical utility of a crossover. The steeply raked rear roofline and expansive rear liftgate are central to the CX-7's distinct silhouette. However, that prominent rear hatch also means that the back glass is highly exposed to rear-end collisions, flying debris, vandalism, and extreme temperature fluctuations. Unlike front windshields, which are made of laminated glass designed to crack and spiderweb, the rear window of your Mazda CX-7 is constructed from tempered safety glass. When it sustains a critical impact, it doesn't just chip—it shatters completely into thousands of pebble-like shards, leaving the rear interior of your crossover completely exposed to the elements.
As a Master Technician at AlexWindshield, I have replaced countless rear windows on this specific Mazda platform. The CX-7 requires a highly specialized touch due to its integrated rear defroster grids, the rear wiper motor assembly mounted through the glass, and the complex interior liftgate panels that house critical electronics. Driving with a shattered back glass is not just a structural vulnerability; it compromises your visibility, ruins the climate control of your cabin, and poses a severe safety hazard due to loose glass fragments. That is why professional, immediate intervention is non-negotiable.
Why Trust AlexWindshield for Your Mazda CX-7 Rear Window Replacement?
Replacing the back glass on a 2007-2012 Mazda CX-7 is a delicate procedure that goes far beyond simply gluing a new pane of glass into a frame. It requires an intimate understanding of Mazda's engineering. At AlexWindshield, we combine top-tier Original Equipment Equivalent (OEE) and OEM glass with industry-leading polyurethane adhesives to ensure your crossover is restored to its factory structural integrity.
Furthermore, as the leading experts in mobile auto glass repair and replacement across the Greater Toronto Area (GTA), we understand that a shattered back window completely immobilizes your day. Driving a vehicle with a blown-out rear window to a shop is noisy, cold, and dangerous. We bring our fully equipped mobile workshop directly to your driveway, workplace, or emergency location, ensuring seamless service without the need for a tow truck.
The Critical Threat of Shattered Tempered Glass
Before diving into the installation process, it is essential to understand the nature of the damage. The back glass of the Mazda CX-7 2007-2012 is heat-tempered. When broken, it erupts into thousands of blunt glass nuggets. While designed to prevent sharp, guillotine-like shards from injuring passengers, these thousands of pieces immediately fall into the rear cargo area, wedge themselves into the rear seats, and most problematically, drop down into the internal cavity of the rear liftgate.
If these shards are not meticulously removed, they can jam the rear latch mechanism, causing your trunk to become stuck or fail to lock. Furthermore, residual glass trapped in the tailgate will create a maddening rattling sound every time you drive over a bump or open the hatch. As a Master Technician, my priority is not just fitting the new glass, but ensuring your Mazda is immaculately clean and functionally flawless before we hand the keys back.
Step-by-Step Back Glass Replacement Process for the Mazda CX-7
At AlexWindshield, we follow a rigorous, step-by-step protocol approved by the Auto Glass Safety Council (AGSC) to ensure every replacement is permanently sealed, structurally sound, and aesthetically perfect. Here is our A-to-Z Master Technician process for replacing the back glass on your 2007-2012 Mazda CX-7.
Step 1: Vehicle Preparation and Interior Protection
The very first step is damage control. We begin by laying down heavy-duty protective drop cloths over the exterior rear bumper and hatch paint to prevent any accidental scratches during the procedure. Inside the vehicle, we cover the rear cargo floor, the folded-down rear seats, and the surrounding side panels with protective blankets. We tape off the surrounding exterior body seams with automotive-grade masking tape to protect the clear coat from our cutting tools.
Step 2: Liftgate Panel Removal and Comprehensive Glass Vacuuming
This is arguably one of the most vital steps in a back glass replacement. We carefully unclip and remove the interior plastic trim panels from the inside of the CX-7's liftgate. Using specialized trim removal tools, we detach the upper surround, the side pillars, and the large lower tailgate panel without breaking the fragile plastic retaining clips. Once the internal cavity of the door is exposed, we use a high-powered, industrial shop vacuum with specialized micro-crevice nozzles to extract every single shard of broken glass from the bottom of the door shell, the latch mechanisms, and the surrounding weather stripping. We also thoroughly vacuum the rear cargo area of the crossover to ensure the safety of your passengers and pets.
Step 3: Disconnecting Hardware and Rear Wiper Assembly Removal
The Mazda CX-7 features a rear wiper arm that mounts directly through a designated hole in the back glass. We carefully uncap the wiper arm nut, remove the 10mm retaining nut, and use a specialized gear puller to slide the wiper arm off its splines without damaging the motor. Next, we locate and disconnect the wiring harnesses for the rear window defroster grids. If the vehicle is equipped with an integrated radio antenna in the glass, those terminal connectors are also safely unplugged and tucked away.
Step 4: Cutting Out the Old Adhesive Bead
Although the glass has shattered, the original polyurethane adhesive bead—and likely a jagged ring of broken glass still attached to it—remains firmly bonded to the vehicle's metal pinch weld. Using an advanced cold knife or a specialized wire-cutting system, we meticulously cut through the factory urethane around the entire perimeter of the liftgate. This releases the remaining glass frame, which is carefully discarded into our recycling bins.
Step 5: Pinch Weld Preparation and Surface Cleaning
A new window will only bond properly to a perfectly prepared surface. We use a high-carbon scraper to trim down the existing urethane bed to a uniform thickness of 1 to 2 millimeters. This "close cut" method provides the ideal base for the new adhesive to grip. We then thoroughly clean the pinch weld using a lint-free cloth and an alcohol-based, residue-free glass cleaner to remove dirt, grease, and microscopic debris. If there are any bare metal scratches on the pinch weld left from the cutting process, we apply a specialized anti-corrosion body primer. This prevents rust from forming under the new glass, which could cause leaks years down the line.
Step 6: Priming and Prepping the New Mazda CX-7 Back Glass
We unwrap the new, premium OEE back glass and inspect it thoroughly under specialized lighting to ensure there are no manufacturing defects, distortions, or scratches. The inner bonding band (the black frit band around the edge of the glass) is scrubbed with a specialized glass prep cleaner. Once dry, we apply a highly reactive glass primer to the frit band. This primer is essential; it creates a chemical reaction that allows the polyurethane adhesive to permanently fuse with the molecular structure of the glass.
Step 7: Application of High-Quality Urethane Adhesive
Using an electric, battery-operated caulking gun, we apply a continuous, thick bead of premium, fast-curing automotive polyurethane adhesive directly over the trimmed original urethane on the pinch weld. We ensure the bead has a perfect "V-shape" profile, which is critical for creating a watertight, aerodynamic seal when the glass is compressed into place. The quality of the adhesive used by AlexWindshield guarantees rapid curing, meaning your vehicle will meet strict Safe Drive Away Time (SDAT) standards rapidly, regardless of the Canadian weather.
Step 8: Precision Installation of the New Glass
Utilizing heavy-duty vacuum suction cups, two Master Technicians carefully lift the new back glass and align it precisely over the rear liftgate opening. We ensure the glass is perfectly centered, with even gaps on all sides. The glass is gently pressed into the wet polyurethane bed. We secure the glass with specialized retention tape that holds the heavy pane firmly in place, preventing it from sliding down the steep angle of the CX-7's hatch while the adhesive begins to cross-link and cure.
Step 9: Reassembly and Final Systems Testing
With the glass firmly set, we begin the reassembly process. The interior liftgate trim panels are carefully popped back into their retaining slots. The defroster tabs are reconnected to the new glass grids, and we test the circuit with a multimeter to ensure the rear defrost function is fully operational. We re-install the rear wiper motor gasket, mount the wiper arm back onto its splines, torque the retaining nut to factory specifications, and test the wiper sweep to ensure it glides smoothly over the new glass. Finally, all exterior drop cloths are removed, the new glass is polished to a brilliant shine, and the interior cargo area is given one last inspection and vacuum.
Premier Mobile Auto Glass Services Across the Greater Toronto Area (GTA)
At AlexWindshield, we know that driving a Mazda CX-7 with a blown-out back window on the busy highways of the Greater Toronto Area (GTA) is simply not an option. That is why our entire business model is built around mobile convenience. You do not have to disrupt your schedule or brave the elements to get premium auto glass service.
Our fleet of fully stocked, climate-controlled mobile service vans operates daily across the GTA. Whether you are parked in a commercial lot in Vaughan, sitting in your residential driveway in Richmond Hill, or working at an office park in Markham, our Master Technicians will come directly to you. We bring the exact same precision tools, premium glass, and high-quality adhesives that you would find in a brick-and-mortar dealership, delivering factory-quality results right at your doorstep. We proudly service all local regions, ensuring that drivers in Vaughan, Richmond Hill, Markham, and beyond never have to wait long for emergency glass replacement.
Choose AlexWindshield: Your Trusted Expert with a Lifetime Warranty
Your Mazda CX-7 (2007-2012) deserves the hands of a true professional. Improper back glass installation can lead to severe water leaks, electrical failures in the defroster system, and a weakened vehicle structure in the event of a rollover. By choosing AlexWindshield, you are investing in the unparalleled expertise of dedicated Master Technicians who treat every vehicle as if it were their own.
We are so confident in our precision, our materials, and our step-by-step methodology that every single back glass replacement we perform comes backed by the AlexWindshield Lifetime Warranty. This industry-leading guarantee covers you against any air leaks, water leaks, or manufacturer defects in the glass for as long as you own your vehicle. When disaster strikes your crossover's rear window, do not settle for less. Contact AlexWindshield today—the GTA's most trusted name in mobile auto glass solutions—and let us restore the safety, security, and sleek styling of your Mazda CX-7.


