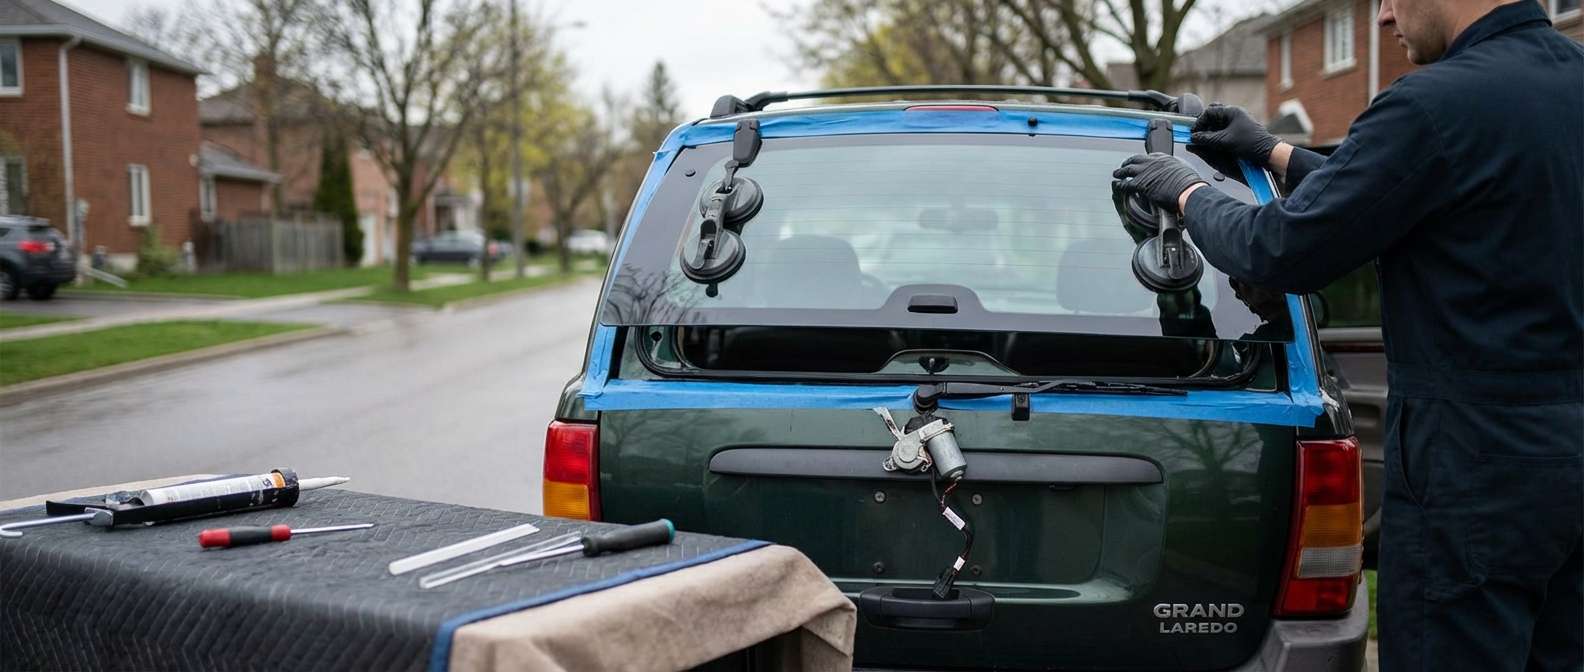
Why WJ Flipper Glass Breaks and Fails
The independently opening liftgate window on this vehicle exposes the rear pane to mechanical stresses that fixed, glued-in back glass never encounters. Because the tempered glass operates as a movable hatch, it relies on two top-mounted cast aluminum hinges directly bolted through pre-drilled holes in the panel (often matching NAGS benchmark DB09680 with factory privacy tint). Over time, road grime and galvanic corrosion seize the hinge pivot pins. When you lift the glass by its lower release handle, the bound hinges exert massive torsional leverage directly into the glass mounting points, resulting in sudden shattering rather than a smooth upward swing.
Hardware failures compound the problem. The dedicated pneumatic lift support struts lose hydraulic pressure, allowing the heavy frameless glass to slam downward onto the metal striker and lower latch assembly. That impact regularly shatters the lower edge or breaks the glass around the mounting holes for the latch and exterior handle (factory part 55136048). Furthermore, the electrical defroster tabs soldered onto the vertical busbars frequently tear away when bound wiring catches during glass operation, disabling the heating grid across Laredo, Limited, and Overland trims alike.
Hardware Transfer and Liftgate Alignment Nuances
Replacing this rear window requires completely dismantling and transferring the mechanical operating hardware to the replacement panel. Unlike glued rear windshields, this setup uses no urethane adhesive; the tempered glass seals mechanically against a perimeter bulb weatherstrip (Mopar 55363160AD / 55136053AC) mounted to the steel liftgate shell flange.
| Component | Mounting Location | Function & Potential Failure Points |
|---|---|---|
| Upper Hinges (e.g., 5019419AA) | Upper glass drill holes to liftgate header | Hinged pivot; prone to binding, seizing, and cracking glass under torque. |
| Pneumatic Glass Struts | Mid-panel ball studs to liftgate inner frame | Counterbalances glass weight; weak gas charges drop glass onto the latch. |
| Lower Latch & Striker | Bottom center pass-through | Secures flipper window; faulty switches trigger false gate-ajar alerts. |
| Defroster Terminals | Left and right interior glass edges | Powers rear grid; solder joints snap under wire tension during lift cycles. |
When I align the new glass against the upper liftgate frame below the Center High-Mounted Stop Lamp, every through-bolt requires exact isolation bushings so metal never contacts bare tempered edges. I back my workmanship with a lifetime guarantee alongside a one-year warranty on the replacement glass panel itself. Correct mechanical tension ensures the latch engages cleanly without requiring excessive slam force that could fracture the new pane.
Post-Replacement Inspection Checklist for Owners
Once your new rear liftgate glass is installed, check these specific vehicle functions to verify proper mechanical and electrical operation:
- Open the glass independently using the exterior release button above the license plate to confirm the latch unhooks smoothly without binding.
- Verify that both pneumatic gas struts hold the glass fully open at the top of its stroke without sagging or dropping.
- Inspect the contact line along the perimeter bulb weatherstrip to ensure continuous, even compression with no gaps that could leak rainwater into the spare tire well.
- Check your dashboard display to confirm the "Rear Gate Ajar" warning lamp turns off immediately when the glass clicks shut.
- Turn on the rear defogger switch inside the cabin and monitor the horizontal grid lines across the privacy tint to ensure uniform melting across all heating traces.
- Examine the clearance between the top edge of the glass and the upper liftgate sheet metal header directly beneath the third brake light housing to confirm the hinges sit square.


