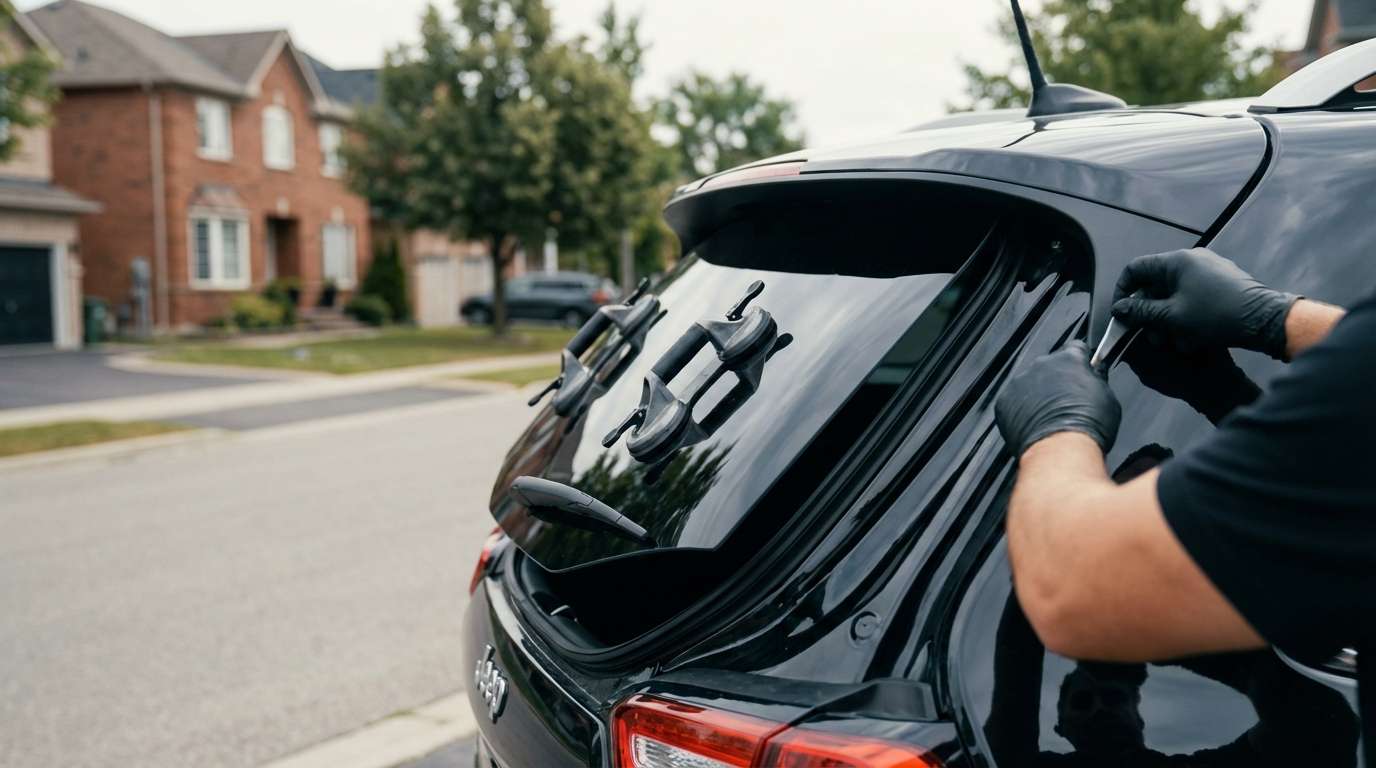
Mastering the Jeep Cherokee 2014-2023 (KL) Back Glass Replacement
The 2014-2023 Jeep Cherokee (internally designated as the KL generation) shattered compact crossover conventions with its polarizing, futuristic front fascia and an exceptionally aerodynamic rear liftgate. As a Master Technician at AlexWindshield, I can attest that the sculpted rear profile of the Cherokee KL is a marvel of modern automotive design, but it also presents a highly specific set of challenges when the rear window is compromised. Unlike a front windshield that cracks and webs, the back glass of your Cherokee is manufactured from tempered safety glass. When struck by a stray rock on the highway or compromised during a break-in, it doesn't just chip—it instantly detonates into thousands of tiny, granular glass cubes that infiltrate every crevice of your cargo area and liftgate shell.
Restoring the structural integrity, visual clarity, and electrical functionality of your Jeep's rear end requires far more than simply gluing on a new pane of glass. It demands a meticulous, surgical approach. From safely dismantling the interior liftgate trim to properly calibrating the rear wiper geometry and securing the defogger circuits, our specialized Jeep Cherokee KL back glass replacement process is designed to return your vehicle to its precise factory specifications.
Your Premier Local SEO Auto Glass Experts in the Greater Toronto Area
When you are driving with a blown-out back window, the last thing you want to do is navigate highway traffic while exposed to the elements. That is why AlexWindshield brings our state-of-the-art auto glass shop directly to your driveway. We provide comprehensive, rapid-response mobile auto glass services across the entire Greater Toronto Area (GTA).
Whether you are parked at a shopping plaza in Vaughan, at your home driveway in Richmond Hill, or at your corporate office in Markham, our fully equipped mobile service vehicles arrive on-site with the exact glass and specialized tools required for your 2014-2023 Jeep Cherokee. We understand the distinct weather patterns of the GTA, which is why we utilize advanced, temperature-adaptive urethanes that cure safely in the unpredictable Ontario climate, ensuring your vehicle is road-ready in record time.
Understanding the Complexity of Your Cherokee's Rear Glass
The rear window of the KL Cherokee is not merely a piece of tinted glass; it is a complex, integrated automotive component. A successful installation requires expert handling of three critical features:
- Thermal Defrost Grid: The integrated heating elements must be flawlessly reconnected to the Jeep's electrical harness to ensure rapid defrosting during harsh Canadian winters.
- Rear Wiper Integration: The glass features a precisely drilled mounting point for the rear wiper motor shaft. Misalignment by even a millimeter can cause wiper binding or severe water leaks.
- Privacy Tint and Acoustic Properties: We utilize OEM-equivalent or better automotive glass to match the factory privacy tint level (usually 20% VLT) and maintain the Cherokee's quiet cabin acoustics.
The A-to-Z Master Technician Replacement Process
At AlexWindshield, we never cut corners. Our comprehensive, step-by-step back glass replacement protocol guarantees a leak-proof, factory-quality finish for your 2014-2023 Jeep Cherokee.
Step 1: Vehicle Preparation and Interior Protection
Before any tools are utilized, we prioritize the protection of your Jeep's interior and exterior paint. We begin by applying protective automotive tape around the perimeter of the liftgate opening to guard the clear coat against any accidental tool strikes. Inside the cabin, we lay down heavy-duty protective tarps over the rear cargo floor, fold down the rear seats, and cover the upholstery to catch any rogue glass fragments that may dislodge during the initial teardown.
Step 2: Liftgate Disassembly and Component Removal
Because the Cherokee's rear window is deeply integrated into the liftgate, we must carefully strip down the interior of the hatch. Using specialized, non-marring nylon pry tools, we meticulously remove the plastic interior liftgate trim panels. This exposes the inner cavity of the door. Next, we disconnect the wiring harness for the rear defroster grid. We then unbolt the rear wiper arm from the exterior, open the hatch, and remove the wiper motor assembly from its mounting bracket inside the door, safely storing it aside.
Step 3: Comprehensive Glass Shard Evacuation and Vacuuming
This is arguably the most crucial step in a tempered back glass replacement. We deploy high-powered, industrial shop vacuums equipped with specialized micro-nozzles to extract every single piece of shattered glass. We vacuum the main cargo area, the folded seat crevices, and most importantly, deep inside the hollow cavity of the metal liftgate. We manually articulate the liftgate up and down several times to force hidden glass shards out of the metal seams, ensuring you will never hear an annoying rattle when you open and close your trunk in the future.
Step 4: Extracting the Old Polyurethane Bead
With the workspace cleared of debris, we focus on the pinch weld (the metal frame where the glass sits). A layer of old, hardened factory polyurethane adhesive remains stuck to the vehicle. Using advanced cold-knife extractors and precision heavy-duty scrapers, we pare down the existing urethane bed to a uniform thickness of approximately 1-2 millimeters. Leaving this thin, smooth base layer of original urethane is a best practice, as it provides the ultimate bonding surface for the fresh adhesive.
Step 5: Meticulous Surface Cleaning and Priming
Any dirt, glass dust, or grease on the pinch weld will compromise the new seal. We clean the entire perimeter with a specialized, alcohol-based auto glass foaming cleaner. Once sterile, we inspect the metal for any bare scratches that may have occurred during the glass breakage. We apply a highly advanced automotive glass primer to these areas, as well as to the frit band (the black painted edge) of the new glass. This black primer acts as a critical adhesion promoter and absolutely prevents future rust formation on your Cherokee's liftgate.
Step 6: High-Quality Adhesive Application
With the surfaces prepped and primed, we load a specialized power caulking gun with premium, fast-curing automotive polyurethane adhesive. As a Master Technician, I utilize the industry-standard "V-bead" extrusion method. By applying the urethane with a triangular peak, we ensure that when the glass is pressed into place, the adhesive collapses evenly outward, creating an impenetrable, uniform, leak-proof barrier against wind and water.
Step 7: Precision Glass Installation
Timing is critical once the urethane is applied. Using heavy-duty vacuum suction cups, two technicians carefully lift the new Jeep Cherokee back glass. We align the top edge perfectly with the upper liftgate roofline and gently set the glass into the fresh urethane bed. We apply firm, even pressure around the entire perimeter to seat the glass, then secure it with specialized retention tape to prevent any micro-shifting while the urethane begins its initial chemical cure.
Step 8: Electrical Reconnection and Reassembly
Once the glass is locked into position, we reverse the teardown process. We carefully feed the wiper motor shaft through the specialized grommet in the new glass, securely bolting the motor and reattaching the exterior wiper arm. We meticulously clean the defroster contact tabs and reconnect the electrical spades. Finally, we snap the interior liftgate trim panels back into place, ensuring every retention clip seats perfectly with a solid 'click'.
Step 9: Final Diagnostics and Cleanup
Before handing the keys back, we test all rear-end functionalities. We activate the rear wiper to ensure smooth, unobstructed rotation. We turn on the rear defroster and use an infrared thermometer to verify that the thermal grid is actively heating. We finish with a final application of streak-free glass cleaner on both sides of the new window and a last sweep of the vacuum through the interior.
Essential Post-Installation Care in the GTA
Your new back glass requires a brief period of aftercare to ensure the polyurethane achieves its maximum tensile strength. We advise all our clients in Vaughan, Richmond Hill, and Markham to adhere to the following guidelines for the first 24 to 48 hours:
- Observe the Safe Drive-Away Time: Depending on the ambient temperature in the GTA, allow the vehicle to sit for at least 1 to 2 hours before driving.
- Leave a Window Cracked: Roll down one of your side windows about an inch. The Jeep Cherokee has a tightly sealed cabin; shutting doors with all windows up creates a massive spike in cabin air pressure that can push the new back glass outward and break the fresh urethane seal.
- Avoid High-Pressure Washes: Do not take your vehicle through automated or high-pressure car washes for at least 48 hours. Normal rain will not harm the curing process, but high-pressure jets can penetrate the un-cured seal.
- Leave the Tape On: Keep the blue retention strips on the glass for a minimum of 24 hours to ensure perfect alignment.
Trust AlexWindshield for Unmatched Auto Glass Expertise
Your 2014-2023 Jeep Cherokee (KL) is an exceptional vehicle that demands exceptional care. Don't trust your safety and your vehicle's interior to cut-rate shops that skip crucial steps like inner-door vacuuming or rust-preventative priming. Choose the master technicians at AlexWindshield for premium, hassle-free auto glass replacement.
We are incredibly proud to be the most trusted name for mobile auto glass services in the Greater Toronto Area. Whether you need us in Markham, Richmond Hill, or Vaughan, we deliver unparalleled craftsmanship directly to your door. Best of all, every single back glass replacement we perform is backed by our comprehensive Lifetime Warranty against leaks, whistling, and workmanship defects. Contact AlexWindshield today, and let our experts restore your Jeep Cherokee to showroom condition with precision, convenience, and absolute peace of mind.


