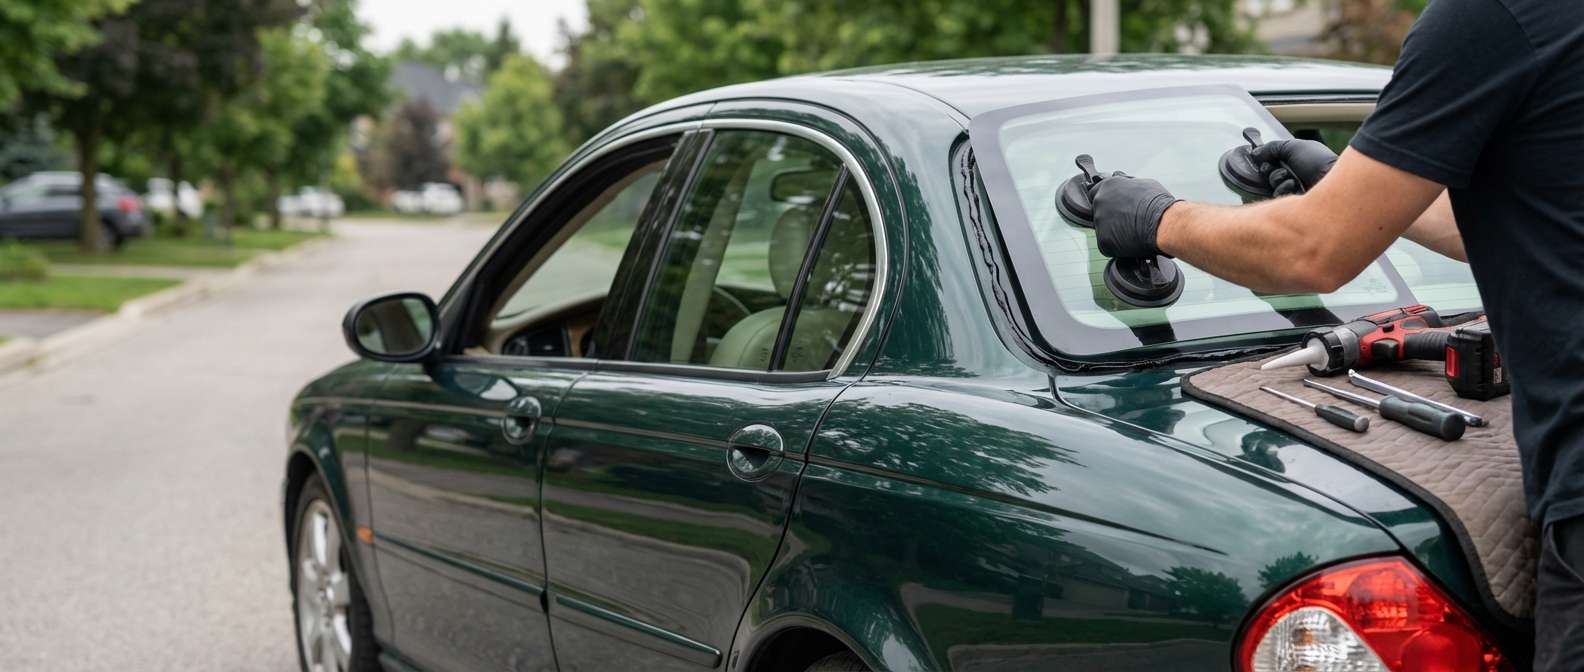
Sedan C-Pillar Fixed Glass versus Estate Door Quarter Lights
Replacing the rear side glass on this model requires identifying whether you have the traditional four-door saloon or the five-door estate that arrived for 2004. On the saloon, the quarter window is an encapsulated glass unit bonded directly into the body aperture of the C-pillar, positioned just behind the trailing edge of the rear passenger door. The estate uses a completely different setup: its rear passenger door incorporates a division-bar quarter vent light, while a separate, larger cargo pane sits further back in the load bay. For the saloon, the factory replacement pieces carry part numbers C2S23198 (left) and C2S23197 (right) for black finishes, switching to C2S49742 and C2S49741 for chrome. If you drive the estate, the rear passenger door glass alone requires part numbers C2S19492 on the left or C2S19491 on the right.
The saloon glass comes out of the box with pre-moulded perimeter encapsulation that includes integrated locating nibs. These nibs ensure the green-tinted tempered pane sits flush within the body recess and aligns precisely with the edge of the rear parcel shelf and the exterior metal waistline. Because it is purely an optical pane to eliminate blind spots, there are no embedded radio antennas, defroster lines, or wiper park elements to plug in, but achieving the correct gap between the glass edge and the rear door shut-face requires matching the original factory offset.
Exterior Trim Finishes and TSB XT501-31
The trim surrounding the C-pillar quarter window defines the visual line of the rear roof pillar, varying by whether the car left the factory in Sport trim or luxury specifications like the Sovereign. Sport models feature matte or gloss black perimeter mouldings, while standard and Sovereign cars feature bright chrome waist finishers. These lower strips are notorious for issues over time. Jaguar issued Technical Service Bulletin XT501-31 to address problems where the exterior finisher at the base of the quarter glass detached or rattled loose at cruising speeds, introducing whistling cabin drafts and letting water settle behind the body aperture flange.
I usually arrive at your door roughly an hour after you call in your booking, equipped with the exact moulding variant needed to match your car's exterior brightwork. When replacing this window, the delicate retention clips securing the lower trim strip demand extra care; they frequently fatigue or break due to internal corrosion from years of road salt exposure underneath the aluminum-backed rubber waist seal. If these clips are stressed, the trim will not snap securely against the new encapsulation, recreating the loose-trim issue highlighted in the bulletin.
Post-Installation Inspection Checklist
Once the replacement glass is installed in the vehicle, inspect these specific fitment points before taking it out on the road:
- C-Pillar Trim Flushness: Look down the vehicle's beltline to confirm the lower black or chrome finisher sits completely flat without bowing away from the metal body flange.
- Lower Clip Engagement: Gently press on the forward corner of the bottom finisher near the door gap to verify the retention clips from bulletin XT501-31 are fully locked.
- Door Gap Clearance: Open and close the rear passenger door to ensure the rear door frame and weatherstrip clear the encapsulated front leading edge of the new quarter glass.
- Interior C-Pillar Panel Alignment: Check inside the cabin to see that the cloth-covered interior C-pillar trim and parcel shelf edge sit tight against the glass frit with no gaps showing bare pinchweld.
- Ceramic Frit Uniformity: Look through the exterior perimeter to ensure the black ceramic frit completely masks the interior mounting flange evenly around the perimeter.


