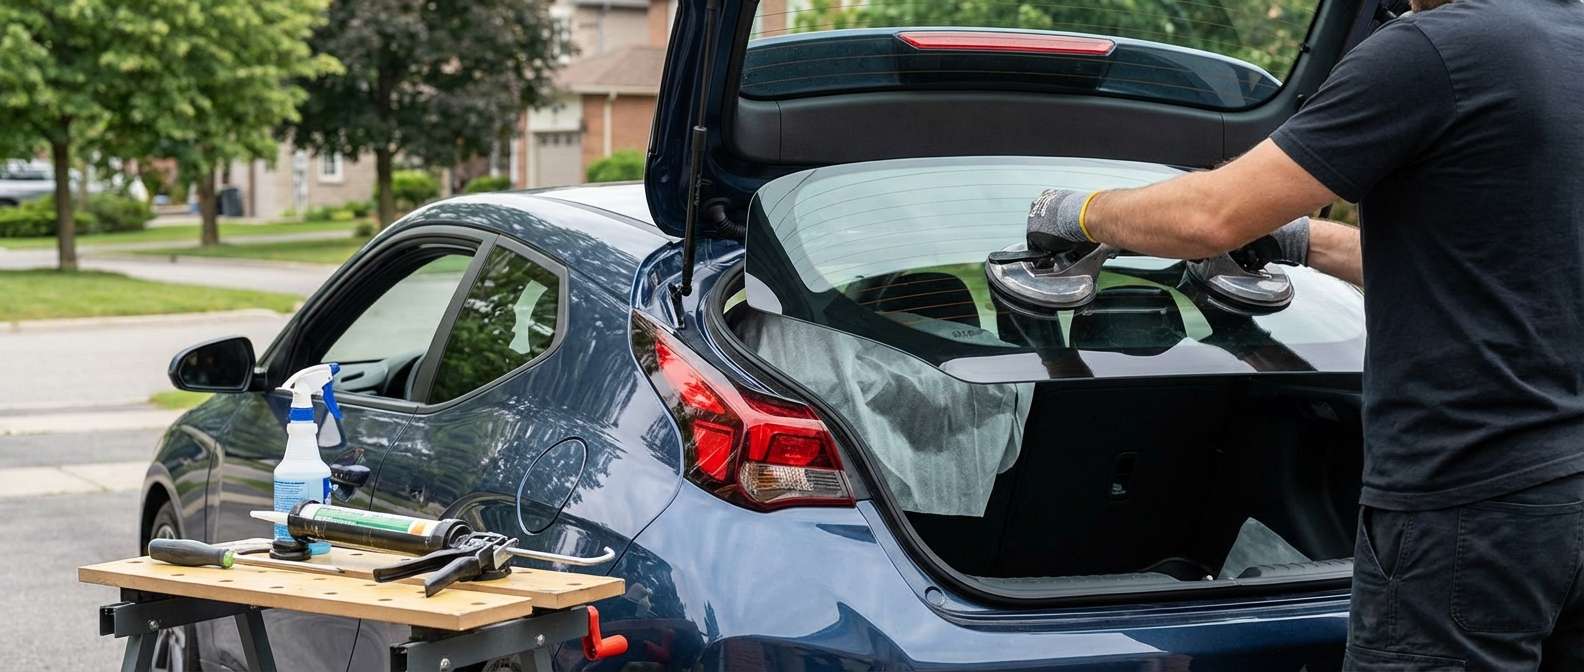
Identifying the Hatch Glass on Your Veloster
When you look at the rear of your car, the most critical detail determining your replacement back glass is the rear wiper hole cutout. Standard trim levels—such as the 2.0 Base, Premium, Turbo, and Turbo Ultimate—feature a wiper arm that passes directly through a factory-drilled port in the lower edge of the backlite using a rubber grommet (OEM series 98713-2V000). The Veloster N performance model, by contrast, sits beneath an aggressive double-deck rear spoiler with a triangular third brake light and often requires verifying whether your specific build maintains this lower through-glass wiper assembly or demands distinct glass edge clearances beneath the N wing.
This single-piece stationary backlite (cataloged under NAGS benchmark FB27055) marks a complete departure from the split dual-window hatch seen on 2012–2017 Veloster models, which relied on an upper window and a lower vertical tailgate pane. On these later models, you have a unified, steeply raked pane of tempered safety glass that terminates just above the hatch release handle and rear backup camera housing. Before ordering glass, you will want to verify your trim package, examine whether the glass incorporates the diversity antenna grid intertwined with the upper defroster lines, and check the harness condition at the roof hinge bellows.
Defroster Grids, Hatch Spoilers, and Thermal Breakage
Because of the aggressive slope of the roofline and thick rear C-pillars, this backlite handles substantial sun exposure alongside heavy liftgate vibrations. The glass is equipped with horizontal electric defogger grid lines with soldered spade terminals. Many owners report sudden rear glass shattering on cold mornings, which is often tied to rapid thermal cycles when the defroster activates over localized stress points, or fatigue from the hatch slamming against direct stops.
Whenever I replace one of these rear windows, I provide a one-year warranty on the aftermarket glass itself alongside my lifetime guarantee covering the workmanship of the seal and installation. This coverage protects you against adhesive failures or water leaks around the complex perimeter reveal mouldings and upper spoiler overhang.
Post-Replacement Inspection Checklist
Once your new back glass is set into the liftgate frame, walk around the rear of your car and review these specific functional points before driving:
- Wiper spindle alignment: Ensure the rear wiper post is centered perfectly through the lower glass grommet without metal-on-glass contact, and verify the wiper arm sweeps smoothly across the heated surface.
- Spoiler and CHMSL clearance: Inspect the upper glass border beneath the roof spoiler (or the Veloster N bi-wing) to confirm uniform gap spacing around the High-Mounted Center Stop Light housing.
- Defroster heating performance: Turn on the rear defogger switch inside the cabin and confirm all horizontal lines heat evenly without isolated cold bands or burning smells at the electrical terminals.
- Antenna reception: Test both AM and FM radio bands to ensure the integrated upper diversity grid is pulling clear signals without static.
- Hatch release and camera operation: Verify that the push-button hatch release and backup camera—both seated directly below the bottom edge of the glass—function without binding against the lower urethane line.
- Interior liftgate trim fitment: Check that the plastic interior trim panels snapped back tight around the glass perimeter without pressing directly against the inner defroster spade connectors.


