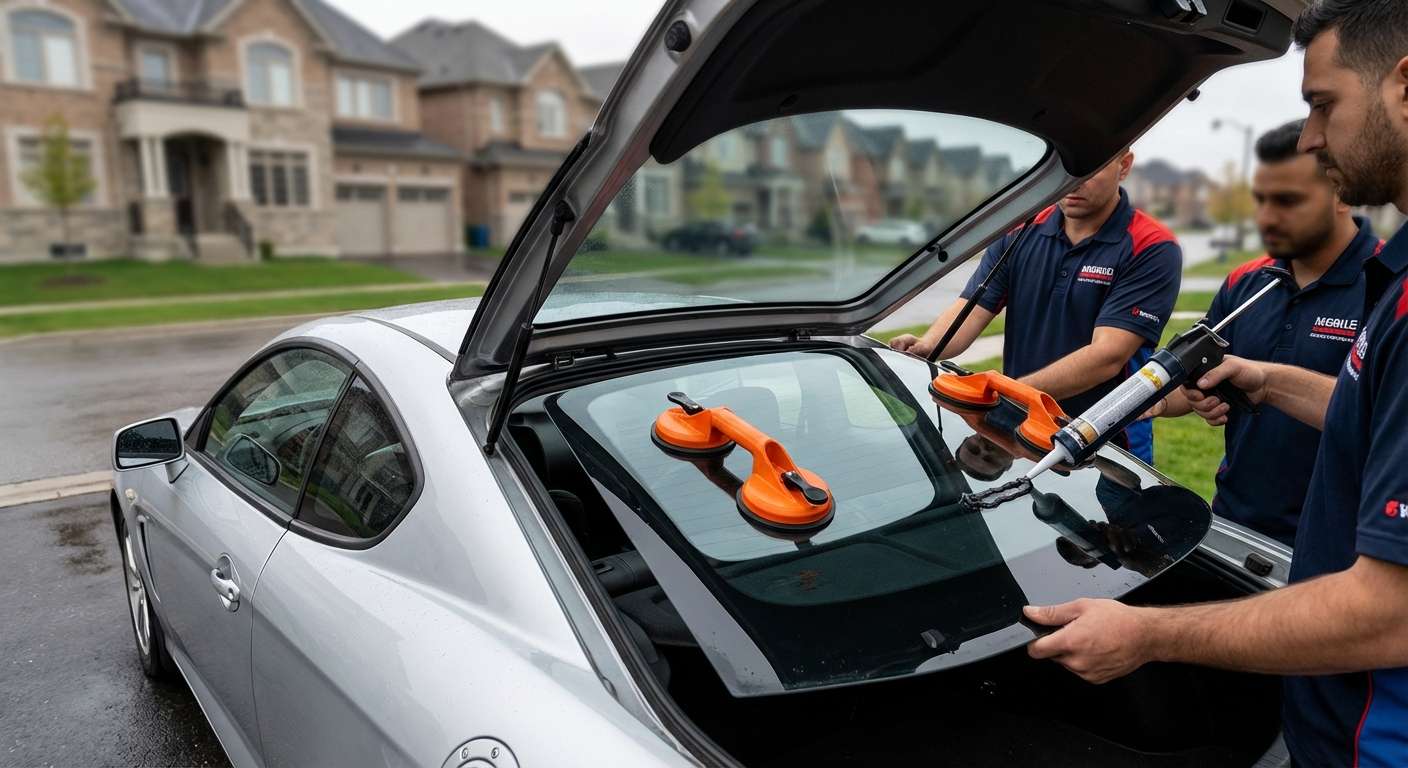
Hyundai Tiburon 2003-2008 Back Glass Replacement: Restoring Your Sport Coupe's Signature Profile
The 2003-2008 Hyundai Tiburon, belonging to the celebrated "GK" generation, is renowned for its aggressive, shark-inspired styling and sweeping aerodynamic liftback design. While this iconic sloping rear profile gives the sports coupe its striking silhouette, it also means the expansive back glass is heavily exposed to the elements, road debris, and structural stress. When this massive, curved piece of tempered glass shatters, it does not just crack like a standard windshield; it explodes into thousands of tiny, granular pieces. This instantly compromises your vehicle's security, exposes your pristine interior to harsh weather, and creates a significant driving hazard. At AlexWindshield, we understand the specific engineering nuances of the classic Hyundai Tiburon and possess the master-level expertise required to execute a flawless rear glass restoration.
Why Choose AlexWindshield for Your Hyundai Tiburon Auto Glass Needs
Replacing the back glass on a specialized hatchback coupe like the 2003-2008 Hyundai Tiburon requires more than just standard auto glass knowledge. It demands meticulous attention to detail, high-grade materials, and an intimate understanding of the vehicle's liftgate mechanics. As a premier provider of mobile auto glass services across the Greater Toronto Area (GTA), AlexWindshield brings the auto glass shop directly to your driveway, workplace, or emergency location. Our highly equipped mobile fleet frequently operates throughout the region, with dedicated rapid-response technicians specifically serving Vaughan, Richmond Hill, and Markham.
When you choose us, you are guaranteed:
- OEM-Equivalent Quality: We source top-tier, precision-curved glass that perfectly matches the factory specifications of the 2003-2008 Tiburon, ensuring a watertight seal and flawless aerodynamics.
- Advanced Urethane Systems: We use industry-leading, fast-curing polyurethane adhesives that guarantee maximum structural integrity and a rapid Safe Drive-Away Time (SDAT).
- Unmatched Local Convenience: Whether you are parked near a busy plaza in Markham, at your home in Vaughan, or at a corporate office in Richmond Hill, our mobile service comes to you at no extra hassle.
- Master Technician Expertise: Every installation is overseen and executed by highly trained professionals who treat your classic sports coupe with the utmost respect and care.
The Anatomy of the Tiburon's Rear Glass: Why Tempered Glass is Different
Unlike front windshields, which are made of laminated safety glass designed to stay intact upon impact, the back glass of the 2003-2008 Hyundai Tiburon is manufactured from tempered safety glass. Through extreme heating and rapid cooling during manufacturing, tempered glass is engineered to possess immense tensile strength. However, when the surface tension is broken by a sharp impact, the entire pane shatters instantly into thousands of dull, pebble-like shards. This prevents dangerous, jagged shards from injuring occupants, but it creates a massive mess inside the vehicle's cabin and hatch area. Furthermore, the Tiburon's back glass features an integrated thermal defroster grid, requiring careful electrical disconnection and reconnection during the replacement process.
Step-by-Step Back Glass Replacement Process for the Hyundai Tiburon
As a Master Technician at AlexWindshield, I adhere to a strict, rigorous A-to-Z protocol to ensure your Hyundai Tiburon is restored to factory-new condition. A back glass replacement on a hatchback involves complex preparation, extensive cleaning, and precision installation. Here is our comprehensive, step-by-step methodology:
Step 1: Pre-Inspection and Extensive Interior Protection
Before any tools are utilized, we perform a thorough pre-installation inspection. We examine the vehicle's liftgate frame for any pre-existing rust, dents, or paint damage. Once documented, we heavily protect the vehicle. We lay down heavy-duty protective drop cloths over the Tiburon's exterior paint, rear bumper, and taillights. Inside the cabin, we drape protective covers over the rear bucket seats and the cargo area to prevent any rogue adhesive or debris from damaging the upholstery.
Step 2: Interior Hatch Panel Removal and Deep Vacuuming
Because tempered back glass shatters into thousands of pieces, simply installing a new window is only half the job. Shards inevitably fall into the internal cavities of the liftgate door. We begin by carefully removing the interior plastic hatch panels and tailgate trim using specialized non-marring pry tools. This allows us access to the inner workings of the rear door. We then deploy high-powered industrial vacuums to extract every single piece of broken glass from the vehicle's interior. We thoroughly vacuum the trunk bed, beneath the spare tire cover, inside the rear seat crevices, and deep within the metal shell of the hatch door. Removing the door panels and trim is absolutely critical; failing to do so leaves trapped glass shards that will rattle annoyingly every time you drive or close the trunk.
Step 3: Disconnecting Electronics and Removing the Damaged Glass
With the trim panels removed, we carefully disconnect the wiring harnesses for the rear window defroster grid. Next, we address the perimeter of the broken glass. Even though the center has shattered, a jagged ring of glass typically remains glued to the vehicle's pinch weld. Using a combination of a specialized cold knife and an advanced wire-cutting system, we meticulously slice through the original, hardened factory polyurethane adhesive to cut out the remaining glass ring without scratching the vehicle's painted frame.
Step 4: Pinch Weld Preparation and Surface Cleaning
Once the old glass frame is removed, we prepare the bonding surface. We use specialized scraper blades to trim the old polyurethane bead down to a thin, uniform base layer of approximately 1 to 2 millimeters. This process, known as "full cut," is essential because new adhesive bonds best to a clean, tightly adhered layer of old adhesive. We then brush away all dust and thoroughly clean the entire pinch weld area using an alcohol-based, lint-free automotive glass cleaner to remove any dirt, oils, or moisture.
Step 5: Primer Application
If any bare metal was exposed during the removal of the old adhesive, we immediately apply a specialized anti-corrosion pinch weld primer. This step is non-negotiable, as it prevents rust from forming beneath the new glass—a common cause of future water leaks and structural failure. Simultaneously, we clean the black ceramic frit band on the inside edge of the brand-new 2003-2008 Hyundai Tiburon back glass and apply a specialized glass prep and primer. This chemical activator ensures the new urethane adhesive bonds aggressively to the glass surface.
Step 6: Urethane Adhesive Extrusion
Using a heavy-duty, battery-operated caulking gun, we extrude a thick, continuous "V-bead" of high-quality, fast-curing automotive polyurethane adhesive around the perimeter of the vehicle's pinch weld. The height, angle, and consistency of this bead are crucial; it must be perfectly uniform to ensure a watertight seal and to properly support the heavy, sweeping curve of the Tiburon's liftback glass. We utilize premium urethanes that cure rapidly, regardless of temperature or humidity.
Step 7: Precision Installation of the New Rear Glass
The 2003-2008 Tiburon rear glass is large, heavy, and awkwardly shaped. Using industrial-grade suction cups, two master technicians carefully lift the new glass pane into position. We align the glass perfectly with the roofline and the lower hatch frame before gently pressing it down into the fresh urethane bed. We ensure the glass is seated at the exact factory depth, securing it with specialized retention tape to prevent any slipping while the adhesive begins its initial curing phase.
Step 8: Reassembly, Defroster Connection, and Final Clean-Up
Once the glass is locked in place, we reconnect the electrical terminals for the rear defroster, ensuring the circuit is fully operational for those cold Canadian mornings. We then carefully snap the interior hatch panels and trim pieces back into their exact factory positions. A final, meticulous round of vacuuming is performed to guarantee your interior is pristine. Finally, we clean the new back glass with a streak-free foaming cleaner and wipe down the vehicle's exterior.
The Importance of Professional Service in the GTA
Driving with a shattered or improperly installed back glass in the Greater Toronto Area (GTA) is a recipe for disaster. The unpredictable weather—from freezing rain in Markham to blistering summer heat in Vaughan—will quickly exploit a poorly sealed window. A compromised back glass not only leads to severe water damage and mold inside your Tiburon's cabin, but it also disrupts the vehicle's structural integrity. Because the liftgate of a hatchback takes the brunt of air pressure changes and physical slamming, the urethane bond must be flawless. Trusting a master technician ensures your vehicle can withstand the rigors of daily commuting on the DVP, the 404, or the 400 highway.
Book Your Hyundai Tiburon Back Glass Replacement Today
Do not let a shattered rear window ruin the sleek, aggressive aesthetic of your 2003-2008 Hyundai Tiburon. When disaster strikes, you need a team that combines technical mastery with unparalleled convenience. AlexWindshield is your trusted expert for mobile auto glass services across the GTA, bringing top-tier replacement solutions directly to your doorstep in Richmond Hill, Vaughan, Markham, and beyond.
We pride ourselves on executing every job with absolute precision, utilizing only the finest glass and adhesives on the market. Furthermore, we stand firmly behind our craftsmanship. Every back glass replacement performed by AlexWindshield is backed by our comprehensive Lifetime Warranty, which guarantees your new installation against any air leaks, water leaks, or manufacturer defects for as long as you own the vehicle. Reclaim your safety, your comfort, and your coupe's signature style today. Contact AlexWindshield to schedule your professional mobile back glass replacement.


