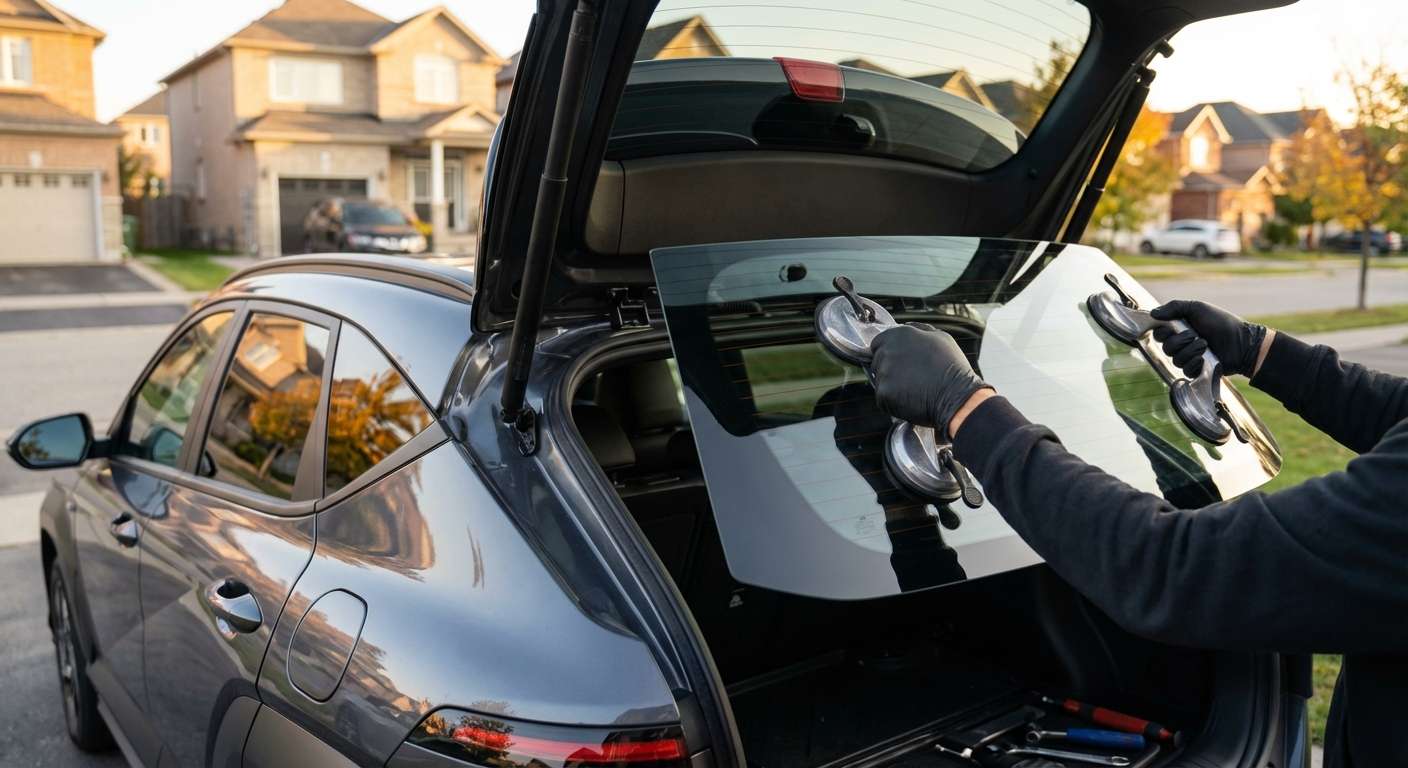
Expert Hyundai Kona 2024-2027 Back Glass Replacement Services
The 2024-2027 Hyundai Kona generation introduced a bold, futuristic exterior overhaul, defined by its striking "Seamless Horizon" LED light bar and a sharply sculpted, aerodynamic rear liftgate. While this dynamic and aggressive redesign turns heads on every street, the heavily raked back glass is intricately integrated into the vehicle's structural profile. When a severe weather event, a rogue piece of highway debris, or an unfortunate break-in shatters this critical piece of auto glass, you need much more than a generic repair—you need the specialized touch of a Master Technician. The rear hatch of the new Kona is a complex assembly of heating elements, wiper mechanics, and modern trim styling that requires absolute precision to restore.
The Unique Engineering of the 2024-2027 Hyundai Kona Rear Hatch
Unlike the laminated safety glass used in front windshields, the rear window of your Hyundai Kona is manufactured using tempered glass. By design, tempered auto glass shatters into thousands of tiny, blunt, pebble-like pieces upon impact. This is a crucial safety feature to prevent large, dangerous shards from harming passengers, but it creates a massive cleanup operation when compromised. Furthermore, the 2024-2027 Kona models feature advanced rear defroster grids meticulously printed onto the inner layer of the glass, perfectly contoured to the expanded dimensions of the new generation's wider liftgate. Replacing this glass requires a deep understanding of Hyundai's specific electrical connections and trim retention systems.
Unmatched Mobile Auto Glass Service: Vaughan, Richmond Hill, and Markham
A shattered back window leaves your highly-valued crossover completely exposed to the elements and presents an immediate safety and security hazard. Driving with compromised rear visibility, missing glass, or a cabin exposed to wind and road debris is never recommended. That is exactly why AlexWindshield brings our premier auto glass repair shop directly to your location.
We provide top-tier, fully equipped mobile auto glass services across the Greater Toronto Area (GTA). We have tailored our rapid-response mobile units specifically for residents, commuters, and professionals located in Vaughan, Richmond Hill, and Markham. Whether your Hyundai Kona is parked securely in a residential driveway in Richmond Hill, at a busy shopping plaza in Vaughan, or sitting in an office parking lot in Markham, our Master Technicians arrive with the exact high-quality glass and premium materials needed to complete a flawless replacement on-site.
Step-by-Step Back Glass Replacement Process for the Hyundai Kona
As a Master Technician at AlexWindshield, I strictly adhere to manufacturer-approved procedures for every 2024-2027 Hyundai Kona back window replacement. The integrity of your vehicle's cabin and the functionality of its rear hatch depend on meticulous preparation, flawless execution, and premium adhesives. Here is our detailed, A-to-Z technical process:
Step 1: Vehicle Assessment and Interior Protection
Before any tools touch your vehicle, a thorough damage assessment is conducted. Because tempered glass shatters explosively, shards are often propelled throughout the entire rear cabin. We begin by applying high-tack protective automotive tape around the painted edges of the rear liftgate to prevent any accidental scratches during the extraction process. We then lay heavy-duty protective covers over your Kona's rear seats, cargo area, and exterior bumper.
Step 2: Tailgate Panel Removal and Hardware Disconnection
The back glass on a Hyundai Kona cannot be properly replaced from the outside alone. I carefully remove the interior plastic liftgate trim panels using specialized, non-marring nylon pry tools. Popping these retention clips safely ensures no interior plastics are cracked or stressed. Once the inner mechanics are exposed, I carefully disconnect the wiring harnesses for the rear window defroster grids, the third brake light housing (if applicable), and unbolt the rear windshield wiper arm and motor assembly. Freeing up this hardware is essential for a clean installation.
Step 3: Comprehensive Shattered Glass Vacuuming
This is one of the most vital steps in any rear glass replacement. Tempered glass shards will fall down into the hollow cavity of the Kona's metal tailgate. If left inside, these fragments will create an incredibly irritating rattling sound every time you open the hatch or drive over a bump in the GTA. Using a high-powered industrial shop vacuum with specialized micro-crevice nozzles, I extract every single piece of broken glass from:
- The internal drop-cavity of the metal liftgate door.
- The rear cargo floor, spare tire well, and surrounding carpet.
- The crevices of the folded-down rear passenger seats.
- The weatherstripping channels along the exterior window frame.
Step 4: Old Urethane and Pinch Weld Preparation
With the shattered glass fully cleared, the next step is addressing the structural frame—known as the pinch weld. The original factory glass was bonded to the vehicle using a thick bead of urethane adhesive. Using precise cold-knife tools and specialized auto glass power extractors, I carefully cut away the old adhesive bead, trimming it down to a thin, uniform baseline of about 1 to 2 millimeters. This existing base layer provides the ideal bonding foundation for the fresh adhesive.
Step 5: Surface Cleaning and Advanced Primer Application
The metal pinch weld and the remaining urethane track are meticulously cleaned using an alcohol-based prep solvent to remove dirt, glass dust, and natural oils. If any microscopic scratches were made to the paint during the old adhesive removal, I immediately treat the exposed metal with a specialized, anti-corrosive black auto glass primer. This prevents rust from forming beneath the new window over time. Furthermore, the black ceramic frit band on the edge of the new, premium replacement glass is rigorously cleaned and primed to activate the chemical bonding agents.
Step 6: High-Quality Urethane Adhesive Application
A back glass replacement is only as strong as the adhesive holding it. At AlexWindshield, we utilize only the highest grade, fast-curing automotive polyurethane adhesive available in the industry. Using an electric caulking gun for perfect consistency, I apply a continuous, precisely measured triangular V-bead of urethane directly onto the pinch weld. The height and width of this bead are mathematically calculated to match Hyundai's exact factory specifications for the 2024-2027 Kona, guaranteeing a watertight, structurally sound seal.
Step 7: Precision Installation of the New Back Glass
With the urethane applied, time is of the essence. Using professional glass-handling suction cups, I carefully lift the new replacement back glass. Aligning it perfectly with the Kona's aerodynamic roofline, side pillars, and lower hatch contours, the glass is gently pressed into the wet urethane bed. Firm, even pressure is applied around the entire perimeter to ensure the adhesive spreads uniformly against the primed frit band of the glass, establishing an unbreakable bond.
Step 8: Reassembly, Reconnection, and Final Quality Inspection
Once the glass is set and secured with specialized retention tape while it cures, the reassembly phase begins. I carefully reconnect the electrical terminals for the rear defroster system, ensuring optimal conductivity for those cold Greater Toronto Area winters. The rear wiper motor is re-mounted, and the wiper arm is aligned and bolted to its correct resting position. Finally, the interior tailgate trim panels are snapped firmly back into place. I perform a final visual inspection, clean the newly installed glass to a streak-free shine, and conduct a mandatory Safe Drive Away Time (SDAT) briefing with the vehicle owner.
Advanced Component Reintegration for the 2024-2027 Model Year
The larger structural footprint of the 2024-2027 Hyundai Kona means the back glass covers a wider surface area than previous generations. This requires strict attention to the defroster grid integration. After installation, we test the electrical continuity of the heating elements to guarantee your rear defrost will clear ice and fog exactly as the manufacturer intended. Furthermore, we ensure the new glass matches the precise curvature of the Kona's hatch so that when you slam the trunk closed, the compressed air inside the cabin does not push outward and compromise the curing urethane seal. We always advise clients to keep a side window rolled down about an inch for the first 24 hours to prevent air pressure build-up.
Why the Right Glass and the Right Technician Matter
Auto glass is considered a critical structural component of modern vehicles, contributing significantly to roof-crush resistance and overall cabin rigidity. Settling for subpar materials or rushed installation techniques can lead to disastrous water leaks, rust degradation, or glass detachment during a collision. By utilizing exclusively OEM (Original Equipment Manufacturer) or OEE (Original Equipment Equivalent) glass alongside industry-leading chemical adhesives, we ensure your vehicle is restored to its original factory safety ratings.
Contact AlexWindshield Today for a Lifetime Warranty Installation
Dealing with shattered back glass is stressful, but getting it fixed shouldn't be. As the trusted experts for mobile auto glass services across the Greater Toronto Area (GTA), including the communities of Vaughan, Richmond Hill, and Markham, AlexWindshield guarantees a hassle-free, premium experience.
We stand confidently behind our craftsmanship, which is why every Hyundai Kona back glass replacement we perform comes backed by our comprehensive Lifetime Warranty covering any wind noise, water leaks, or manufacturer defects for as long as you own the vehicle. Don't compromise your safety or the sleek aesthetics of your 2024-2027 Hyundai Kona. Contact AlexWindshield today to schedule your expert mobile glass replacement and get back on the road with crystal-clear visibility and ultimate peace of mind.


