Restoring the Structural Integrity of Your 3rd Generation Honda CR-V
The third-generation Honda CR-V (2007-2011) completely revolutionized the compact crossover segment with its sleek, aerodynamic profile, officially departing from the boxy, utility-focused designs of its predecessors. A defining feature of this iconic redesign is its expansive, heavily raked front windshield, engineered not just to provide drivers with unparalleled visibility, but to act as a critical structural component of the vehicle's unibody chassis. However, this large, curved glass surface is inherently susceptible to flying road debris. When a rogue stone on the highway causes a starburst crack or a severe horizontal split that compromises your line of sight, you require specialized, precision-driven intervention. Generic glass swaps simply will not suffice for this vehicle. As a Master Technician at AlexWindshield, I understand the exact manufacturing tolerances, acoustic properties, and structural requirements of the 2007-2011 CR-V. We do not just replace your auto glass; we meticulously restore the factory safety standards of your trusted Honda.
Comprehensive Local Auto Glass Coverage Across the Greater Toronto Area (GTA)
Navigating the busy roads of the Greater Toronto Area (GTA) exposes your Honda CR-V to a wide array of hazards, from severe winter ice storms and fluctuating temperatures to endless highway construction debris. Whether you are commuting down the Don Valley Parkway, running daily errands in the bustling retail districts of Vaughan, heading to the corporate tech hubs in Markham, or navigating the quiet suburban streets of Richmond Hill, a structurally sound, flawless windshield is absolutely non-negotiable for your safety.
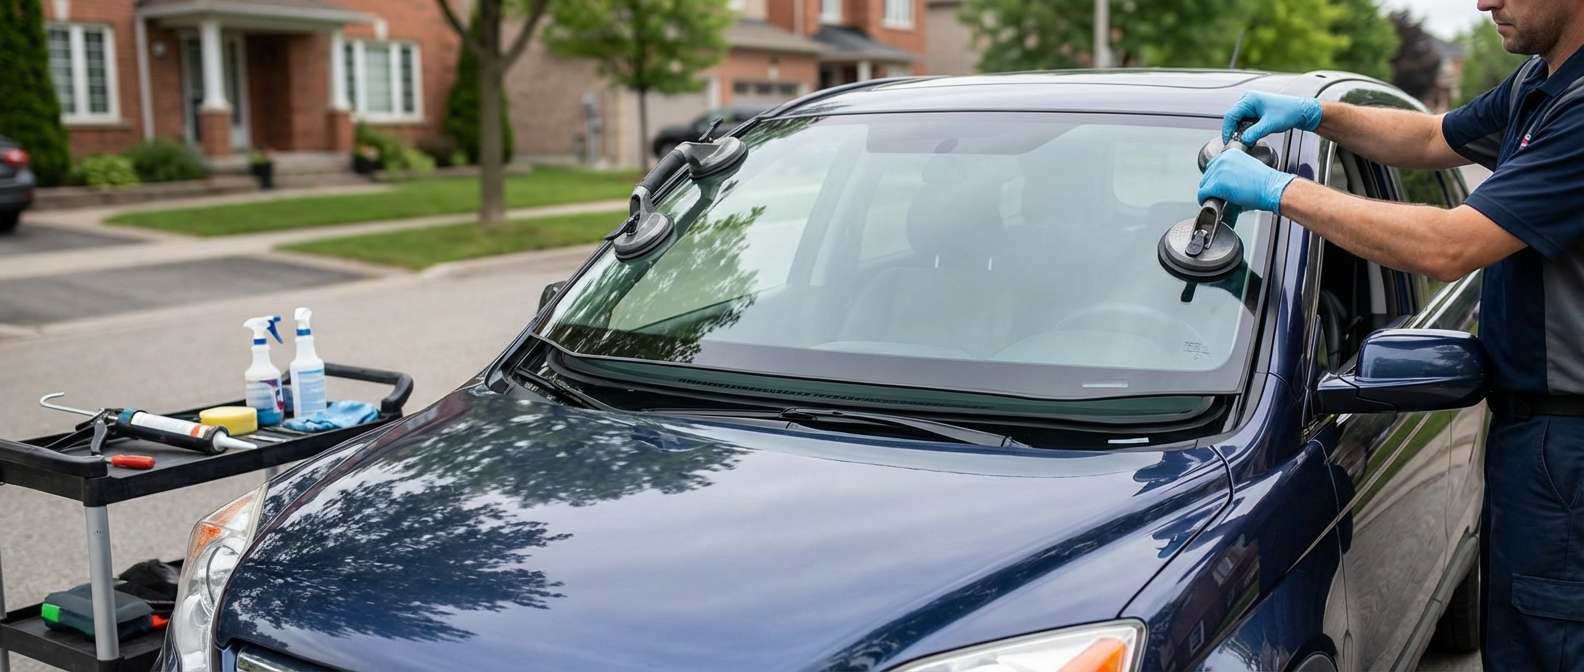
At AlexWindshield, we eliminate the hassle of bringing your vehicle into a traditional brick-and-mortar shop. Our state-of-the-art mobile service units are fully equipped to deliver dealership-level auto glass replacement directly to your residential driveway or corporate workplace anywhere in Vaughan, Richmond Hill, Markham, and the wider GTA. We bring our Master Technician expertise straight to your location, ensuring minimal disruption to your daily schedule while providing uncompromising quality.
The AlexWindshield Master Technician Process: Step-by-Step Windshield Replacement
Replacing the windshield on a Honda CR-V 2007-2011 requires a strict, methodical approach to ensure a perfect, watertight seal and to maintain the passenger cabin's structural integrity. Here is our comprehensive, A-to-Z technical process:
Step 1: Comprehensive Vehicle Inspection and Interior Protection
Before any tools are utilized, we perform a thorough pre-installation inspection of your Honda CR-V. We assess the damage, check the surrounding metal frame for any pre-existing rust or paint degradation, and test all windshield-mounted electronics. To ensure your vehicle remains in pristine condition throughout the procedure, we deploy heavy-duty protective drop cloths over your hood and front fenders. Inside the cabin, we protect your steering wheel, dashboard, and front seats with specialized covers to safeguard against any debris or adhesive transfer during the extraction.
Step 2: Precision Removal of the Cowl, Wipers, and Exterior Trims
The 2007-2011 Honda CR-V features a specific multi-piece plastic cowl and side molding system that rests flush against the glass. We carefully unbolt the wiper arms using dedicated pullers to prevent stripping the splines. Next, using specialized non-marring nylon pry tools, we detach the exterior side moldings and the lower plastic cowl. These older plastic clips can become brittle due to years of UV exposure, so our technicians use calculated finesse to remove them without causing fractures, exposing the bottom edge of the glass and the underlying pinch weld.
Step 3: Advanced Extraction of the Damaged Windshield
To safely remove the shattered or cracked windshield, we must sever the original factory polyurethane bead holding the glass to the vehicle's metal frame. Instead of relying on aggressive, outdated methods that can deeply scratch the paint, we utilize an advanced engineered wire-cutting system. By feeding a high-tensile braided wire through the adhesive and utilizing a specialized ratcheting tool, we seamlessly cut through the incredibly tough urethane from the inside out. This technique guarantees that the vehicle's delicate pinch weld remains perfectly intact and free of deep scratches that could later cause hidden rust.
Step 4: Pinch Weld Preparation and Contamination Removal
Once the old glass is successfully lifted away, we are left with the old bead of adhesive on the vehicle's frame. A critical step in our Master Technician protocol is "trimming the pinch weld." We carefully shave the old urethane down to a highly specific 1-2 millimeter base using finely honed stripping blades. This thin layer provides the optimal foundation for the new adhesive to bond chemically. Following the trimming, we meticulously vacuum the entire track to remove all accumulated dirt, leaves, and micro-shards of broken glass. The channel is then chemically cleaned using an alcohol-based, lint-free preparation solvent.
Step 5: Applying High-Performance Primer for Maximum Adhesion
If any bare metal was exposed during the removal process—or if factory rust spots are discovered—we immediately treat the area. We apply a specialized, fast-drying black glass primer to these areas, as well as to the black frit band on the edges of the newly sourced OEM-equivalent glass. This primer serves two vital purposes: it acts as a powerful rust inhibitor for the vehicle's body, and it creates a molecular-level bonding surface that shields the upcoming urethane bead from ultraviolet (UV) degradation. Skipping this step is a common shortcut in budget shops, but at AlexWindshield, it is a mandatory protocol.
Step 6: Extruding Premium Quality Urethane Adhesive
With the pinch weld prepped and the primer flashed (cured), we proceed to apply the binding agent. We use only premium, highly advanced OEM-grade polyurethane adhesive that boasts an incredibly fast Safe Drive Away Time (SDAT). Utilizing a battery-operated power caulking gun, we extrude a perfectly uniform "V-bead" of urethane continuously around the entire perimeter of the pinch weld. The height and consistency of this V-bead are expertly calibrated to match the specific gap tolerances of the 2007-2011 Honda CR-V, ensuring there are absolutely no gaps, air pockets, or potential avenues for water leaks.
Step 7: The Precision Installation of the New Glass
Installing the new windshield is a highly synchronized procedure. Using specialized heavy-duty suction cup lifting devices, two of our Master Technicians carefully lower the new, perfectly contoured glass into the fresh urethane bed. We utilize factory alignment pins and specific measurement guides to ensure the glass is seated with symmetrical margins on all four sides. Once set, gentle, even pressure is applied around the perimeter to compress the V-bead, creating a permanent, watertight, and structurally sound seal. The cowl panels, side moldings, and wiper arms are then meticulously reassembled and torque-tested to factory specifications.
Step 8: Mandatory ADAS Camera Calibration Process
Modern auto glass replacement is not complete without addressing the vehicle's safety electronics. While the 2007-2011 Honda CR-V predates some of the more complex autonomous systems found in today's vehicles, many models are equipped with rain sensors, automatic light sensors, or have been upgraded with aftermarket forward-facing safety cameras and dash-cam collision warning systems. For any windshield replacement that involves an Advanced Driver Assistance System (ADAS), AlexWindshield mandates a strict, highly precise camera calibration process.
- System Diagnostics: We plug into the vehicle's OBD-II port to read and clear any existing fault codes related to camera or sensor disconnection.
- Static Calibration: Using highly specialized optical target boards set at exact manufacturer-specified distances and heights in front of the vehicle, we utilize advanced software to realign the camera's visual pitch, yaw, and roll.
- Dynamic Calibration: If required by the system, our technicians will perform a controlled test drive at specific speeds on clearly marked roads to allow the camera system to self-learn and verify its alignment against lane markings.
- Safety Verification: This rigorous ADAS calibration ensures that crucial safety features—such as lane departure warnings, forward collision alerts, and automatic braking triggers—fire exactly when intended. An uncalibrated camera looking just a few degrees off-center can blind your vehicle to an impending collision. We guarantee your safety systems are restored to exact factory precision.
Why Quality Glass and Materials Matter for Your Honda
The windshield of your Honda CR-V is responsible for supporting up to 30% of the vehicle's roof strength in the event of a rollover accident, and it serves as the essential rigid backboard for the passenger-side airbag deployment. If substandard glass or cheap, slow-curing adhesive is used, a deployed airbag can easily blow the entire windshield out of the frame, rendering the airbag completely useless and putting the passenger at extreme risk of catastrophic injury.
This is why AlexWindshield strictly utilizes original equipment equivalent (OEE) glass that perfectly matches the strict DOT (Department of Transportation) safety standards, thickness, and acoustic sound-dampening qualities of your original Honda glass. Coupled with our high-modulus urethane, we guarantee that the structural integrity of your vehicle is fully optimized.
The AlexWindshield Guarantee: Premier Mobile Service and Lifetime Warranty
When you choose our expert team for your 2007-2011 Honda CR-V windshield replacement, you are investing in peace of mind, uncompromising safety, and ultimate convenience. You do not have to disrupt your day or drive an unsafe vehicle across town. AlexWindshield brings the premier auto glass repair facility directly to you, serving the entire GTA with highly focused mobile routes throughout Markham, Richmond Hill, and Vaughan.
We stand firmly behind the precision of our Master Technicians and the superiority of our materials. Every single windshield replacement we perform is backed by our comprehensive Lifetime Warranty. This industry-leading guarantee covers you against any manufacturer glass defects, unexpected water leaks, or distracting wind noise for as long as you own your vehicle. Trust the true auto glass experts to protect you and your family. Choose AlexWindshield for pristine clarity, structural perfection, and unparalleled customer service on the road.


