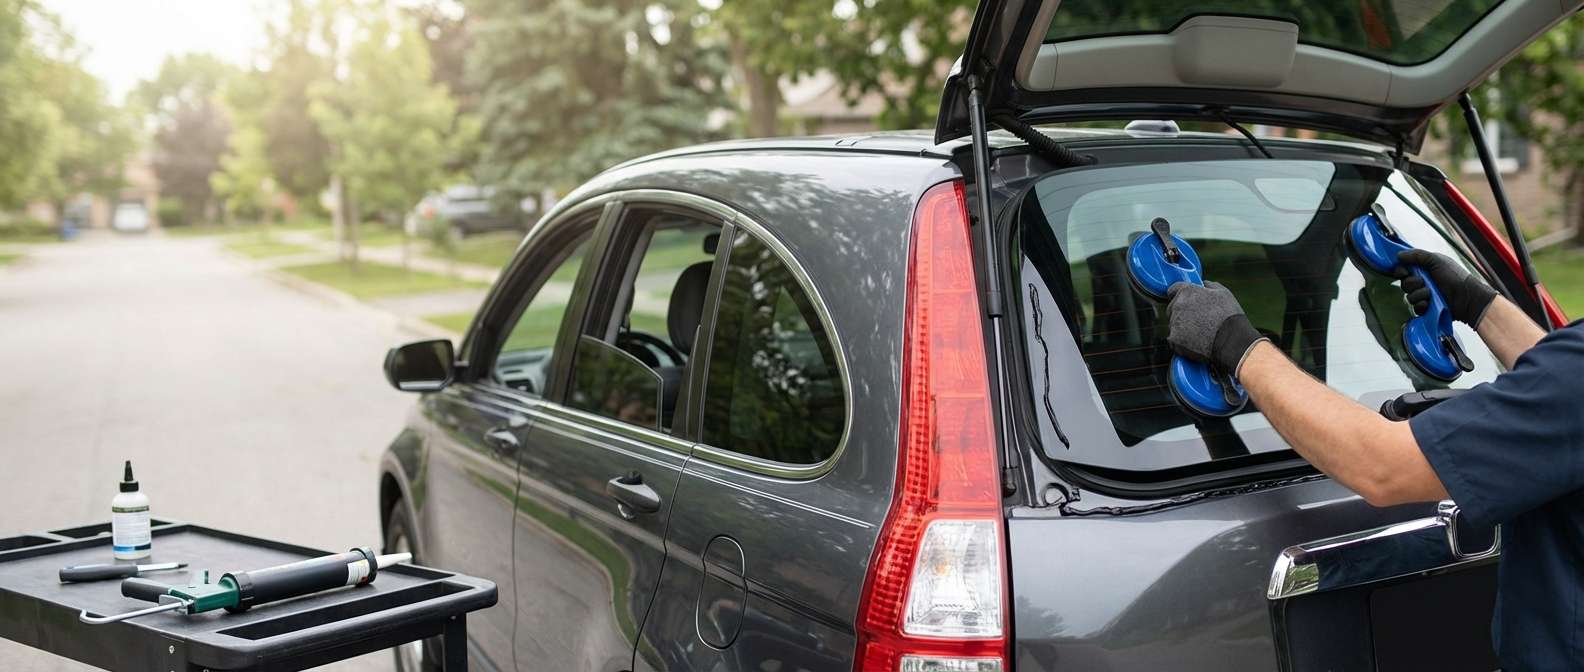
The Evolution of the Third-Generation Liftgate: Specialized Back Glass Replacement for Your Honda CR-V 2007-2011
The third-generation Honda CR-V, spanning model years 2007 to 2011, revolutionized the compact SUV market with its departure from the traditional tailgate-mounted spare tire, introducing a sleek, top-hinged vertical rear liftgate. While this modern design significantly improved aerodynamics, structural integrity, and rear visibility, it also introduced a complex, expansive piece of rear glass heavily integrated with electrical components. When this specialized auto glass shatters, it creates more than just a drafty cabin; it leaves your vehicle vulnerable to the elements, compromises your rear wiper functionality, and disables your vital rear defrosting system. As a Master Technician at AlexWindshield, I have replaced countless rear windows on this specific chassis. We understand the precise engineering of the RE-series CR-V and provide a flawless, factory-standard back glass replacement for Honda CR-V 2007-2011 models directly at your location.
Understanding the Complexity of the CR-V Rear Hatch Glass
Replacing the back glass on a 2007-2011 Honda CR-V is not a standard "drop-in" job. Unlike the front windshield, which is constructed from laminated glass designed to crack but remain in one piece, the rear window is made of tempered safety glass. Under significant stress or impact, tempered glass is engineered to explode into thousands of tiny, blunt-edged cubes. While this prevents dangerous, guillotine-like shards from injuring passengers, it creates a massive, widespread debris field throughout the rear cargo area, inside the tailgate cavity, and across the folded rear seats.
Furthermore, the Honda CR-V back glass acts as a mounting surface and electrical conduit. It houses the built-in thermal defroster grid—essential for navigating harsh Canadian winters—and serves as the mounting hub for the rear wiper motor shaft. Proper replacement requires extensive disassembly of the interior tailgate panels, meticulous cleaning, and expert re-integration of these electrical systems. A rushed job by an inexperienced technician can lead to water leaks, a non-functioning wiper, electrical shorts in the defroster, or annoying glass rattles inside the hatch every time you close it.
Our Master Technician A-to-Z Replacement Process
At AlexWindshield, our approach to auto glass replacement combines deep technical expertise with industry-leading materials. We do not cut corners. Here is our rigorous, step-by-step master technician process for replacing your 2007-2011 Honda CR-V back glass.
Step 1: Thorough Vehicle Assessment and Interior Protection
The moment our mobile service van arrives, we begin by conducting a comprehensive safety assessment of the vehicle's rear end. We inspect the liftgate frame for any structural dents or paint damage that might impede a watertight seal. Before touching the glass, we prioritize protecting your vehicle's interior. Heavy-duty protective tarps are laid over the CR-V's rear cargo area, the back seats, and the exterior bumper. We apply specialized automotive masking tape around the painted edges of the tailgate window frame to prevent accidental scratches during the extraction and installation phases.
Step 2: Tailgate Disassembly and Component Removal
Because shattered tempered glass finds its way into every conceivable crevice, we must access the internal cavity of the CR-V’s rear liftgate. We carefully pry away the interior plastic trim panels from the tailgate door, using specialized non-marring trim removal tools to ensure the clips do not snap. Once the inner door panel is removed, we disconnect the wiring harnesses for the rear defroster tabs. Next, we unbolt and temporarily remove the rear wiper arm and the internal wiper motor assembly. This not only protects the motor from urethane contamination but also provides a clear, unobstructed channel to mount the new OEM-quality glass.
Step 3: Meticulous Glass Shard Vacuuming and Debris Removal
This is arguably the most critical step in a back glass replacement, and one that amateur installers often overlook. Using high-powered, industrial HEPA vacuums, we extract every single shard of broken glass from the CR-V. We vacuum the main cargo floor, the spare tire well, and the crevices between the folding seats. Crucially, we use specialized narrow vacuum attachments to reach deep inside the hollow metal body of the tailgate door. We manually actuate the door up and down multiple times to shake loose trapped glass shards, vacuuming repeatedly until the door closes with a solid, clean sound—ensuring you won't hear a maddening "sandbag" rattling noise when you drive.
Step 4: Pinch Weld Cleaning and Old Adhesive Extraction
With the debris cleared, we turn our attention to the tailgate's metal frame, known as the pinch weld. Using razor-sharp cold knives and specialized urethane cutting tools, we carefully pare down the old, factory-original adhesive bead. We trim this old bead down to a uniform thickness of roughly 1 to 2 millimeters. This remaining base layer provides an excellent bonding foundation for the new adhesive. We then treat the area with a high-grade chemical cleaner to remove dirt, grease, and microscopic contaminants. If any bare metal is exposed during the cutting process, we apply a specialized anti-corrosion glass primer to prevent future rust formation around your liftgate.
Step 5: Glass Preparation and Primer Application
While the pinch weld primer cures, we prepare your brand new Honda CR-V back glass. We inspect the glass under bright light for any manufacturing defects, verify that the defroster grid is fully intact, and check the wiper motor mounting hole alignment. The inner bonding edge of the new glass is thoroughly scrubbed with a specialized glass prep cleaner. We then apply a precise band of glass primer along the frit (the black painted band around the edge of the glass). This primer alters the molecular structure of the glass surface, allowing the urethane adhesive to create a permanent, chemical bond.
Step 6: Applying High-Quality Structural Adhesive
For the rear glass to contribute to the vehicle's structural integrity and remain entirely waterproof, the adhesive must be flawless. We utilize industry-leading, fast-curing, high-quality adhesive (automotive structural urethane). Using an electric caulking gun with a customized V-notch nozzle, we apply a thick, perfectly triangular bead of urethane around the entire perimeter of the tailgate pinch weld. This continuous bead ensures there are no air gaps or weak points where water or wind noise could penetrate the cabin.
Step 7: Precision Installation of the New CR-V Back Glass
Because the CR-V's back glass is large and awkwardly shaped, we utilize heavy-duty pneumatic suction cups to handle the glass with total precision. Carefully aligning the top edge near the third brake light, we gently lower the glass onto the fresh urethane bead. We apply even, measured pressure around the entire perimeter to compress the urethane, ensuring a factory-tight seal. We secure the glass with specialized retention tape to hold it perfectly in place while the adhesive flashes and cures.
Step 8: Electrical Reconnection and Final Reassembly
Once the glass is set, we meticulously reassemble the vehicle. The rear wiper motor is reinstalled and securely bolted through the precut hole in the new glass, followed by the external wiper arm. We reconnect the positive and negative terminals to the rear defroster grid and test the circuit with a multimeter to guarantee proper heating functionality. Finally, the interior tailgate trim panels are firmly snapped back into place. We perform one last intensive vacuum of the interior and thoroughly wash the newly installed back glass until it is streak-free.
Premium Mobile Auto Glass Service Across the Greater Toronto Area (GTA)
Driving with a shattered rear window is not only dangerous due to exhaust fume inhalation and zero theft protection, but it also leaves your SUV completely exposed to rain and snow. You shouldn't have to drive to a shop in this condition. AlexWindshield brings the complete auto glass shop directly to your location. We proudly offer comprehensive mobile auto glass services across the Greater Toronto Area (GTA). Our fully equipped service vans are ready to be dispatched to your home, office, or emergency location.
- Vaughan: Whether you are stranded with a broken window at Vaughan Mills or parked safely in your Woodbridge driveway, our master technicians arrive promptly to secure your vehicle.
- Richmond Hill: From Oak Ridges to Highway 7, we provide Richmond Hill residents with fast, seamless mobile installations, saving you the hassle of towing or dangerous driving.
- Markham: If your CR-V suffers glass damage while you are working in Markham's tech sector or parked near Main Street Unionville, we will replace your back glass on-site while you continue your day uninterrupted.
Why Choose AlexWindshield for Your Auto Glass Needs?
Your 2007-2011 Honda CR-V is a reliable, resilient vehicle, and it deserves repair work of the exact same caliber. Choosing the right technician makes the difference between a window that leaks and one that lasts the lifetime of the vehicle.
- Master Technicians: Our installers are highly trained veterans of the auto glass industry. We know the exact quirks, wiring diagrams, and trim panel clips of the RE-generation Honda CR-V.
- Premium Materials: We refuse to use cheap, aftermarket adhesives. We only use OEM-equivalent glass and crash-proven structural urethanes to ensure your safety and comfort.
- Flawless Cleanup: We treat your vehicle as if it were our own. Our obsessive vacuuming process ensures your family and pets are safe from hidden glass shards.
- Industry-Leading Lifetime Warranty: We stand unconditionally behind our craftsmanship. Every back glass replacement performed by AlexWindshield is backed by our comprehensive Lifetime Warranty, covering any highly unlikely instances of air leaks, water leaks, or manufacturer glass defects for as long as you own the vehicle.
Contact AlexWindshield Today
Do not let a shattered rear window compromise the safety, security, and comfort of your Honda CR-V. Trust the local experts who combine unparalleled technical precision with ultimate customer convenience. For the absolute best Honda CR-V 2007-2011 back glass replacement in the province, look no further. Contact AlexWindshield today to schedule your mobile appointment anywhere in the Greater Toronto Area. Experience our rapid response times, fair pricing, and flawless execution, all backed by our rock-solid Lifetime Warranty.


