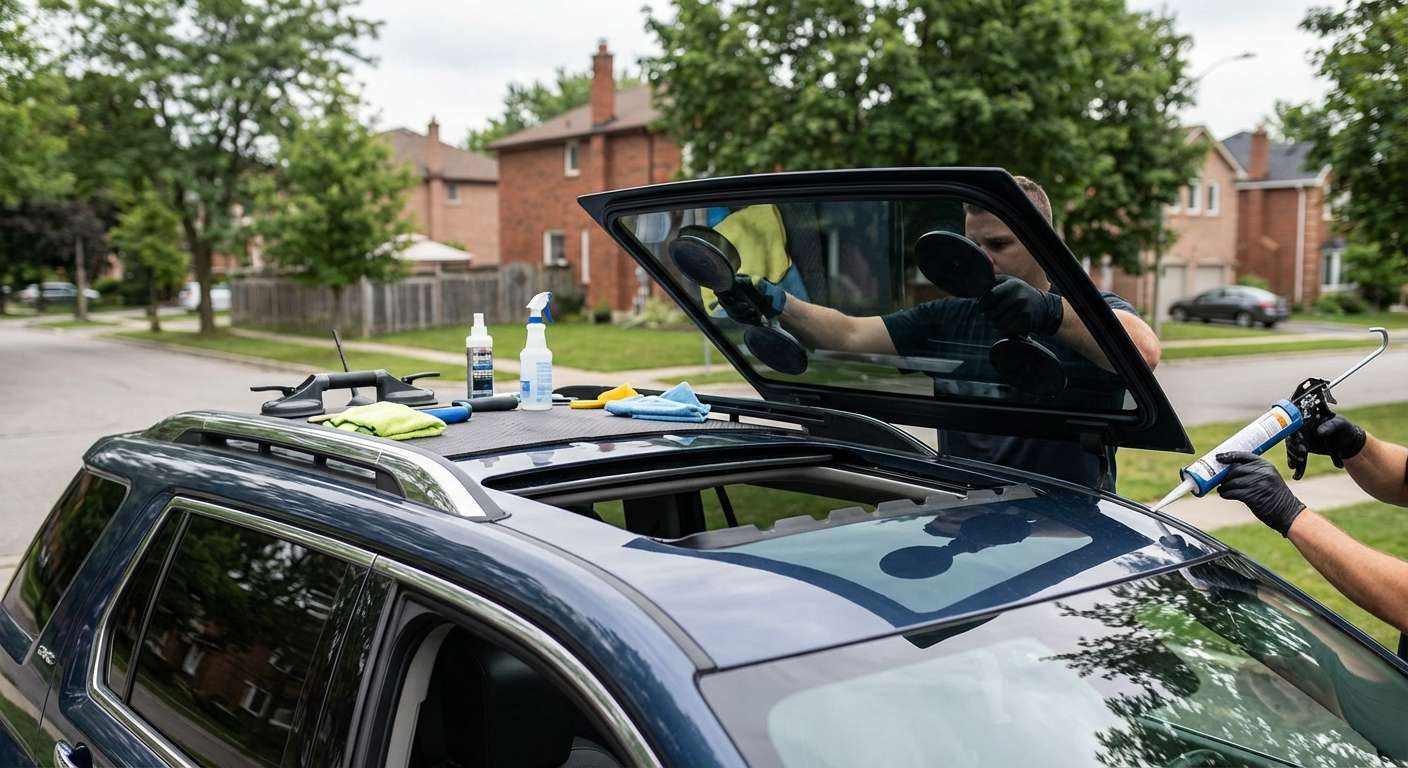
Identifying the Sunroof Glass on Your GMC Terrain
Every factory sunroof fitted across the SLE, SLT, and Denali trims utilizes a single-pane tilt-and-slide tempered glass assembly rather than a multi-panel panoramic setup. While the vehicle underwent styling refreshes—such as the revised front fascia in 2016 and updated interior switchgear—the roof aperture stamping and sunroof glass dimensions remained identical from the 2010 introduction right through 2017. If your crossover came equipped with regular production option code CF5 (electric sliding sunroof), you have this exact panel.
To verify the version you need, take a look at the lower corner of the glass panel or consult your build sticker in the glovebox:
| Feature / Identification | Specification on 2010–2017 Terrain |
|---|---|
| Sunroof Mechanism | Express-open power sliding and tilting single panel |
| GM OEM Reference | Part number 25925777 (interchangeable across 2010–2017) |
| Attachment Method | Four M5x0.8x7 mounting Torx screws through the side brackets |
| Glass Composition | Deep-tint solar tempered glass with encapsulated perimeter seal |
| Factory RPO Code | CF5 (Sunroof, power tilt-sliding with express-open and wind deflector) |
Unlike windshields that carry forward-facing camera brackets or rain sensors, the Terrain sunroof glass panel does not house antennas or defrost lines. It is an independent glass lid bonded to a steel support bracket, which anchors straight into the sunroof module frame (GM part 23495100). I source and install solely aftermarket sunroof glass made by trusted tier-one manufacturers like Pilkington, PGW, FYG, and XYG to guarantee precise curvature and matching dark solar tint.
Sunroof Architecture and Drainage Mechanics
The sunroof system on this crossover relies on a self-contained cassette anchored beneath the headliner. The perimeter seal surrounding the glass panel is not designed to be completely hermetic; its job is to keep wind buffeting down and shed the bulk of surface water. The residual runoff that bypasses the outer edge drops directly into the perimeter water trough built into the frame.
From that trough, four separate flexible drain hoses route liquid out of the vehicle. The front drains exit downward through the A-pillars, while the rear drain hoses run over the wheel arches through the C-pillars. If the glass panel sits even slightly out of alignment with the sheet metal roof skin, water volume can overwhelm these internal channels or push wind noise through the cabin at highway speeds. A proper replacement requires setting the panel flush to the roof contour—specifically resting about one millimeter below the leading sheet metal edge and level or slightly proud at the rear trailing edge to shed airflow cleanly.
Post-Replacement Inspection Checklist
Once the new glass panel is seated and the side adjustment fasteners are torqued, walk through these checks to ensure everything seals and operates smoothly:
- Panel Height and Flushness: Look across the exterior roof line from the front and side. The glass must sit evenly inside the roof pocket without dipping below the roofline at the back corners.
- Perimeter Rubber Contact: Ensure the encapsulated rubber bead sits uniformly tight against the painted roof opening without pinching, bunching, or leaving visible gaps.
- Express-Open and Vent Travel: Operate the overhead console toggle through tilt, slide-open, and slide-closed functions. The glass should glide without binding or shuttering along the guide tracks.
- Spring-Loaded Wind Deflector: Confirm that the pop-up air deflector arm rises when the glass slides back into the roof and retracts downward automatically as the panel closes.
- Manual Sunshade Retainer: Slide the interior sliding sunshade by hand to confirm it moves freely along its guides without snagging against the lower brackets or glass hardware.
- Water Route Clearance: Run water gently over the closed panel to confirm that drainage flows freely through the A-pillar drain lines rather than spilling into the headliner channel.


