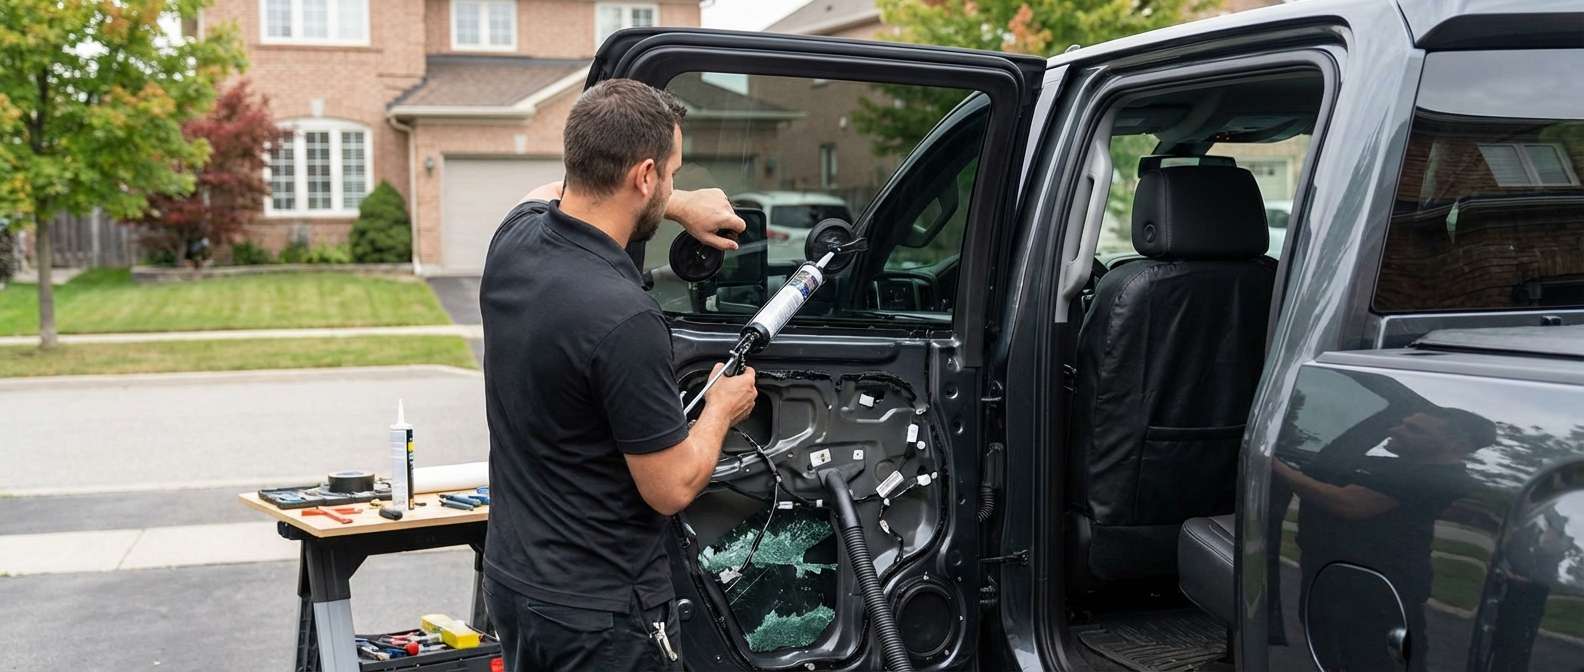
Why Your Sierra HD Does Not Have True Quarter Glass
If you are searching for quarter glass on this heavy-duty truck, you are almost certainly dealing with a broken rear door drop window or looking at the rear cab structure. GMC designed the cab architecture for these trucks without separate, fixed quarter vent glass behind the doors. On a Regular Cab, side glass ends at the front movable window. On Double Cab and Crew Cab configurations, the rear side glass consists entirely of full roll-down tempered safety windows seated within the steel door frame.
Collision databases, salvage listings, and parts catalogs often misclassify these rear passenger windows as quarter glass. If your side window shattered, the replacement involves a vertical door glass run channel, a mechanical cable-driven regulator, and factory clamp fasteners rather than a stationary pane bonded to the body.
Identifying the Correct Rear Door Glass for Your Cab and Trim
Determining which replacement glass your Sierra HD requires comes down to the cab profile and the factory tint option code. Crew Cab and Double Cab doors are not interchangeable; the Double Cab features noticeably narrower rear doors with completely different glass geometry.
For Crew Cab models, the tempered glass is cataloged under NAGS numbers DD13245 for the right rear door and DD13246 for the left rear door. From there, you must verify the optical tint of the vehicle:
- Factory Deep Tint (RPO AKO): Standard equipment on SLE, SLT, AT4, AT4X, Denali, and Denali Ultimate trims. This glass features a dark factory privacy tint embedded directly within the tempered glass structure.
- Solar-Green Glass: Typically found on the base Pro (work truck) trim. If your truck lacks the dark rear privacy glass option, it utilizes clear, solar-absorbing green-tinted glass.
Unlike the laminated acoustic front windshield or acoustic front door glass found on higher trims, these rear side windows use solid tempered safety glass. They contain no embedded defroster grids, internal radio antennas, or wiring connectors, meaning your primary concern is matching the cab length and glass shade.
Whenever you need this glass replaced, I handle the work entirely through my mobile service, coming directly to your home or job site anywhere across Toronto and the GTA to replace the damaged panel on-site.
Post-Installation Inspection Checklist
Once the replacement rear door glass is fitted into the regulator lift plates and the interior door trim panel is secured, inspect the completed assembly using these specific checkpoints:
- Tint consistency: Look through the rear door glass from outside the truck next to the opposite rear door or back-glass to ensure the dark privacy tint (RPO AKO) matches the rest of the rear passenger compartment.
- Run channel alignment: Inspect the rubber run channel along the top and sides of the steel door frame to confirm the rubber has not pinched, folded, or bunched during movement.
- Beltline weatherstrip seal: Verify that the horizontal exterior belt moulding sits flush against the bottom edge of the glass along the entire span of the door.
- Travel and clamping: Lower and raise the window completely to ensure the regulator clamps track smoothly without binding, unusual motor resistance, or glass tilt inside the tracks.
- Interior water barrier: Check that the bottom of the interior door trim panel sits tight against the steel door skin, confirming the inner water deflector and trim clips are fully seated.


