Mastering the Back Glass Replacement for Your 2014-2018 GMC Sierra 1500
The 2014-2018 GMC Sierra 1500, built on the robust K2XX platform, is a paragon of rugged engineering designed to haul heavy payloads, navigate demanding construction sites, and serve as a dependable daily driver. However, the very utility that makes this truck a workhorse also makes its rear window exceptionally vulnerable. Whether it is a piece of shifting cargo in the truck bed, an improperly secured tool, or a rogue piece of gravel flying off Highway 400, shattered back glass is an abrupt hazard. A compromised rear window instantly exposes your truck's luxurious interior to harsh weather elements, road noise, and potential theft.
As a Senior SEO Specialist and Master Technician at AlexWindshield, I have witnessed countless Sierra owners attempt temporary fixes with garbage bags and duct tape. Not only does this obstruct your rear visibility, but it also compromises the structural integrity of your cabin. When you require a meticulous, factory-standard GMC Sierra 1500 back glass replacement, our team delivers unparalleled precision directly to your driveway.
Understanding Your 2014-2018 GMC Sierra Back Glass Configurations
Before initiating the replacement process, it is vital to identify the exact glass configuration of your specific Sierra 1500 trim level. The 2014-2018 models feature several distinct rear window designs, each requiring a tailored approach to removal and installation:
- Solid Single-Piece Glass: The standard configuration for work trucks and base models, featuring a single pane of tempered glass, often integrated with a rear defroster grid.
- Manual Sliding Window: A three-piece configuration allowing manual cabin ventilation.
- Power Sliding Window: Common in SLE, SLT, and Denali trims. This complex unit features an internal motor, complex cable systems, and specialized wiring harnesses for both the power slider and the heated glass grid.
Regardless of your truck's configuration, AlexWindshield utilizes only premium OEM or OEE (Original Equipment Equivalent) auto glass to ensure perfect fitment, flawless functionality of power components, and lasting durability.
The Master Technician's Step-by-Step Back Glass Replacement Process
Replacing the back glass on a modern pickup truck is an intricate procedure that demands technical expertise. Unlike vintage trucks where glass was simply held in by a rubber gasket, the 2014-2018 GMC Sierra utilizes advanced structural urethane to bond the encapsulation frame directly to the cab's pinch weld. Here is our comprehensive, A-to-Z process for safely and effectively replacing your Sierra's back glass.
Step 1: Comprehensive Vehicle Assessment and Interior Protection
Our mobile replacement service begins with a thorough inspection of the damage and the surrounding vehicle body. Because shattered tempered glass explodes into thousands of tiny, pebble-like shards, interior protection is our absolute first priority. We drape heavy-duty protective drop cloths over your Sierra's leather or cloth seats, center console, and rear floorboards. We also apply high-tack automotive masking tape to the exterior painted surfaces surrounding the rear window to prevent any accidental scratches during the extraction process.
Step 2: Removing Interior Trim and Disconnecting Electronics
To access the structural mounting points of the back glass, our technicians carefully disassemble the rear interior of your truck cabin. This involves gently prying off the C-pillar trim panels and partially dropping the rear headliner to expose the glass frame's mounting nuts. For Sierra models equipped with a power slider or rear defroster, we meticulously disconnect the wiring harnesses, ensuring the delicate connector pins are protected from dust and debris.
Step 3: Rigorous Vacuuming of Broken Glass Shards
When a rear window breaks, the glass shards embed themselves into every conceivable crevice of your truck's cabin. Simply sweeping is never enough. We utilize industrial-grade, high-suction vacuums equipped with specialized micro-crevice tools to extract every single shard of broken glass. We rigorously vacuum the rear seats, the floor carpets, behind the child seat anchors, and deep inside the cab's interior body cavities where glass tends to fall. Ensuring a completely glass-free interior is a hallmark of the premium service provided by AlexWindshield.
Step 4: Extracting the Damaged Glass and Encapsulation Frame
With the interior secured and components disconnected, we begin the removal process. The back glass of the 2014-2018 GMC Sierra is heavily bonded to the frame with automotive urethane. We utilize specialized wire-cutting systems and cold knives to slice through the dense urethane bead from the inside out. This specialized wire system allows us to cut the adhesive smoothly without ever making contact with the vehicle's painted pinch weld. Once the adhesive bond is broken, we carefully remove the old glass and encapsulation frame assembly from the vehicle.
Step 5: Precision Pinch Weld Preparation and Cleaning
The secret to a watertight, factory-quality seal lies entirely in surface preparation. The exposed pinch weld (the metal frame where the glass sits) will still have the old urethane attached. We use razor-sharp chisel tools to strategically trim the existing urethane down to a thin, uniform base layer of approximately 1 to 2 millimeters. This acts as an optimal bonding surface for the new urethane. Afterward, we use an advanced, alcohol-based auto glass cleaner to strip away any dirt, grease, and microscopic contaminants from both the pinch weld and the bonding surface of the new back glass.
Step 6: Applying Rust-Preventative Glass Primer
If any bare metal is exposed during the trimming process, it must be addressed immediately to prevent future rust—a critical step that amateur technicians often skip. We apply a scientifically formulated, high-adhesion black glass primer to any exposed metal on the pinch weld. Additionally, we apply this primer to the ceramic frit band on the edges of the new GMC Sierra back glass. This primer acts as a chemical bridge, ensuring the urethane adhesive bonds with maximum structural integrity.
Step 7: Extruding High-Quality Urethane Adhesive
We rely strictly on industry-leading, fast-curing automotive urethane. Using a highly calibrated, battery-operated caulking gun, we extrude a continuous, thick bead of urethane around the perimeter of the pinch weld. We utilize a specific "V-notch" cut on the application nozzle. This V-shaped bead ensures that when the glass is pressed into place, the urethane collapses uniformly, eliminating air pockets and preventing any future water leaks or whistling wind noise.
Step 8: Installing the New GMC Sierra Back Glass
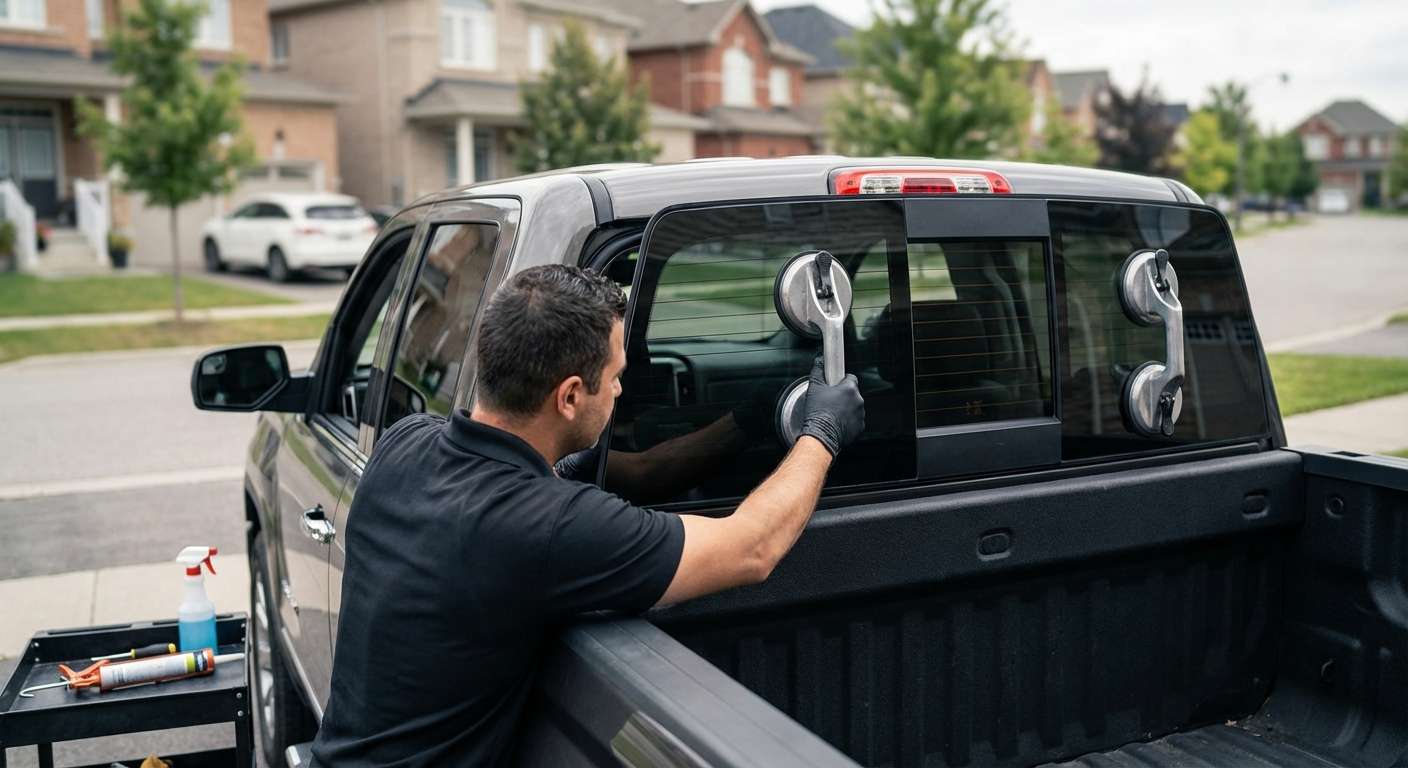
Handling the cumbersome back glass of a full-size pickup requires steady hands and perfect alignment. Using heavy-duty vacuum suction cups, our technicians carefully lift the new glass assembly and align it with the factory setting pins located on the Sierra's cab. We gently press the glass into the fresh urethane bead, applying even pressure around the entire perimeter to ensure the V-bead collapses perfectly against the glass frame. We then secure the glass in place using specialized retention tape to prevent any micro-shifting while the urethane begins its curing process.
Step 9: Reassembly, Reconnection, and Final Inspection
While the high-grade urethane cures, we reverse the disassembly process. We reconnect the defroster wires and the power sliding motor harness, testing the electronic switch to ensure the new slider opens and closes with factory smoothness. We then meticulously reinstall the rear headliner and C-pillar trim panels, ensuring all clips snap back into place without rattling. Finally, we clean all the windows with a streak-free, foaming glass cleaner and perform a final inspection of the entire work area.
Premium Local SEO Auto Glass Services Across the Greater Toronto Area (GTA)
Driving a rugged GMC Sierra means your schedule is likely packed, whether you are managing construction sites or running a busy household. Taking time out of your day to sit in a repair shop waiting room is simply not an option. That is why AlexWindshield proudly offers fully equipped, mobile auto glass replacement services directly to your location across the Greater Toronto Area (GTA).
Our fleet of specialized mobile service vans is ready to be dispatched to your driveway, office parking lot, or active job site. We strategically service highly populated and rapidly growing areas to ensure fast response times, including:
- Vaughan: From the bustling industrial sectors near Highway 400 to the residential neighborhoods of Woodbridge and Maple, we bring top-tier auto glass solutions directly to you.
- Richmond Hill: Whether you are parked near Yonge Street or in the commercial districts of Beaver Creek, our mobile technicians ensure your Sierra is secured and road-ready in no time.
- Markham: Serving contractors and commuters throughout Markham, we provide rapid, on-site rear window replacements so you never miss a beat in your busy schedule.
No matter where you are located within the GTA, our mobile service guarantees the exact same rigorous, factory-standard installation process as an in-shop visit, ensuring ultimate convenience without sacrificing a single drop of quality.
Why Choose AlexWindshield for Your GMC Sierra?
Your 2014-2018 GMC Sierra 1500 is a significant investment, and compromising on the quality of its auto glass replacement can lead to rust, interior water damage, and faulty electronics. When you choose AlexWindshield, you are choosing decades of collective expertise, master-level craftsmanship, and an unwavering commitment to automotive safety.
We pride ourselves on full transparency, superior materials, and impeccable customer service. Every single back glass replacement we perform is backed by our comprehensive Lifetime Warranty. This warranty protects you against any manufacturer defects, water leaks, or wind noise for as long as you own your truck. Do not let a shattered rear window disrupt your life or compromise your cabin's security. Trust the Master Technicians at AlexWindshield to restore your GMC Sierra's integrity with precision, speed, and absolute professionalism.


