The Undisputed Workhorse: Navigating a Back Glass Replacement for Your 2007-2013 Chevy Silverado 1500
Whether you are hauling heavy construction materials across the Greater Toronto Area or packing up for a weekend getaway, the 2007-2013 Chevrolet Silverado 1500 (built on the legendary GMT900 platform) is an undisputed icon of durability and rugged performance. However, that tough exterior does not make your truck immune to the unexpected. A rogue piece of cargo shifting in the bed, an unfortunate act of vandalism, or a severe impact can instantly shatter your truck's rear window. Unlike windshields, which are made of laminated glass that cracks and spiders, your Silverado's back glass is manufactured from tempered glass. When compromised, it violently explodes into thousands of tiny, razor-sharp pieces, leaving your truck's interior exposed to the harsh Canadian elements and compromising the security of your vehicle.
At AlexWindshield, we understand that a broken rear window brings your workday to a grinding halt. As your premier auto glass experts, we specialize in the meticulous, structurally sound Chevrolet Silverado 1500 back glass replacement. Our Master Technicians combine industry-leading materials with rigorous technical protocols to ensure your truck is restored to its original factory condition, keeping you safe and secure on the road.
Understanding Your 2007-2013 Silverado Rear Window Setup
Before diving into the replacement procedure, it is vital to identify the specific configuration of your 2007-2013 Silverado 1500 rear glass. This generation of trucks offered several distinct back glass variations, each requiring a specific approach during the replacement process:
- Solid Back Glass: A single, uninterrupted pane of tempered glass, often equipped with integrated rear defrost grids.
- Manual Sliding Rear Window: A multi-panel configuration featuring a center pane that unlatches and slides manually along a track.
- Power Sliding Rear Window: A premium multi-panel setup utilizing a motorized cable system hidden behind the rear interior trim, allowing the driver to open the center pane with the push of a button.
Regardless of your specific trim level or glass configuration, the structural integrity of the back glass is highly dependent on the polyurethane bond connecting it to the vehicle's steel pinch weld. Because truck cabs experience significant flex and torque under heavy loads, a precise, flawless installation is non-negotiable.
The AlexWindshield Master Technician Process: Step-by-Step Back Glass Replacement
Replacing the back glass on a 2007-2013 Chevy Silverado requires far more than simply gluing a new piece of glass into a hole. It is a highly technical procedure that demands precision, specialized tooling, and an obsessive attention to detail. Here is the comprehensive, A-to-Z process our Master Technicians execute to ensure a flawless installation.
Step 1: Extensive Damage Assessment and Interior Protection
The moment our mobile service unit arrives at your location, our first priority is protecting the interior of your Silverado. Because tempered glass shatters explosively, shards typically cover the rear seats, the floorboards, and the truck bed. We begin by laying heavy-duty protective drop cloths over your front seats, center console, and dashboard. We also apply protective automotive tape to the exterior paint surrounding the rear window opening to prevent any accidental scratches during the extraction process. Safety glasses, cut-resistant Kevlar gloves, and protective sleeves are equipped by our technicians before handling the damage.
Step 2: Deep Cleaning and Glass Shard Extraction
Unlike a windshield replacement where the glass remains largely intact, a back glass replacement demands exhaustive interior remediation. We utilize high-powered, industrial-grade vacuums to extract all broken glass shards from the vehicle's interior. We meticulously vacuum the rear seat cushions, fold the seats down to reach the hidden crevices, and thoroughly clean the rear carpet. If glass has fallen into the rear cab vents or the seatbelt anchor points, we use specialized detailing attachments to ensure not a single dangerous shard is left behind to pose a risk to you, your passengers, or your pets.
Step 3: Removing Rear Interior Trim and Panels
To properly access the bottom edge of the glass—and to ensure all hidden glass fragments are removed—we must partially disassemble the rear interior. Our technicians carefully remove the rear interior trim panels surrounding the window using specialized non-marring pry tools to prevent damage to your plastics. For models equipped with a power sliding rear window, this step also involves disconnecting the electrical harnesses for the defrost system and meticulously detaching the motorized cable assembly that operates the sliding pane. The rear upper seatback may also be loosened or removed to gain unobstructed access to the lower pinch weld.
Step 4: Cutting Out the Old Urethane and Glass Frame
With the trim removed and the interior protected, we begin the extraction of the remaining glass and the encapsulating frame. We use advanced auto glass cutout tools, such as an oscillating cold knife or an automated wire cutting system, to slice through the original, factory-hardened polyurethane adhesive. This step is performed with extreme care to avoid scraping the underlying steel pinch weld. Once the bond is broken, the remaining glass frame and encapsulated rubber molding are carefully lifted out of the truck cab and safely disposed of.
Step 5: Pinch Weld Preparation and Priming
The secret to a lifetime, leak-proof seal lies in the preparation of the pinch weld (the metal frame of the truck where the glass sits). We utilize razor-sharp auto glass scrapers to pare down the existing polyurethane bead to a precise 1-2mm thickness. This "bed" of old urethane provides the optimal foundation for the new adhesive to bond chemically. Following the trimming, the entire perimeter is cleaned using a specialized, alcohol-based prep solvent to remove all dirt, grease, and moisture. Finally, we apply a high-grade bare-metal primer to any microscopic scratches on the painted pinch weld. This primer serves a dual purpose: it promotes maximum adhesion and acts as a rust inhibitor, preventing long-term corrosion that could eventually cause leaks or structural failure.
Step 6: High-Quality Urethane Application
Once the primer has completely flashed (dried), we prepare the new, OEM-quality back glass. The interior bonding surface of the new glass is cleaned and treated with a specialized glass prep and primer system. Next, we load our power caulking gun with premium, fast-curing automotive polyurethane adhesive. Our Master Technicians extrude the urethane using an industry-standard "V-bead" profile. This triangular shape ensures that when the glass is compressed into place, the adhesive spreads evenly, eliminating air pockets and creating a perfect, watertight seal that matches or exceeds factory specifications.
Step 7: Precision Glass Installation
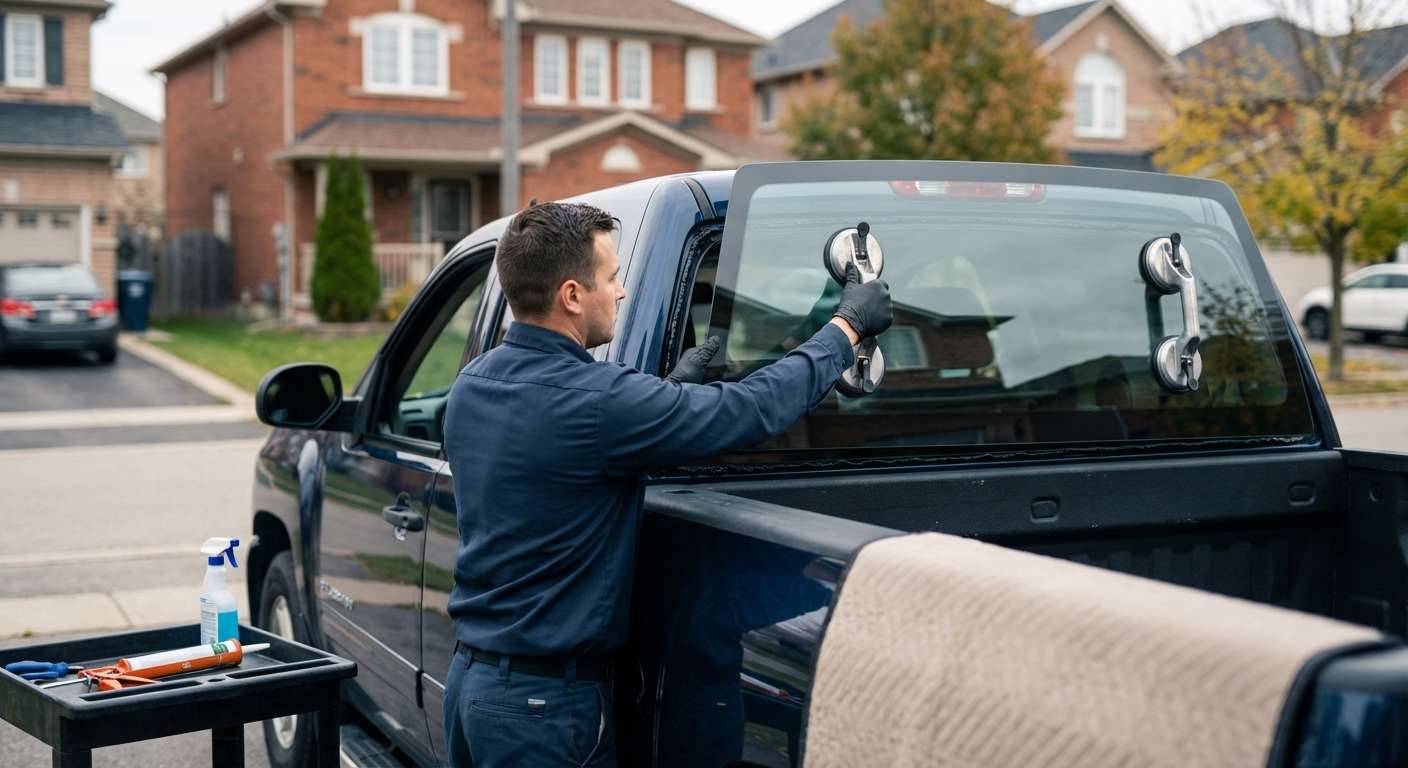
Handling a large, heavy piece of back glass requires steady hands and perfect alignment. Using professional heavy-duty suction cups, our technicians carefully lift the new rear window and precisely align it with the Silverado's pinch weld. The glass is gently pressed into the V-bead of fresh urethane. We measure the gaps around the perimeter to ensure perfectly even spacing. Once perfectly positioned, we apply specialized retention tape to hold the glass firmly in place while the polyurethane begins its chemical curing process. If the truck is equipped with a power slider, the internal cables and defrost wires are reconnected and thoroughly tested for flawless operation.
Step 8: Final Cleanup, Reassembly, and Quality Control
With the glass securely bonded, we begin the reassembly phase. All interior rear trim panels, seat belts, and seat brackets are carefully reinstalled to exact factory torque specifications. We perform a secondary, comprehensive vacuuming of the interior to ensure absolute cleanliness. The newly installed back glass is then cleaned with foaming automotive glass cleaner until it is completely streak-free. Finally, our Master Technician reviews the Safe Drive-Away Time (SDAT) with you, ensuring the urethane has cured enough to safely withstand driving vibrations and sudden stops.
Mobile Auto Glass Services Across the Greater Toronto Area (GTA)
Driving a Chevy Silverado with a shattered back window is not only uncomfortable due to wind, noise, and weather, but it is also highly unsafe. At AlexWindshield, we believe you shouldn't have to interrupt your busy schedule or risk driving a compromised vehicle to get top-tier auto glass service. That is why we bring the auto glass shop directly to you.
We are proud to offer comprehensive, fully-equipped mobile service across the Greater Toronto Area (GTA). Whether you are at a job site overseeing construction, parked in your driveway, or sitting in an office parking lot, our fleet of mobile technician vans is ready to be dispatched. We specifically provide expedited, same-day or next-day service to key regions, including:
- Vaughan: From the busy industrial sectors of Concord to the residential neighborhoods of Woodbridge, we provide rapid response back glass replacement for local contractors and families alike.
- Richmond Hill: Whether you are near the bustling Highway 7 corridor or further north in Oak Ridges, our technicians arrive on time with all the specialized tools required for your specific Silverado model.
- Markham: Serving everywhere from Unionville to Cornell, we ensure Markham residents receive premium OEM-quality glass installations without having to leave their homes or workplaces.
Choose AlexWindshield: Your Trusted Auto Glass Experts
Your 2007-2013 Chevrolet Silverado 1500 deserves the highest standard of care, and an inferior glass installation can lead to interior water damage, rust, and safety hazards. Do not trust your vehicle to just anyone. Choose the proven expertise of the Master Technicians at AlexWindshield.
We are committed to delivering uncompromising quality, utilizing only industry-leading polyurethane adhesives and OEM-equivalent glass. Because we stand confidently behind the precision of our workmanship, every back glass replacement we perform is backed by our comprehensive Lifetime Warranty against leaks, wind noise, and manufacturer defects for as long as you own the vehicle.
If you are dealing with a shattered rear window, don't wait for the rain or snow to ruin your truck's interior. Experience the ultimate in convenience, technical mastery, and customer service with the top-rated mobile auto glass service in the GTA. Contact AlexWindshield today to schedule your Silverado back glass replacement and get back on the road with total confidence.


