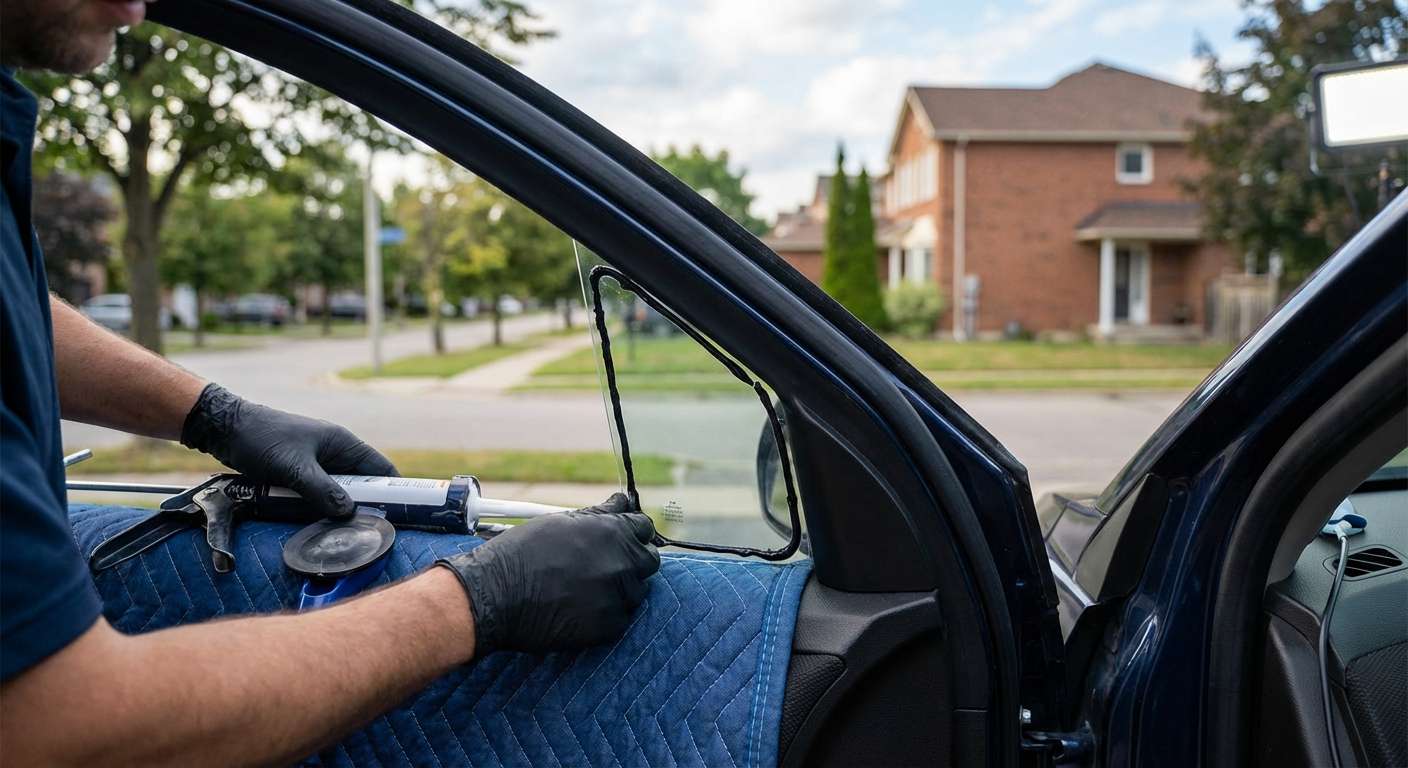
The Chevrolet Cruze 2011-2015: Compact Brilliance Meets Superior Auto Glass Care
The 2011-2015 Chevrolet Cruze (J300 generation) completely redefined the compact sedan segment with its rigid body structure, whisper-quiet cabin, and sleek aerodynamic profile. Built to offer a premium driving experience in a fuel-efficient package, its sculpted greenhouse is a marvel of modern automotive design. However, that beautiful glass architecture comes with a specific vulnerability: the vent glass. Often targeted by opportunistic thieves due to its proximity to the interior door locks, or shattered by unexpected road debris, a damaged vent glass on your Chevy Cruze is more than just a cosmetic eyesore. It is an immediate compromise to your vehicle's security, climate control efficiency, and acoustic dampening. As a Master Technician at AlexWindshield, I have replaced countless vent glasses on this specific vehicle generation, understanding every nuance of its intricate door assembly and weather-sealing mechanics.
Why Prompt Vent Glass Replacement is Crucial for Your Chevy Cruze
Ignoring a shattered or cracked vent glass is never an option for a discerning vehicle owner. The vent glass plays a surprisingly vital role in the overall structural ecosystem of your Chevrolet Cruze. Here is why immediate vent glass replacement is absolutely essential:
- Vehicle Security: The vent glass is the most common entry point for break-ins. Leaving it damaged or temporarily patched with plastic leaves your Cruze highly vulnerable to theft and vandalism.
- Acoustic Insulation: The 2011-2015 Chevrolet Cruze is celebrated for its quiet ride, utilizing specialized acoustic treatments. A broken vent glass destroys this sound barrier, allowing excessive wind and road noise into the cabin.
- Weather Protection: Water infiltration from a compromised vent glass seal can cause catastrophic damage to the sensitive electrical components housed within your door panels, including power window motors and locking actuators.
- Occupant Safety: Vent glass is manufactured from tempered safety glass. When struck, it explodes into thousands of tiny, granular chunks. If not properly addressed, these shards pose a severe cutting hazard to passengers.
Expert Vent Glass Replacement Across the Greater Toronto Area (GTA)
At AlexWindshield, we know that glass damage rarely happens at a convenient time. That is why we proudly offer comprehensive mobile auto glass services across the Greater Toronto Area (GTA). Whether you are parked at a GO Transit station in Vaughan, running daily errands in the bustling commercial districts of Richmond Hill, or working out of a corporate office in Markham, our fully equipped mobile service vans bring the auto glass shop directly to you. You do not have to drive your Chevrolet Cruze with a plastic bag taped over your window; our technicians arrive on-site with the exact 2011-2015 Cruze vent glass and premium adhesives required to restore your vehicle to factory condition.
Master Technician's Step-by-Step Guide: Chevrolet Cruze Vent Glass Replacement
Replacing the vent glass on a 2011-2015 Chevrolet Cruze is a highly technical process that requires precision, specialized tools, and a deep understanding of General Motors' door architecture. Because this involves access through the door structure and working with advanced automotive adhesives, it is a job strictly for professionals. Here is our meticulous, A-to-Z process for performing a flawless Chevrolet Cruze vent glass replacement.
Step 1: Vehicle Assessment and Interior Protection
Before any tools are lifted, we conduct a thorough assessment of the damage. We inspect the surrounding window run channels, the primary roll-up door glass, and the exterior paint for any collateral damage. Next, we implement strict protective measures. We drape heavy-duty protective blankets over the exterior door paint to prevent accidental scratches. Inside the cabin, we cover the seats, center console, and floorboards with drop cloths. Protecting your vehicle’s interior from sharp debris and specialized automotive chemicals is our first priority.
Step 2: Safe Removal of Interior Trim and Door Panels
To access the internal mounting structure of the vent glass, the interior door panel must be carefully dismantled. Using specialized nylon pry tools, we gently unclip the decorative trim pieces to expose the hidden 7mm mounting bolts behind the door handle and the armrest cavity. Once the bolts are extracted, we carefully disengage the plastic retaining clips around the perimeter of the door card, ensuring none are snapped in the process. We then disconnect the power window switch harnesses and the door latch cable before completely setting the interior door panel aside in a safe location.
Step 3: Comprehensive Glass Shard Extraction and Vacuuming
Because vent glass is tempered, a break results in thousands of tiny glass fragments migrating deep into the vehicle. Vacuuming all broken glass shards from the vehicle's interior and the internal door cavity is a mandatory and exhaustive step at AlexWindshield. We peel back the delicate moisture vapor barrier inside the door to access the lower door shell. Using a high-powered, industrial shop vacuum equipped with specialized micro-crevice attachments, we extract every single shard of glass from the inner door bottom, the window regulator tracks, the weatherstripping, and the vehicle's carpets and seating surfaces. Leaving even a single shard behind can cause future rattling, damage the window regulator mechanism, or pose a safety risk to passengers.
Step 4: Removal of the Damaged Vent Glass and Frame Preparation
With the inner door cavity pristine, we proceed to remove the division bar—the metal channel that separates the roll-up door glass from the fixed vent glass. We unbolt the division bar from the top of the door frame and the bottom of the door shell, carefully sliding it out of the way. We then extract any remaining pieces of the broken vent glass from the pinch weld and rubber encapsulated frame. If the original vent glass utilizes a bonded urethane seal, we use a specialized cold knife to carefully cut away the old adhesive bead, leaving exactly one to two millimeters of the original urethane as a perfect bonding base for the new installation.
Step 5: Precision Cleaning and Surface Primer Application
The success of any auto glass replacement relies entirely on the chemical bond between the glass and the vehicle's frame. We clean the entire mounting area, the pinch weld, and the surrounding weatherstripping with a specialized, alcohol-based automotive glass cleaner to remove dirt, grease, and old debris. Next, we apply a high-performance primer application to both the vehicle's metal pinch weld (if any bare metal was exposed during removal) and the bonding edge of the new vent glass. This black frit primer serves a dual purpose: it promotes aggressive chemical adhesion for the urethane and protects the new adhesive from UV degradation caused by sunlight.
Step 6: Flawless Installation of the New Glass with High-Quality Adhesive
Once the primer has flashed and properly cured, we prepare our premium, fast-curing polyurethane high-quality adhesive. Utilizing an electric caulking gun for absolute consistency, we apply a uniform, triangular bead of urethane adhesive directly onto the prepared bonding surface. The new, OEM-equivalent 2011-2015 Chevrolet Cruze vent glass is then meticulously aligned and pressed into the door frame. We apply precise, even pressure to ensure the glass seats perfectly against the adhesive bead, creating an impenetrable, watertight, and airtight seal. We then secure the glass with specialized retention tape while the rapid-cure adhesive sets.
Step 7: Reassembly and Final Quality Inspection
While the high-quality adhesive achieves its safe drive-away time, we reverse the disassembly process. We reinstall the metal division bar, ensuring the primary roll-up window is perfectly aligned in its rubber run channel. We meticulously reseal the moisture vapor barrier to prevent future water leaks into the cabin. The interior door panel is then carefully snapped back into place, the 7mm bolts are torqued to factory specifications, and the power window harnesses are reconnected. Finally, we conduct a rigorous quality assurance check. We test the operation of the primary roll-up window, clean the newly installed vent glass to a streak-free shine, and inspect the outer seals to guarantee your Chevrolet Cruze looks exactly as it did the day it rolled off the assembly line.
Why Choose AlexWindshield for Your Chevrolet Cruze Auto Glass Needs?
When it comes to the safety and integrity of your compact sedan, compromising on quality is a mistake. AlexWindshield stands above the competition by strictly adhering to factory-approved installation protocols. Our Master Technicians undergo continuous training to handle the specific geometric and structural demands of vehicles like the 2011-2015 Chevrolet Cruze. By combining state-of-the-art tools, industry-leading chemical adhesives, and OEM-quality replacement glass, we guarantee a repair that restores the structural rigidity and acoustic comfort you expect from your vehicle.
Secure Your Ride with AlexWindshield's Lifetime Warranty
Do not let a shattered vent glass disrupt your busy life in the Greater Toronto Area (GTA). Whether you require mobile service dispatched to your home in Markham, your workplace in Richmond Hill, or a shopping center in Vaughan, our team is ready to deliver flawless results directly to your location. We stand firmly behind the precision of our craftsmanship and the durability of our materials. That is why every single installation performed by AlexWindshield is backed by our comprehensive Lifetime Warranty, protecting you against any manufacturer defects, air leaks, or water leaks for as long as you own your Chevrolet Cruze. Trust the true auto glass experts—contact AlexWindshield today for unparalleled service, unmatched expertise, and total peace of mind on the road.


