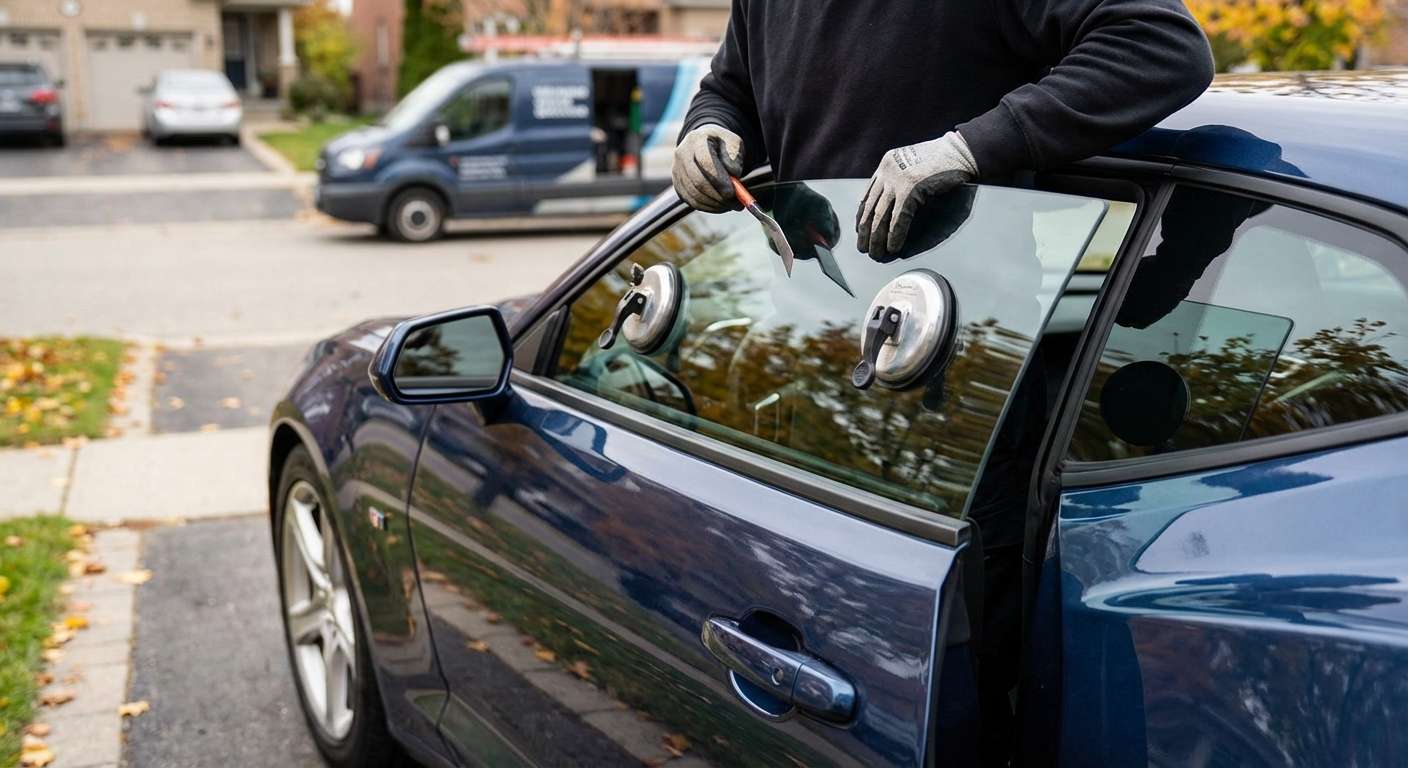
The Sixth-Gen Thrill: Restoring the Sleek Profile of Your Chevrolet Camaro
The 2016-2024 Chevrolet Camaro, built on the advanced Alpha platform, is an engineering marvel that seamlessly blends aggressive muscle-car heritage with modern sports car dynamics. One of the defining aesthetic features of this sixth-generation icon is its high beltline and chopped-roof profile, which results in a distinctly narrow, heavily tinted, and aerodynamically contoured door glass. Because the Camaro utilizes a frameless door window design, the door glass plays a critical structural and acoustic role, forming a precise seal against the body weatherstripping to keep wind noise out and cabin pressure stabilized. When this glass shatters—whether due to a break-in, an impact from road debris, or a severe temperature fluctuation—it doesn't just ruin the aggressive aesthetic of your vehicle; it exposes your meticulously crafted interior to the elements and renders the vehicle unsafe to drive.
At AlexWindshield, we understand that working on a precision performance vehicle requires more than just basic mechanical skills. As a Master Technician, I have seen firsthand how improperly installed door glass on frameless vehicles leads to aggressive wind leaks, rattles, and premature window regulator failure. Replacing the door glass on a 2016-2024 Chevrolet Camaro requires a highly specialized approach, deep technical knowledge of GM's window indexing systems, and a commitment to meticulous craftsmanship.
Comprehensive Mobile Auto Glass Coverage Across the Greater Toronto Area (GTA)
We know that a shattered window is a massive inconvenience that disrupts your day and compromises your vehicle's security. You shouldn't have to drive your Camaro across town with a missing window, exposed to the elements and traffic noise. That is why AlexWindshield brings our state-of-the-art auto glass repair facility directly to you. We provide premium mobile auto glass services across the entire Greater Toronto Area (GTA).
Whether you are at your home garage in Vaughan, parked at your office complex in Richmond Hill, or visiting a commercial center in Markham, our fully equipped mobile service vans arrive on-site with all the necessary tools, OEM-equivalent glass, and advanced adhesives to complete the job flawlessly. We navigate the busy corridors of Highway 400, Highway 7, and the 407 to ensure rapid response times, delivering unparalleled convenience and safety right to your doorstep.
Step-by-Step Chevrolet Camaro Door Glass Replacement Process
Replacing the door glass on a 2016-2024 Chevrolet Camaro is a rigorous, multi-step process. Unlike standard framed windows, the frameless design relies heavily on precise alignment, specialized mounting brackets, and strict chemical bonding procedures. Here is the comprehensive, A-to-Z Master Technician process we follow at AlexWindshield to ensure your vehicle is restored to factory specifications.
Step 1: Complete Interior Protection and Initial Preparation
Before any tools are lifted, we must secure the workspace. The tight, driver-focused cockpit of the Camaro features premium materials, leather upholstery, and sensitive electronics that must be protected.
- Surface Masking: We apply automotive-grade protective tape to the exterior door paint to prevent any accidental scratches during the removal and installation process.
- Interior Shielding: We drape heavy-duty protective mats over the seats, center console, and steering wheel.
- Debris Containment: A protective barrier is placed over the door sill and floorboards to catch any loose glass shards that may dislodge during the initial disassembly.
Step 2: Door Panel Removal and Component Disconnection
To access the inner workings of the Camaro's door, the interior door trim panel must be carefully removed without damaging the mounting clips or the structural integrity of the panel.
- Hardware Extraction: We locate and remove the hidden Torx fasteners located behind the door release handle and beneath the armrest cover.
- Trim Separation: Using specialized, non-marring nylon pry tools, we gently disengage the perimeter retaining clips that secure the panel to the steel door shell.
- Electrical Disconnection: The Camaro is heavily wired. We carefully unclip the wiring harnesses for the power window switches, the ambient spectrum lighting, the power lock actuators, and the Bose premium audio speakers.
- Vapor Barrier Removal: We meticulously peel back the factory water deflector (vapor barrier) using a heat gun to soften the butyl rubber sealant, ensuring it can be perfectly resealed later to prevent cabin water leaks.
Step 3: Deep Vacuuming of Broken Glass Shards
When tempered door glass shatters, it explodes into thousands of tiny, granular pieces. Leaving even a single shard inside the door cavity can cause severe mechanical damage to the moving regulator or create an infuriating rattle every time you close the door or hit a bump in the GTA.
- Primary Extraction: We use an industrial, high-suction vacuum with specialized micro-crevice attachments to remove all visible glass from the seats, floor mats, and window sills.
- Inner Door Cavity Purge: We reach deep into the bottom of the metal door shell, vacuuming out the heavy accumulation of glass shards.
- Track and Drain Clearance: We thoroughly clean the rubber window run channels and ensure the factory water drain holes at the bottom of the door shell are completely free of glass dust and debris to prevent future rust.
Step 4: Removal of the Old Glass and Hardware
With the cavity clean, we must prepare the window regulator (the mechanical scissor or cable mechanism that lifts the glass) for the new installation.
- Bracket Inspection: We locate the window regulator mounting brackets. In many cases of shattered glass, the original mounting clips still hold fragments of the broken glass.
- Hardware Unbolting: We loosen the primary retaining bolts and carefully extract the old glass remnants and damaged mounting hardware from the regulator track.
- Mechanism Test: We temporarily reconnect the power window switch to test the regulator's upward and downward movement, ensuring the motor and cables were not damaged during the glass breakage.
Step 5: Surface Cleaning, Primer Application, and Adhesive Use
Because the 2016-2024 Camaro features a frameless window design, the glass must be rock-solid within its lower lifter brackets to prevent the window from shifting or pulling out of the track at high speeds. This requires a strict chemical bonding process.
- Chemical Surface Cleaning: We treat the lower edge of the new premium door glass and the regulator mounting brackets with an alcohol-based, specialized glass cleaner to remove all manufacturing oils, fingerprints, and debris.
- Primer Application: We apply a high-grade automotive glass primer to the specific bonding areas at the base of the new window. This primer acts as a chemical bridge, promoting maximum adhesion and protecting the bond from UV degradation.
- High-Quality Adhesive Application: We apply a precise bead of high-quality, fast-curing urethane adhesive into the mounting channels and lifter brackets. This heavy-duty adhesive guarantees a watertight, vibration-proof bond that secures the heavy tempered glass directly to the mechanical lifting mechanism.
Step 6: Installation of the New Premium Glass
With the adhesive prepared, the new glass is ready to be set into the vehicle.
- Precision Placement: The heavy door glass is carefully angled and lowered into the door cavity from the top, sliding perfectly into the vertical weatherstripping guide tracks.
- Bracket Seating: We align the bottom of the glass with the freshly primed and adhesive-lined mounting brackets on the regulator.
- Securing the Mounts: The retaining bolts are torqued to the exact factory specifications, locking the glass into the urethane adhesive for a permanent structural hold.
Step 7: Reassembly, Window Alignment, and Final Testing
The final stage ensures the Camaro functions exactly as it did the day it rolled off the assembly line.
- Vapor Barrier Restoration: We press the vapor barrier back into the butyl rubber sealant, ensuring an airtight and watertight seal against the inner door frame.
- Panel Reassembly: All electrical harnesses are reconnected, the interior door panel is snapped back into place, and all hidden Torx screws are tightened.
- Indexing Calibration (Crucial Step): Because the Camaro uses frameless doors, it utilizes a "short-drop" or indexing feature—the glass drops a fraction of an inch when the door handle is pulled and pushes back up under the weatherstripping when the door closes. We perform a manual reset of the window motor module to calibrate the upper and lower limits, ensuring the glass creates a perfect aerodynamic seal without crushing the roof trim.
- Final Polish: The new glass is wiped down with an ammonia-free cleaner, leaving a streak-free, crystal-clear finish.
Choose AlexWindshield for Your Camaro
When you drive a precision machine like the 2016-2024 Chevrolet Camaro, you cannot afford to compromise on replacement parts or technical expertise. Shoddy workmanship leads to unbearable wind noise, water leaks, and scratched window tint. You need a Master Technician who understands the unique demands of frameless window architecture and the specific technical requirements of high-performance vehicles.
AlexWindshield is recognized as the premier, trusted expert for mobile auto glass services throughout the GTA, proudly servicing Vaughan, Richmond Hill, and Markham. We combine elite technical proficiency, industry-leading adhesives, and unparalleled customer convenience. Best of all, we stand behind our craftsmanship with an industry-leading Lifetime Warranty on our workmanship, guaranteeing your new door glass will be free from water leaks, air noises, and manufacturer defects for as long as you own your vehicle. Do not let a broken window keep your Camaro off the road. Contact AlexWindshield today to schedule your mobile door glass replacement and experience the pinnacle of auto glass service.


