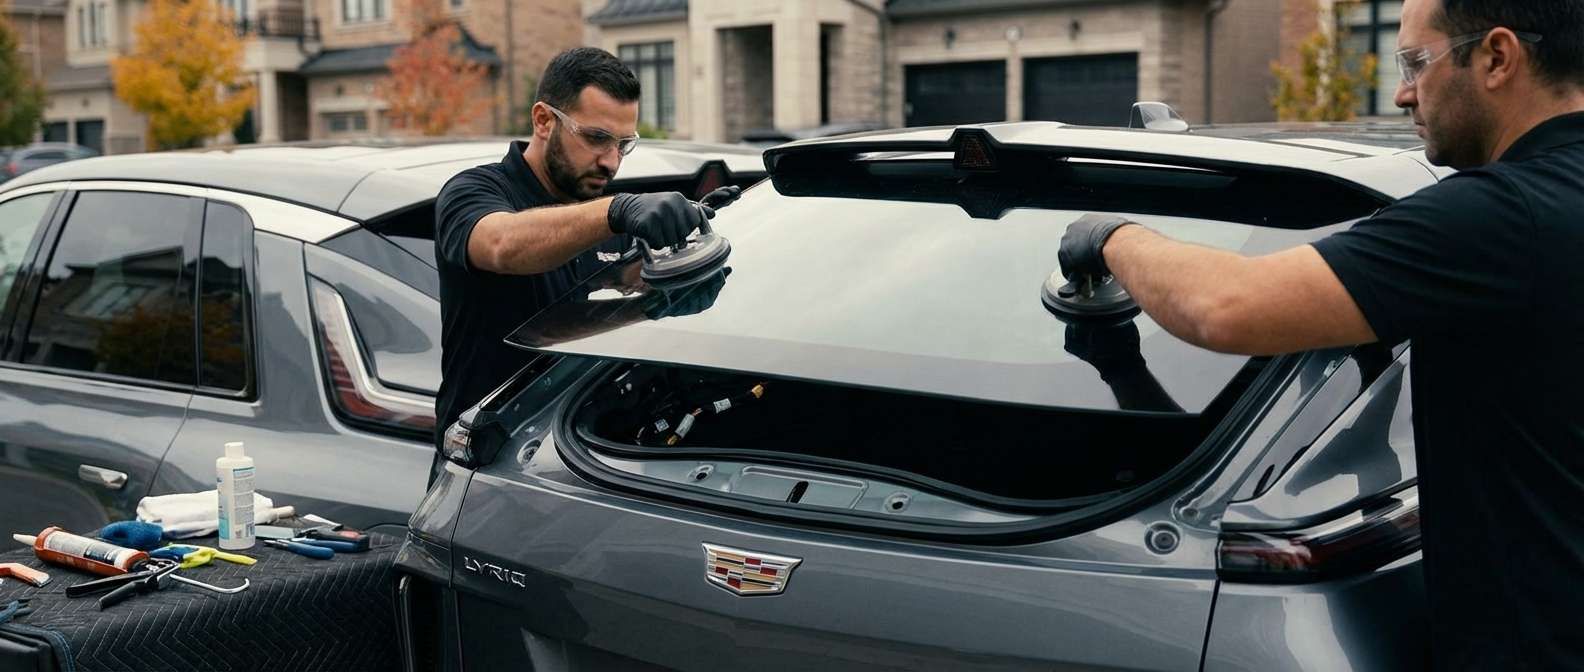
Rear Liftgate Glass Architecture and Hardware Verification
Checking the replacement backlite for this luxury electric crossover requires examining the glass layout before it ever approaches the liftgate frame. The correct aftermarket part maps to NAGS DB13742, often listed as DB13742YPN, which reflects the factory dark privacy tint and integrated defroster grid. One distinct characteristic I always verify immediately out of the crate is the complete absence of a rear wiper hole. Cadillac engineered the rear hatch without a traditional wiper assembly, choosing instead to manage water clearing via an aerodynamic flow-through roof spoiler that directs airflow downward over the backlite. If a pane has a through-hole cut into the lower glass, it belongs to an entirely different crossover.
The factory privacy tint is deep and uniform, meeting the dense black ceramic frit perimeter masking that hides the body flanges. Embedded into this frit are the vertical busbars and copper terminal solder pads for the heated defogger grid. When a rear window shatters on this vehicle, broken tempered chunks inevitably fall behind the interior liftgate trim panels that protect the liftgate release mechanics and access wiring. Once an appointment is confirmed, I can usually be at your location within about an hour of booking to pull those inner access liners, vacuum the interior hatch shell, and inspect the electrical harness terminals.
Electrical Contacts and Aero Spoiler Clearances
Before proceeding with any electrical connections, I run an electrical continuity check across the terminal tabs of the DB13742 glass. The defroster tabs must align precisely with the factory power leads running through the interior liftgate harness. Because this vehicle relies strictly on the heated grid and high-speed wind deflection rather than a mechanical wiper blade, any hairline break in the conductive grid lines will quickly result in mist and road spray settling over the rear viewing area during slow commutes. The electrical contacts must be physically solid, properly soldered to the frit, and free of transport stress fractures.
Clearance around the perimeter trim requires careful attention, particularly near the top edge and the flanks. The upper boundary of the glass tucks directly beneath the overhang of the upper rear aero spoiler, which houses the high-mount third brake light. On the sides, the glass sits in close proximity to Cadillac's signature vertical LED taillight assemblies that frame the liftgate. I dry-fit the pane against these exterior components to ensure uniform reveal gaps all the way around. The glass cannot contact the rigid plastic edges of the upper aero housing or the vertical light housings, as road vibrations transmitted through the liftgate could stress the tempered edge.
Post-Installation Checks for Defrosting and Camera Housings
Once the backlite is mounted into the rear hatch, the focus shifts to verifying the defroster circuits and confirming that surrounding electronic housings remain undisturbed. While the front windshield of this crossover carries forward-facing ADAS cameras and moisture sensors, the rear backlite itself carries no optical sensor brackets or rain sensors. The digital rearview camera and surround-view parking lenses sit externally in the liftgate applique below the glass sweep rather than behind it. However, I always power on the rear defogger circuit to confirm that the vehicle's electrical system recognizes the heating element without throwing an error code on the main display.
I also inspect the physical alignment of the high-mount brake light directly above the top edge of the newly set backlite. The airflow channel between the roof spoiler and the glass surface must remain completely unobstructed, matching factory body lines so that air can sweep cleanly across the glass face when driving. Finally, the interior liftgate trim panels are reseated securely to guarantee that none of the plastic retainers press against the inner defroster wiring leads or the glass perimeter.


