Mastering Bespoke Luxury: Cadillac CELESTIQ 2024-2027 Vent Glass Replacement
The Cadillac CELESTIQ 2024-2027 is not simply a vehicle; it is a hand-built, ultra-luxury electric masterpiece that represents the absolute pinnacle of modern automotive engineering and bespoke craftsmanship. Every single component, right down to the sophisticated acoustic glass, is designed to provide an unparalleled, whisper-quiet cabin experience. When the vent glass on your CELESTIQ suffers damage—whether from a targeted break-in, a severe road debris impact, or structural stress—it shatters the serene sanctuary of your luxury EV. Restoring this intricate piece of engineering requires far more than a standard glass swap; it demands the precision, extreme care, and technical mastery of a specialized auto glass technician.
At AlexWindshield, we understand the exacting standards required to service ultra-premium electric vehicles. As a senior auto glass Master Technician, I have developed a meticulous, fail-safe protocol specifically tailored for the intricate vent glass replacement on the 2024-2027 Cadillac CELESTIQ. We do not compromise on materials, techniques, or attention to detail, ensuring your prized EV is restored to its flawless factory condition.
Why the CELESTIQ Vent Glass Requires Master-Level Expertise
The vent glass (often referred to as quarter glass) on a flagship vehicle like the Cadillac CELESTIQ is tightly integrated into the vehicle's aerodynamic profile and acoustic sealing system. Because this glass is typically tempered, an impact will cause it to explode into thousands of granular pieces. If not handled correctly, these shards can embed themselves deep within the bespoke leather, the specialized interior trims, and the complex internal door cavities, causing persistent rattles and potentially damaging internal electronic components.
Furthermore, luxury EVs utilize highly specific mounting tracks, hidden encapsulation, and high-strength adhesives to maintain structural rigidity and eliminate wind noise. An amateur installation will almost certainly result in high-speed wind whistling, water leaks, or damage to the CELESTIQ's immaculate interior panels. That is why AlexWindshield strictly adheres to a premium, step-by-step restoration process.
Our Master Technician Step-by-Step Vent Glass Replacement Process
Step 1: Comprehensive Pre-Inspection and Ultimate Interior Protection
Before any tools are utilized, we conduct a thorough pre-inspection of the damage. The CELESTIQ features delicate, handcrafted interior materials that must be shielded at all costs. Our preparation process includes:
- Applying Protective Masking: We apply automotive-grade, non-marring tape around the exterior window frame to protect the flawless paintwork from accidental scratches during the removal process.
- Deploying Interior Drop Cloths: Heavy-duty, soft-backed protective drop cloths are draped over the customized leather seating, center console, and floor mats to catch any stray glass particles.
- Assessing Electronic Integration: We verify the condition of any surrounding electrical components, such as power window regulators or ambient lighting tracks, ensuring they have not been compromised by the glass impact.
Step 2: Safe Removal of the Interior Door Panels and Remaining Glass
To properly access the mounting points of the vent glass, we must dive into the door or quarter-panel architecture.
- Precision Panel Removal: Using specialized, soft-nylon trim removal tools, we delicately unclip and remove the interior door panels or C-pillar trims. We carefully disconnect the complex wiring harnesses associated with the CELESTIQ's premium audio system and ambient lighting.
- Extracting the Frame: If the vent glass is bolted, we loosen the hidden torx screws and track bolts. If it is urethane-bonded, we use an advanced cold-knife or specialized wire-cutting system to slice through the old adhesive without grazing the vehicle's metal pinch weld.
- Removing the Old Glass: We carefully extract any remaining glass chunks still clinging to the frame or adhesive bed.
Step 3: Deep Vacuuming and Complete Glass Shard Eradication
Because vent glass shatters violently, microscopic shards will inevitably fall into the interior door cavity. This step is non-negotiable for a silent ride.
- Cavity Extraction: We use an industrial-grade, high-suction HEPA vacuum equipped with micro-crevice tools to reach the deepest corners of the door shell.
- Clearing the Drainage Holes: We ensure that the water drainage holes at the bottom of the door are completely free of glass dust, which could otherwise cause future rust or water accumulation.
- Cabin Cleanup: We meticulously vacuum the surrounding interior, including the seat seams, carpets, and tracks, guaranteeing that not a single speck of broken glass is left behind to endanger the driver or passengers.
Step 4: Precision Surface Preparation and Cleaning
An auto glass installation is only as strong as the surface it bonds to. Poor preparation leads to leaks and catastrophic adhesive failure.
- Trimming the Old Urethane: We expertly trim down the factory polyurethane adhesive bed to an ultra-thin, uniform layer (roughly 1-2 millimeters). This provides the perfect base for the new adhesive to bind chemically.
- Chemical Decontamination: The pinch weld and surrounding metal are thoroughly scrubbed using alcohol-based, lint-free auto glass cleaning solvents. This eradicates any dirt, road grime, moisture, or oils that could impede the bonding process.
Step 5: High-Performance Primer Application
To ensure a watertight and structurally sound fit for the Cadillac CELESTIQ, chemical priming is strictly enforced in our protocol.
- Applying Glass Primer: The bonding edge of the new, OEM-equivalent vent glass is treated with a specialized glass activator and primer to promote maximum adhesion.
- Pinch Weld Treatment: If any bare metal was exposed during the removal of the old adhesive, we immediately apply a highly corrosive-resistant metal primer. This step seals the metal and guarantees rust will never form beneath your new glass.
Step 6: Flawless Installation with Premium Urethane Adhesive
With the framework prepped and primed, we proceed to the critical installation phase.
- Applying the V-Bead: We utilize an electric caulking gun to apply a flawless "V-bead" of premium, fast-curing automotive-grade polyurethane adhesive. The V-shape ensures an even, air-tight spread when the glass is compressed into place.
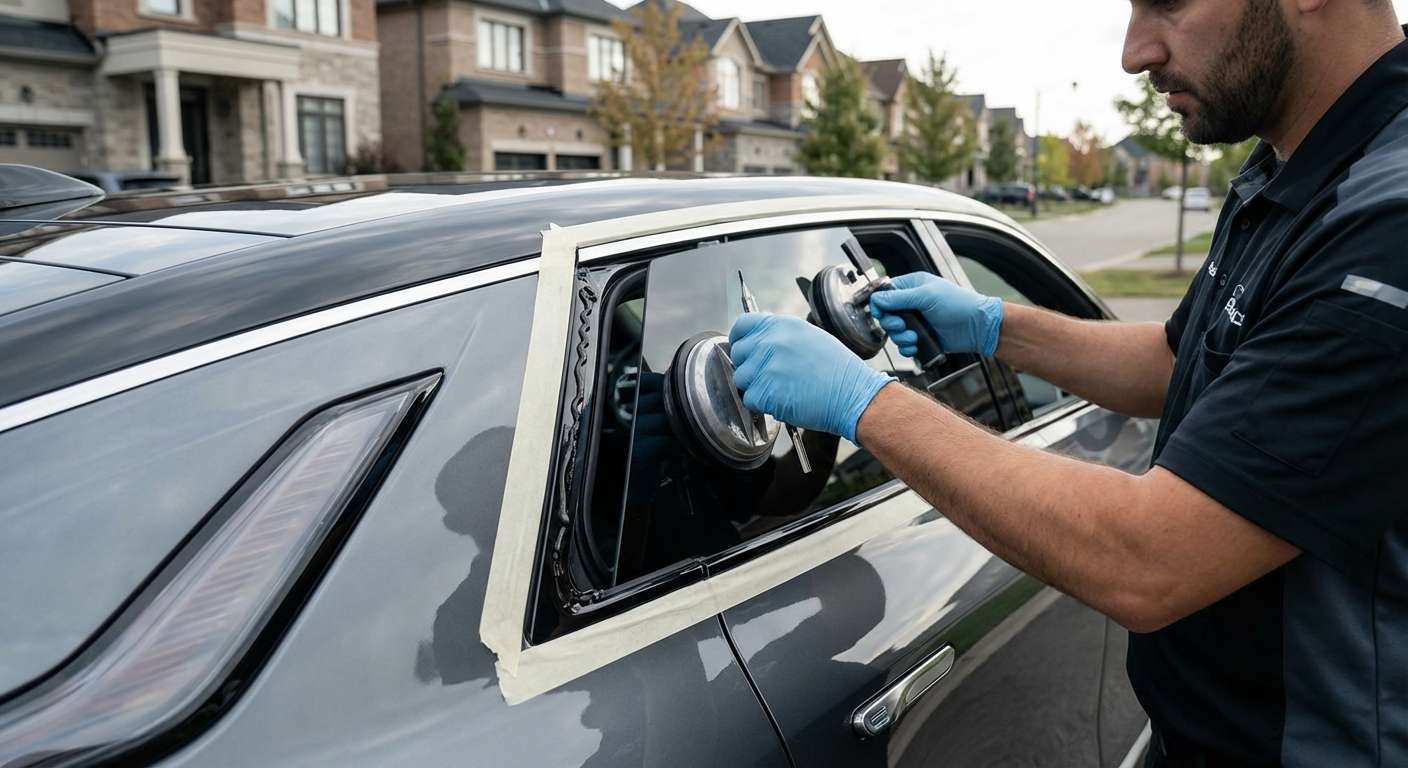
- Seating the Vent Glass: Using specialized suction lifters, we carefully position the new vent glass into the frame. We apply precise, even pressure to compress the urethane, ensuring a flush fit that perfectly matches the aerodynamic contour of the CELESTIQ.
- Reassembling the Interior: Once the glass is locked in place, we meticulously reinstall the interior door panels, reconnect all electronic harnesses, and ensure all clips are tightly secured with zero gaps.
Step 7: Final Curing, Testing, and Quality Assurance
Before handing the keys back, we ensure the vehicle meets our strict safety and aesthetic standards.
- Curing Time: We observe the specific Safe Drive-Away Time (SDAT) dictated by our advanced fast-cure urethane, ensuring the vehicle is structurally safe to operate.
- Leak and Noise Testing: We conduct a thorough inspection of the seals to ensure absolute watertight integrity and the elimination of any potential wind noise.
- Final Polish: The new vent glass, along with the surrounding windows, is polished with professional-grade glass cleaner to leave your CELESTIQ looking showroom ready.
Elite Mobile Auto Glass Services Across the Greater Toronto Area (GTA)
We know that as a Cadillac CELESTIQ owner, your time is incredibly valuable. Driving a vehicle with a shattered window to a traditional repair shop is not just inconvenient; it exposes your luxury interior to the elements. That is why AlexWindshield brings our state-of-the-art auto glass repair facility directly to you. We are proud to offer premium mobile auto glass service throughout the Greater Toronto Area (GTA).
Whether your bespoke EV is securely parked at your private estate in Vaughan, outside your corporate office building in Richmond Hill, or at a high-end luxury garage in Markham, our fully equipped mobile units arrive on-site with everything required to complete the job. Our Master Technicians are intimately familiar with the unique neighborhoods and road networks of the GTA, ensuring prompt, reliable, and entirely discreet service. From Vaughan's affluent subdivisions to the bustling tech hubs of Markham and the refined communities of Richmond Hill, your CELESTIQ is in the hands of local experts.
The AlexWindshield Lifetime Warranty: Our Commitment to Excellence
Trusting someone to dismantle and restore a vehicle as valuable and complex as the 2024-2027 Cadillac CELESTIQ requires absolute confidence. At AlexWindshield, we stand behind our unparalleled craftsmanship. Every single vent glass replacement we perform is backed by our comprehensive Lifetime Warranty. This ironclad guarantee covers any potential air leaks, water leaks, or manufacturer defects in the glass or adhesive for as long as you own the vehicle. We don't just replace glass; we restore your peace of mind and protect your automotive investment.
Book Your Cadillac CELESTIQ Vent Glass Replacement Today
Do not let a shattered or compromised vent glass ruin the aesthetic perfection or the silent cabin experience of your luxury EV. If you require specialized, meticulous, and expert auto glass care, choose the premier mobile auto glass specialists in the GTA. Contact AlexWindshield today to schedule your Cadillac CELESTIQ 2024-2027 vent glass replacement in Vaughan, Richmond Hill, Markham, or anywhere else across the Greater Toronto Area. Experience the master-level service your vehicle truly deserves.


