Expert Vent Glass Replacement for Buick Regal TourX / Sportback (2018-2020)
The 2018-2020 Buick Regal TourX and Sportback represent a unique era in automotive history, blending the versatility of a European-designed sport wagon and liftback with the distinct luxury of the Buick nameplate. These vehicles, built on the sophisticated Opel Insignia platform, feature sleek lines and specific aerodynamic glass contours that separate them from standard domestic sedans. However, when the rear vent glass—the small, fixed triangular window located in the rear door frame—is damaged due to vandalism, road debris, or an accident, it disrupts the vehicle's structural integrity, security, and quiet cabin acoustics. At AlexWindshield, we specialize in the precise replacement of this specific glass component, ensuring your Regal is restored to factory specifications.
Vent glass replacement is often more complex than a standard door glass repair because it involves intricate disassembly of the door partition and precise bonding techniques. As a Master Technician at AlexWindshield, I am here to guide you through our comprehensive, industry-leading process for replacing the vent glass on your Buick Regal TourX or Sportback.
Why Vent Glass Damage Requires Immediate Attention
The vent glass (often referred to as the quarter light or fixed door glass) plays a critical role in the operation of your rear windows. Unlike the main window that rolls up and down, this piece is permanently fixed within the door frame, often serving as a guide channel for the main window glass. When this glass breaks, it typically shatters into thousands of small cubes of tempered safety glass.
Ignoring a broken vent glass leads to several risks:
- Security Vulnerability: A broken vent is an open invitation for theft and exposes your vehicle's interior to the elements.
- Mechanical Failure: Shards of broken glass fall deep into the door cavity, potentially jamming the window regulator mechanism, damaging the speaker cones, or clogging the water drainage holes at the bottom of the door.
- Cabin Noise: Even a small crack can compromise the aerodynamic seal, leading to whistling wind noise and water leaks during car washes or rainstorms.
Service Availability: Mobile Auto Glass in the GTA
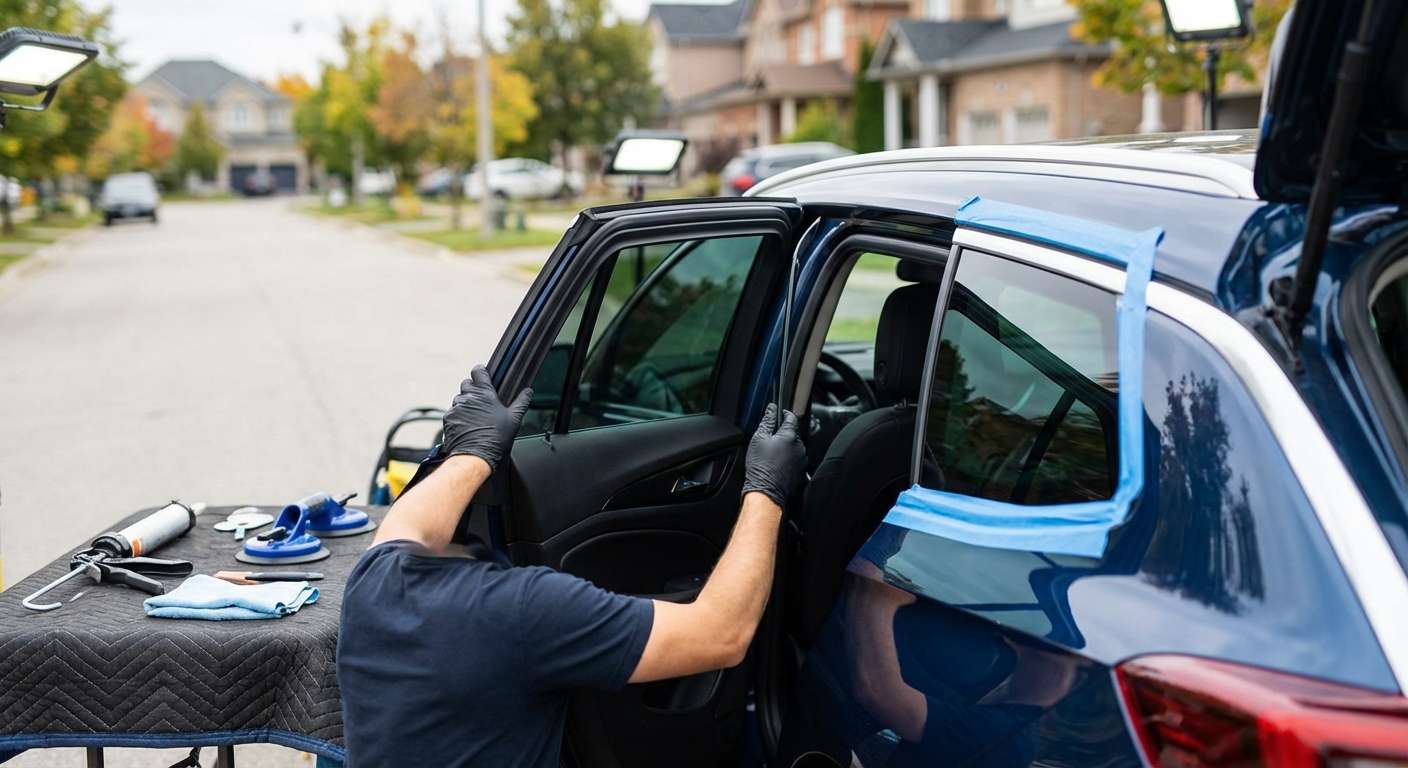
At AlexWindshield, we understand that driving with a shattered window is dangerous and uncomfortable. That is why we bring the repair shop to your driveway or workplace. We proudly offer our premium mobile auto glass services across the entire Greater Toronto Area (GTA).
Whether you are parked in a driveway in Vaughan, at an office complex in Richmond Hill, or shopping in Markham, our fully equipped mobile units are ready to dispatch. We carry all necessary tools, vacuums, and primers to perform a factory-quality installation on-site, saving you the hassle of towing your vehicle or driving with an open window.
Detailed Technical Process: Step-by-Step Replacement
Replacing the vent glass on a 2018-2020 Buick Regal requires a delicate touch and extensive knowledge of the vehicle's door assembly. Below is the A-to-Z procedure we follow at AlexWindshield to ensure a flawless installation.
Step 1: Site Preparation and Interior Protection
Before any tools touch the vehicle, we prioritize protection. Our technicians apply protective tape to the exterior paint surrounding the window frame to prevent scratches during glass removal. Inside the cabin, we place heavy-duty protective covers on the rear seats and floor mats to catch any falling glass debris. Because the Buick Regal TourX features premium soft-touch materials and leather, we take extra care to mask off the interior door panel trim (the door card) to prevent accidental marring.
Step 2: Door Panel (Door Card) Removal
To access the mounting points of the vent glass and clean out the debris, the interior door panel must be removed. This is a meticulous process for the Buick Regal:
- We carefully pry open the plastic cover behind the interior door release handle and the cover inside the door grab handle to reveal the hidden Torx retaining screws.
- Using a specialized trim removal tool, we pop the perimeter clips holding the door panel to the metal door frame. These clips are fragile; we use non-marring tools to ensure they do not snap.
- Once the panel is loose, we disconnect the wiring harnesses for the power window switch, door locks, and ambient lighting connectors found in higher trim levels of the TourX/Sportback.
- The door lock cable is unhooked, and the panel is set aside in a safe, clean location.
Step 3: Vapor Barrier and Speaker Removal
Behind the door panel lies the moisture shield (vapor barrier) and often a speaker assembly. We carefully peel back the vapor barrier without tearing the adhesive butyl tape, ensuring it can be resealed later to prevent water from entering the cabin. If the Buick Regal is equipped with the premium Bose sound system, the speaker may need to be unscrewed and disconnected to allow access to the bottom of the door cavity for vacuuming.
Step 4: Debris Extraction and Vacuuming
This is arguably the most critical step for customer satisfaction. When vent glass breaks, it falls inside the door shell. If left behind, it creates a permanent "rattle" every time you close the door or drive over a bump in Vaughan or Markham.
We use a high-powered industrial vacuum with a flexible crevice tool to reach deep into the door bottom. We also manually reach in (wearing cut-resistant gloves) to sweep out shards trapped in the corners or inside the window regulator grease. We ensure the window tracks are completely free of glass dust, which could otherwise scratch your main roll-down window later.
Step 5: Removing the Old Vent Glass Assembly
The vent glass on the 2018-2020 Regal is typically held in place by a division bar (the pillar separating the small glass from the main glass) and high-viscosity urethane adhesive.
- We lower the main window glass to create clearance.
- We remove the bolts securing the division bar (window run channel) at the top and bottom of the door frame.
- Using a specialized cold knife or reciprocating auto glass cutting tool, we carefully slice through the existing urethane bead that bonds the old vent glass to the body of the door frame.
- We extract the remaining glass fragments and the rubber encapsulation from the pinch weld.
Step 6: Surface Preparation and Priming
A leak-proof seal depends on chemical preparation. We clean the metal pinch weld where the new glass will sit, removing all dirt, old glue, and contaminants. If the metal was scratched during the removal of the old glass, we apply a rust-inhibiting primer to the bare metal. This prevents future corrosion—a vital step given the salty winter roads in the GTA.
We then clean the new vent glass with a glass-specific activator and apply a primer to the glass frit (the black band around the edge). This primer ensures the urethane adhesive bonds at a molecular level with the glass.
Step 7: Urethane Application and Glass Installation
We utilize premium, high-modulus urethane adhesive (Sika or DOW), the same grade used by Buick/Opel at the factory. A precise bead of urethane is applied either to the glass or the vehicle frame, depending on the specific mounting style of the TourX model.
The new vent glass is carefully inserted into the frame. We manipulate the division bar back into position, ensuring it creates a tight seal against both the new vent glass and the main roll-down window. We tighten the division bar bolts to torque specifications to ensure the main window glides smoothly without binding.
Step 8: Reassembly and Testing
Once the glass is secure, we reverse the disassembly process:
- We re-seal the vapor barrier, ensuring no gaps exist that could allow moisture to damage the door panel.
- We reconnect the speakers and wiring harnesses.
- The door panel is snapped back into place, and all retaining screws are tightened.
- We perform a functional test: The main window is rolled up and down several times to ensure it tracks correctly and does not catch on the new vent assembly.
- We slam the door gently to check for any rattles, ensuring all broken glass was successfully removed.
Step 9: Final Clean and Handover
Finally, we clean the new glass inside and out with streak-free cleaner. We do a final vacuum of the vehicle's carpets and seats to ensure no stray shards remain. The result is a repair that looks and functions exactly as it did when the car rolled off the assembly line.
Why Choose AlexWindshield for Your Buick Regal?
The Buick Regal TourX and Sportback are sophisticated machines that require knowledgeable technicians. Generic auto glass shops often rush the "hidden" steps, like vacuuming the door cavity or properly priming scratches, leading to rust and rattles down the road. At AlexWindshield, we pride ourselves on being the meticulous experts.
Our Commitment to Quality:
- Lifetime Warranty: We stand behind our workmanship. Our warranty covers air leaks, water leaks, and molding retention for as long as you own the vehicle.
- OEM Quality Glass: We use glass that meets or exceeds Original Equipment Manufacturer (OEM) standards for fit, finish, and tint clarity.
- Master Technicians: Our team is trained in modern vehicle electronics and mechanical assembly, ensuring your door panel and electronics are handled safely.
If you are located in Vaughan, Richmond Hill, Markham, or anywhere in the Greater Toronto Area, do not compromise on safety or quality. Trust the experts who understand the intricacies of your vehicle.
Contact AlexWindshield today to schedule your mobile vent glass replacement. Let us restore the safety, security, and silence of your Buick Regal TourX or Sportback with the professional care it deserves.


