Expert Vent Glass Replacement for Buick LaCrosse (2017-2019)
The Buick LaCrosse (2017-2019) is a vehicle defined by its sophisticated silhouette and its signature QuietTuning™ technology. This engineering marvel is designed to block outside noise and absorb vibrations, creating one of the most serene cabin experiences in the full-size sedan market. However, when you discover your rear vent glass has been shattered—often the result of a break-in attempt where thieves mistakenly target the smallest window assuming it is the cheapest to fix—that sanctuary of silence is instantly compromised. Unlike a standard door glass replacement, the vent glass on a LaCrosse plays a pivotal role in the structural rigidity of the window frame and the aerodynamic sealing of the vehicle. At AlexWindshield, we understand that restoring your Buick requires more than just a piece of glass; it requires a restoration of the vehicle's acoustic integrity and security.
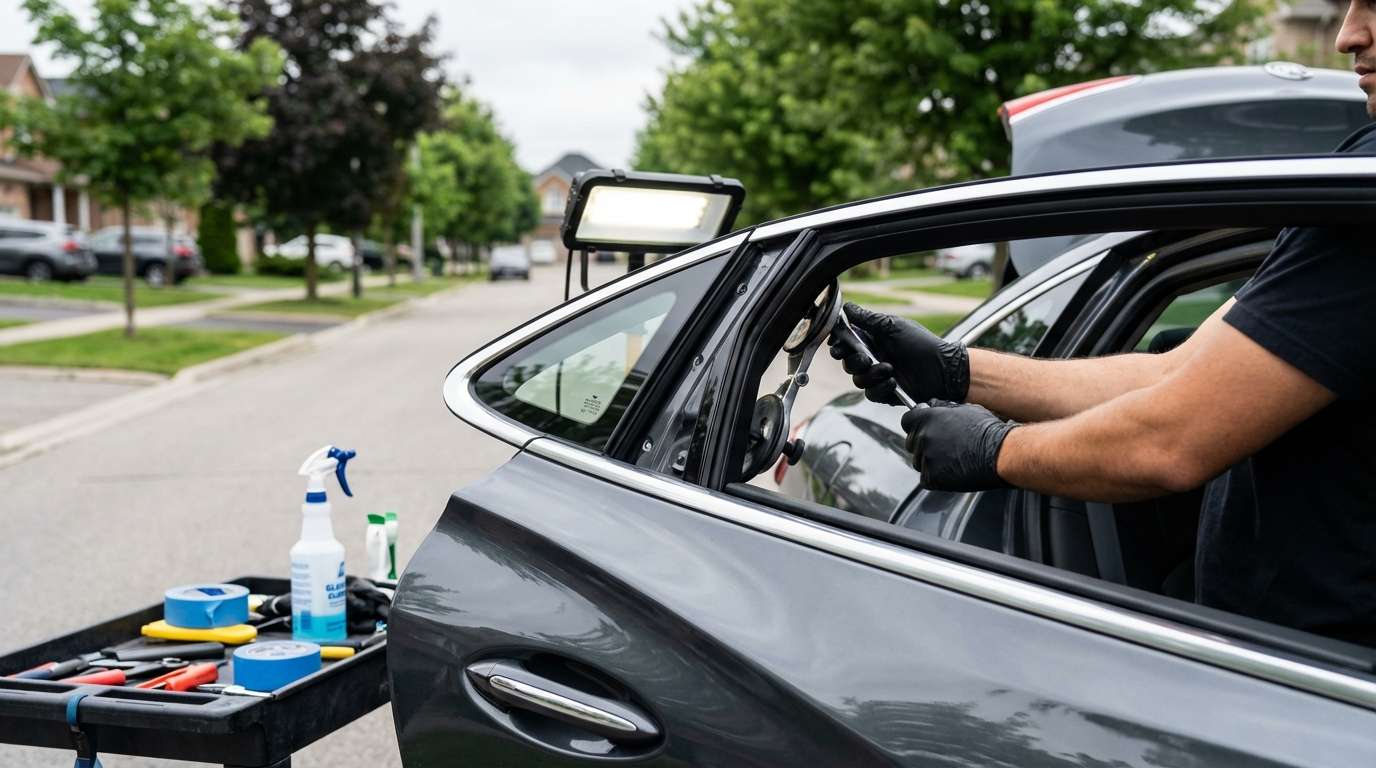
As the leading mobile auto glass specialists in the Greater Toronto Area (GTA), we specialize in the complex disassembly required for fixed glass replacement. Whether you are parked in a driveway in Vaughan, at an office in Richmond Hill, or a commercial lot in Markham, our Master Technicians bring the repair shop to you, ensuring your Buick LaCrosse is returned to factory specifications.
Why Vent Glass Replacement is Complex on the Buick LaCrosse
Many vehicle owners assume that because the vent glass (often referred to as the quarter glass located within the rear door frame) is small, the replacement is simple. On the contrary, for the 2017-2019 Buick LaCrosse, this is one of the more technical procedures in auto glass repair. The vent glass is not merely glued to the exterior; it is integrated into the window run channel and the division bar mechanism.
Replacing this part incorrectly can lead to:
- Wind Noise leaks: Compromising the active noise cancellation features of the car.
- Water Infiltration: Damaging the door speakers, window regulators, and electrical switches.
- Structural Rattling: Caused by loose glass shards left inside the door frame.
At AlexWindshield, we utilize OEM-quality glass and industry-leading adhesives to ensure that the replacement is indistinguishable from the original assembly.
Detailed Step-by-Step Replacement Process
As Master Technicians, we adhere to a rigorous protocol. Below is the comprehensive, A-to-Z process we employ when replacing the vent glass on your Buick LaCrosse. This is not a quick fix; it is a surgical procedure for your vehicle.
Step 1: Site Preparation and Exterior Protection
Before touching the glass, we prepare the work area. Since we offer mobile service across the GTA, we first ensure the vehicle is parked on level ground. We apply protective tape (blue painter's tape or collision wrap) around the window frame and the exterior paint of the rear door. This protects the clear coat from accidental scratches during the removal of debris and the installation of the new glass.
Step 2: Initial Debris Removal and Safety
Vent glass is typically tempered. When it breaks, it shatters into thousands of pebble-sized cubes.
- We start by vacuuming the exterior perimeter to prevent shards from falling into the door gap during disassembly.
- We cover the rear seats with heavy-duty protective blankets to catch any falling glass during the interior work.
Step 3: Interior Door Panel Disassembly
To access the mounting points for the vent glass on the 2017-2019 LaCrosse, the interior door card (trim panel) must be removed. This is a delicate process to avoid breaking plastic retention clips or damaging the leather/soft-touch materials.
- Fastener Removal: We locate and remove the hidden screws usually found behind the interior door handle escutcheon and inside the grab handle cup.
- Clip Release: Using specialized non-marring trim removal tools, we gently pry the door panel away from the metal door shell, popping the perimeter retention clips one by one.
- Disconnection: We disconnect the Bowden cable (door latch cable) and the electrical harnesses for the power window switch and courtesy lights. The door panel is then set aside in a safe location.
Step 4: Vapor Barrier and Speaker Removal
Behind the door panel lies the vapor barrier (water shield). We carefully peel this back to expose the inner door cavity. Often, the large speaker mounted lower in the door must be removed to provide access for the vacuum hose to reach the bottom of the door shell.
Step 5: Critical Glass Debris Extraction
This is the step that separates AlexWindshield from budget providers. When vent glass breaks, 80% of the glass falls inside the metal door skin.
- We use a high-powered industrial vacuum with a flexible crevice attachment to snake into the bottom of the door.
- We vacuum the drainage holes to ensure they are not clogged. If shards block these holes, rainwater will fill your door and flood the cabin.
- We ensure the window regulator tracks and gears are completely free of glass dust, which can cause grinding noises later.
Step 6: Division Bar and Run Channel Manipulation
The vent glass on the LaCrosse is held in place by a vertical division bar that separates the moving window from the fixed vent glass.
- Loosening the Run Channel: We remove the bolts securing the window run channel and the division bar.
- Main Glass Adjustment: Often, the main roll-down window must be lowered or temporarily detached from the regulator to allow the division bar to shift.
- Extraction: We slide the division bar aside to release the rubber gasket and the frame of the broken vent glass. Any remaining glass stuck in the rubber molding is meticulously picked out with pliers.
Step 7: Surface Preparation and Primer Application
If the new vent glass is an encapsulated unit (with molding attached), we inspect the mating surfaces on the car body. If it is a glue-in style vent (common on luxury sedans), we must prepare the metal pinch weld.
- Cleaning: We clean the metal frame with a bonding agent to remove dirt, grease, and old urethane.
- Priming: If bare metal was exposed during glass removal, we apply a high-grade anti-corrosion primer. This prevents rust from forming under the glass, which is a common issue in the salt-heavy winters of Markham and Vaughan.
Step 8: Installation of New Vent Glass
We prepare the new OEM-specification glass. If the assembly requires urethane adhesive:
- We apply a precise bead of high-modulus, non-conductive urethane to the glass or the pinch weld. This adhesive is critical for maintaining the structural strength of the roof pillars in the event of a rollover.
- The glass is carefully inserted into the door frame.
- We slide the division bar back into position, sandwiching the vent glass tightly into the weatherstripping.
- All bolts securing the division bar and run channel are torqued to factory specifications to ensure no wind whistles occur.
Step 9: Reassembly and Functional Testing
Before putting the cosmetic panels back on, we test the mechanics.
- We reconnect the window switch and cycle the main door glass up and down. It must move smoothly without binding against the newly installed vent glass/division bar.
- We verify the "Auto-Up" and "Auto-Down" features (pinch protection) are functioning correctly.
Step 10: Final Reassembly and Cleanup
We reinstall the vapor barrier, ensuring a watertight seal. The door panel is clipped back into place, and all screws are tightened. Finally, we perform a secondary vacuum of the vehicle's interior carpet and seats to ensure no stray shards remain. We clean the new glass with streak-free cleaner, leaving your Buick looking showroom ready.
Serving the Greater Toronto Area: Local Expertise
Driving conditions in the GTA can be harsh, and security is a concern in bustling urban centers. AlexWindshield provides targeted service coverage to ensure you are never left stranded with a broken window.
Mobile Service in Vaughan
From the industrial parks near Hwy 7 to the residential driveways in Maple, our mobile units in Vaughan are equipped to handle complex Buick repairs on-site, saving you the hassle of driving a car with a broken window.
Auto Glass Repair in Richmond Hill
Residents of Richmond Hill trust us for our attention to detail. We understand that luxury vehicles like the LaCrosse require specific care to maintain their resale value and aesthetic appeal.
Glass Replacement in Markham
Whether you are near Markville Mall or the high-tech hubs, our Markham technicians can reach you quickly. We carry the specific tools required for the 2017-2019 Buick models, ensuring the job is done right the first time.
The Importance of OEM Quality and Lifetime Warranty
When replacing glass on a 2017-2019 Buick LaCrosse, "close enough" is not acceptable. The curvature of the glass affects the aerodynamics and the visual distortion for the driver. We use glass that meets or exceeds Original Equipment Manufacturer (OEM) standards. This ensures the tint matches the rest of your vehicle and the fitment is perfect.
Furthermore, we stand behind our craftsmanship. Every replacement performed by AlexWindshield comes with a Lifetime Warranty on leakage and workmanship. As long as you own the vehicle, we guarantee that our installation will not leak, rattle, or degrade.
Trust AlexWindshield for Your Buick LaCrosse
A broken vent glass is an inconvenience, but the repair doesn't have to be a headache. Don't trust your luxury sedan to generalists who might damage your door panels or leave dangerous glass shards inside the door cavity. Choose the specialists who understand the intricate engineering of the Buick LaCrosse.
Contact AlexWindshield today to schedule your mobile appointment. We restore your vehicle's safety, silence, and security with the professional touch your car deserves.


