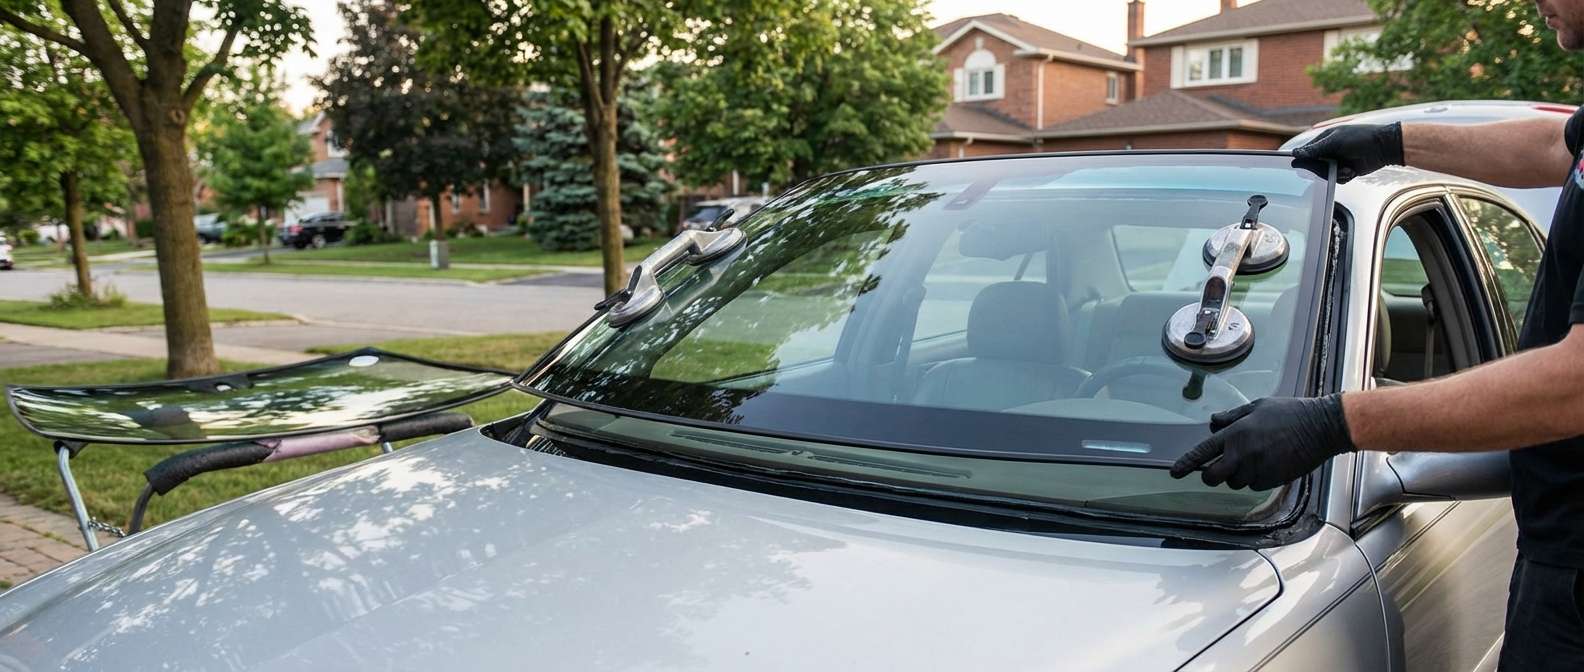
Preserving the Comfort of a Classic: Windshield Replacement for the 1997-2005 Buick Century
The 1997-2005 Buick Century is more than just a sedan; it is the definitive example of General Motors' W-body platform reliability. Known for its "floating on a cloud" suspension and enduring 3.1L V6 engine, this vehicle has served thousands of families across Ontario as a dependable daily driver. However, the structural integrity of this classic cruiser relies heavily on the condition of its glass. Unlike older vehicles where the glass was merely a wind deflector, the windshield in your Buick Century is a critical structural component, contributing up to 45% of the cabin’s structural strength during a rollover and acting as the essential backboard for the passenger-side airbag deployment.
At AlexWindshield, we understand that maintaining a vehicle from this era requires a delicate touch and specific knowledge of GM’s late-90s assembly techniques. We don't just swap glass; we restore the safety perimeter of your vehicle. Whether you are dealing with a stress crack from thermal shock or a stone chip that has spread across your line of sight, our Master Technicians treat your Buick with the respect a classic "road warrior" deserves.
Mobile Auto Glass Services Across the Greater Toronto Area (GTA)
We know that driving a vehicle with a compromised windshield is not only illegal but dangerous. That is why AlexWindshield brings the repair shop to you. We specialize in mobile windshield replacement, ensuring that you do not have to navigate the busy highways of the GTA with impaired vision. Our fully equipped mobile units operate extensively throughout:
- Vaughan: From the busy corridors of Highway 7 to the residential streets of Kleinburg, we provide same-day service.
- Richmond Hill: Whether you are near Yonge Street or Bayview, our technicians can perform the replacement in your driveway or office parking lot.
- Markham: Servicing the tech hubs and historic Unionville alike, we ensure Markham residents have access to OEM-quality glass solutions.
- The Wider GTA: We cover the entire metro area, ensuring no driver is left with broken glass.
Technical Breakdown: The Buick Century Glass Ecosystem
Replacing the glass on a 1997-2005 Buick Century requires specific attention to the molding and cowl systems unique to this generation. These vehicles often utilize a specific solar-coated glass that reduces heat buildup in the cabin. Furthermore, the rubber encapsulation and "reveal moldings" on these cars are prone to dry rot after two decades. A standard glass shop might try to glue the old, brittle molding back on, leading to wind noise and leaks. At AlexWindshield, we inspect these peripherals immediately.
We utilize OEM-equivalent glass that matches the curvature and tint specifications of the original factory installation (NAGS Part Number referencing DW01256 or similar variants depending on the specific trim level). This ensures that your wipers maintain proper contact and the aerodynamics of the vehicle remain unaltered.
Step-by-Step Replacement Process: The Master Technician Approach
As a Senior Specialist, I adhere to a rigorous Auto Glass Safety Council (AGSC) compliant workflow. We do not skip steps. Here is the detailed, A-to-Z process of how we replace the windshield on your Buick Century.
Step 1: Pre-Inspection and Interior Protection
Before a single tool touches the car, we perform a pre-inspection walk-around. We check the operation of the windshield wipers and the condition of the cowl panel (the plastic cover at the base of the windshield), which is known to become brittle on 1997-2005 GM models. We then protect your vehicle’s interior. We install protective seat covers and cover the dashboard and steering wheel to prevent any debris or urethane drips from damaging your velour or leather interior. Fender covers are applied to protect your paint from belt buckles or tools.
Step 2: Removing the Wipers and Cowl Assembly
Unlike some modern cars where the glass can be slid out, the Buick Century requires the removal of the wiper arms. We use a specialized wiper arm puller tool to remove the arms without stripping the splines on the transmission linkage—a common mistake made by novices. Once the wipers are off, we carefully unclip the cowl panel to expose the bottom edge of the glass. This area is often filled with leaves and road debris, which we vacuum out immediately.
Step 3: Removing the Damaged Glass
This is the most critical phase for preserving the vehicle's body. We use a high-frequency oscillating tool or a specialized Cold Knife to cut through the old urethane adhesive.
- We cut the adhesive as close to the glass as possible to leave a level base of old urethane on the pinchweld (the metal frame).
- Great care is taken not to scratch the paint on the A-pillars or the roofline. Scratches here are the primary cause of rust bubbles that appear months later.
- We carefully remove the top and side moldings. If they are salvageable, we clean them; if they are dry-rotted, we recommend replacement with fresh universal or OEM-style moldings.
Step 4: Pinchweld Preparation and Corrosion Control
With the glass removed, we are left with the "pinchweld." We trim the existing urethane bead down to roughly 1-2mm. This old urethane acts as the best bonding surface for the new adhesive. However, if we find any nicks, scratches, or existing rust (common on vehicles of this age), we must treat them. We sand down rust spots to bare metal and apply a black anti-corrosive metal primer. This step effectively "galvanizes" the scratch, preventing rust from eating through your frame and causing leaks in the future.
Step 5: Chemical Cleaning and Primer Application
Adhesion is chemistry. We treat the new glass with a two-step process:
- Abrasive Cleaning: We scour the bonding edge of the new glass to remove mold-release agents left over from the manufacturing process.
- Glass Activator/Primer: We apply a "blackout" primer to the glass frit (the black band around the edge). This primer serves two purposes: it creates a molecular bond for the adhesive, and it blocks UV rays from the sun. Without this, the sun would eventually degrade the glue, and the windshield could detach during an accident.
Step 6: High-Modulus Urethane Application
We use only Sika or Dow Automotive Systems high-modulus urethane. This is the same industrial adhesive used in the factory. Using a battery-operated caulking gun for a consistent flow rate, we apply the adhesive in a "V-bead" profile. The V-bead is superior to a round bead because it guarantees that when the glass is compressed, the glue spreads outward evenly, eliminating air pockets and potential water leaks.
Step 7: Precision Decking and Installation
Using our "Lil Buddy" suction installation tool or a two-technician team, we carefully "deck" (lower) the windshield onto the fresh adhesive. Alignment on the 1997-2005 Buick Century is key; we check the VIN window alignment and ensure equal gaps on the A-pillars. Once positioned, we firmly press the glass to wet out the adhesive bond. We apply high-strength retention tape to the top molding to hold the glass in place while the adhesive cures.
Step 8: Reassembly and Post-Scan
We reinstall the cowl panel and wiper arms, ensuring the wipers are keyed correctly to their "park" position. We clean the glass inside and out with ammonia-free cleaner. Finally, we verify that the doors shut properly without creating air pressure that could pop the fresh seal (we recommend keeping windows cracked by an inch for the first 24 hours).
Safety Standards: ADAS and Structural Integrity
While the 1997-2005 Buick Century predates the widespread adoption of camera-based Advanced Driver Assistance Systems (ADAS), such as Lane Departure Warning or Pedestrian Detection, explaining our approach to ADAS demonstrates the level of precision AlexWindshield applies to every car.
In modern auto glass replacement, ADAS Camera Calibration is a mandatory step. If a windshield is replaced on a vehicle with these sensors, the camera must be recalibrated to the millimeter, ensuring it reads the road correctly. A misalignment of just 1 degree can cause safety systems to fail or brake unexpectedly.
Why does this matter for your Buick? Because we apply these same high-tech, clinically precise standards to your classic vehicle. While your Century does not require digital camera calibration, it absolutely requires structural calibration. Your passenger airbag relies on the windshield to act as a backstop. If the adhesive is weak or the glass is cheap, the windshield could pop out during deployment, rendering the airbag useless. We treat the urethane bond on your 2000 Buick with the same seriousness as the camera calibration on a 2024 luxury SUV.
Why Choose AlexWindshield?
When you choose AlexWindshield for your Buick Century, you are choosing expertise, safety, and convenience. We are not a "quick fix" shop; we are automotive glass technicians who understand the engineering behind the glass.
- Lifetime Warranty: We offer a lifetime warranty on our workmanship against wind noise, water leaks, and manufacturer defects for as long as you own the vehicle.
- Safe Drive Away Time (SDAT): We use fast-curing adhesives that allow you to drive your car safely within 60 minutes of installation, even in the cold Canadian winter.
- Expertise on the W-Body Platform: We have replaced hundreds of windshields on the Buick Century, Regal, and Pontiac Grand Prix. We know the quirks of these cars better than anyone in the GTA.
Book Your Service Today
Do not compromise on safety. Whether you are in Vaughan, Richmond Hill, Markham, or anywhere in the Greater Toronto Area, trust the Master Technicians at AlexWindshield to restore your Buick Century to its original glory. Experience the difference that professional, SEO-certified, and safety-conscious service makes.
Contact AlexWindshield today to schedule your mobile replacement.


