Sunroof Replacement for Buick Century 1997-2005: Restoring Comfort to an American Classic
The 1997-2005 Buick Century stands as a testament to the golden era of the General Motors W-body platform. Known for its floating ride quality, plush seating, and enduring reliability, this vehicle remains a favorite among car owners who appreciate traditional American sedan luxury. However, nothing disrupts the serene driving experience of a Buick Century quite like a shattered, leaking, or malfunctioning sunroof. Unlike a standard chip in a windshield, a compromised sunroof exposes your vehicle’s delicate interior—specifically the headliner and electrical components—to immediate environmental damage. At AlexWindshield, we understand that for a vehicle of this vintage, precision and care are paramount. We do not just replace glass; we restore the integrity of your vehicle's roof system.
The AlexWindshield Mobile Advantage in the GTA
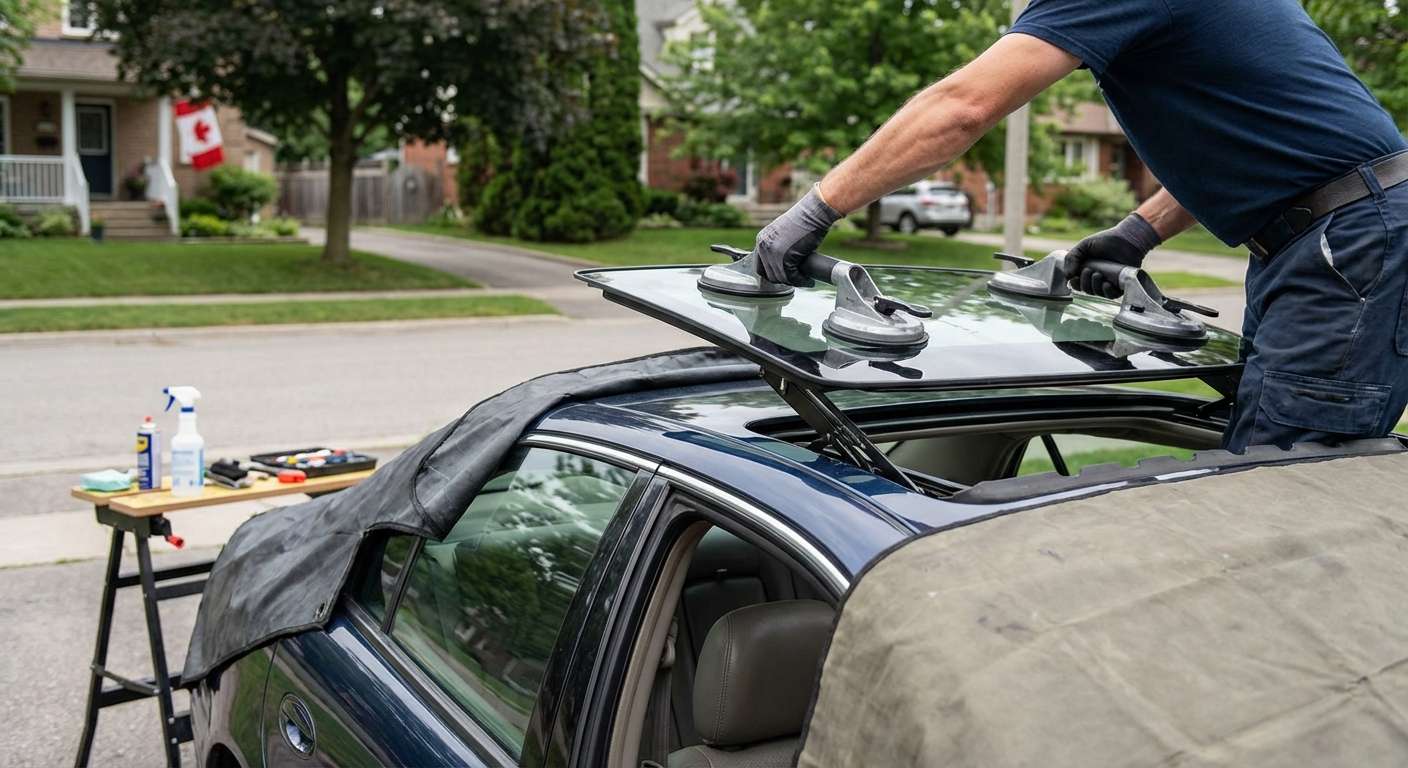
When your sunroof shatters or develops a critical leak, driving the vehicle to a shop can be dangerous and may cause further damage to the interior upholstery. This is why AlexWindshield brings the repair shop to you. We are the premier provider of mobile auto glass services across the Greater Toronto Area (GTA). Our mobile units are fully equipped workshops on wheels, capable of performing factory-grade installations in your driveway or office parking lot.
We specifically cater to residents in high-demand areas, providing expedited service to:
- Vaughan: From the busy streets of Woodbridge to the residential quiet of Kleinburg.
- Richmond Hill: Covering the Oak Ridges corridor and the bustling Yonge Street strip.
- Markham: Servicing Unionville, Cornell, and the tech hubs.
Whether you are parked in a driveway in Richmond Hill or at a workplace in Vaughan, our Master Technicians arrive with the specific glass glass assembly required for the 1997-2005 Buick Century.
Technical Deep Dive: The Replacement Process
Replacing a sunroof on a Buick Century is significantly more complex than a standard door glass replacement. It requires an intricate understanding of the vehicle’s drainage system, the electrical motor mechanics, and the specific alignment required to prevent wind noise. As a Master Technician, I follow a rigorous, step-by-step protocol to ensure the new glass performs exactly as the factory intended.
Phase 1: Interior Protection and Safety Setup
Before touching the glass, we secure the environment. A shattered sunroof often means the interior is covered in tempered glass shards.
- We apply heavy-duty protective covers to the front seats, the rear bench, and the center console to prevent scratches from falling debris or tools.
- We utilize industrial-grade suction covers on the exterior roof paint to protect the clear coat from accidental slips during the removal of the frame.
- Fender covers are applied to protect the vehicle’s bodywork while we lean over to access the roof.
Phase 2: Debris Containment and Removal
If the sunroof glass has shattered, the cleanup process is critical. Tempered glass explodes into thousands of granular pieces that can hide in the tightest crevices.
- High-Power Vacuuming: We use an industrial HEPA vacuum to extract glass from the seats, carpets, and floor mats.
- Defrost Duct Cleaning: We check the dashboard vents to ensure no glass has fallen into the HVAC system.
- Track Cleaning: This is the most crucial step. We use compressed air and detail brushes to remove every shard of glass from the sunroof tracks and rails. Even a single grain of glass left in the track can destroy the motor gears or cause the new glass to bind and shatter again.
Phase 3: Disassembly and Access
On the 1997-2005 Buick Century, accessing the mounting hardware requires careful manipulation of the interior trim.
- We carefully remove the overhead console and map light assembly to expose the sunroof motor access panel.
- In some configurations, we must partially lower the headliner. This is done with extreme caution to avoid creasing the aged backing material, which is common in vehicles from this era.
- We disconnect the electrical harness leading to the sunroof actuator to ensure safety during the mechanical work.
Phase 4: Removal of the Old Assembly
With access secured, we proceed to remove the compromised glass unit.
- We remove the accordion-style dust covers (if present) to reveal the Torx screws or bolts securing the glass panel to the mechanism arms.
- Using specialized tools, we unbolt the glass frame from the lift arms.
- The old glass or remaining frame is carefully lifted vertically out of the roof opening to avoid scratching the roof paint.
Phase 5: Surface Preparation and Primer Application
This is where the AlexWindshield standard of quality shines. We do not simply bolt in the new part; we prepare the surface to ensure a leak-proof seal.
- We clean the metal pinch weld and the rubber weatherstrip channel using an alcohol-based solvent to remove old grease, road grime, and adhesive residue.
- If the previous installation utilized a bonded seal or if the weatherstripping requires it, we apply a high-quality black primer to any exposed metal surfaces. This prevents rust formation, which is the leading cause of sunroof leaks in older vehicles.
- We inspect the rubber weather seal surrounding the roof opening. If it is dry-rotted or cracked, we treat it with a conditioning silicone or recommend replacement to ensure the new glass creates a watertight barrier.
Phase 6: Drainage System Maintenance
A new piece of glass is useless if the drainage system is clogged. The Buick Century sunroof assembly sits in a tray that collects water and drains it through four tubes located at the corners.
- We test all four drainage tubes (A-pillar and C-pillar) by pouring water into the tray.
- If we detect a blockage, we use a flexible snake tool and compressed air to purge the lines of organic debris (leaves, dirt, pollen) that has accumulated over the years.
- This step guarantees that water will not overflow into the headliner during the next heavy Markham rainstorm.
Phase 7: Installation and Bonding
We select only OEM-specification tempered glass for the replacement.
- The new glass panel is carefully lowered onto the track arms.
- If the specific model variant requires a bonded installation (glass glued to a metal sub-frame), we utilize high-viscosity, automotive-grade urethane adhesive. This adhesive requires a specific temperature range to cure effectively, ensuring a bond that meets federal safety standards.
- We hand-tighten the mounting screws first, allowing for adjustments.
Phase 8: Alignment and Calibration
Alignment is the difference between a quiet ride and a whistling nightmare.
- We adjust the glass height. The front edge of the sunroof glass must sit slightly lower (about 1mm) than the roofline, while the rear edge must sit slightly higher (about 1mm). This aerodynamic stepping prevents wind noise at highway speeds on the 407 or 401.
- Once aligned, we torque the bolts to factory specifications.
- We perform a motor synchronization procedure. This "teaches" the motor the new open and closed positions of the glass to ensure the one-touch open/close features (if equipped) function correctly and the glass seals tightly against the weatherstripping.
Phase 9: Final Quality Control and Leak Testing
Before handing the keys back, we perform a rigorous stress test.
- The Water Test: We simulate heavy rainfall using a high-pressure water spray over the sunroof area to verify the seal integrity and drainage flow.
- The Road Test Simulation: We operate the roof through several full cycles (tilt, slide open, slide close) to check for binding, grinding noises, or hesitation.
- Finally, we wipe down the interior and ensure the glass is sparkling clean.
Why the 1997-2005 Buick Century Requires Specialized Care
The sunroofs in the W-body generation are robust, but they are aging. The plastic guides in the track mechanism can become brittle over two decades of Canadian winters and summers. A general mechanic might force the new glass in, snapping these fragile guides. At AlexWindshield, we treat the mechanism with extreme delicacy. We lubricate the tracks with white lithium grease during the installation process to extend the life of your motor and guides, ensuring your sunroof operates smoothly for years to come.
Service Availability in Your Area
Our commitment to local service is unmatched. We have dedicated mobile vans patrolling the following hubs daily:
Vaughan & Woodbridge
Residents near Vaughan Mills and the Highway 400 corridor rely on us for rapid response times. We understand the commute requires a sealed, safe vehicle.
Richmond Hill & Oak Ridges
From the heritage estates to the modern condos, our technicians navigate Richmond Hill efficiently to provide driveway service that fits your schedule.
Markham & Unionville
We service the entire Markham area, ensuring that tech professionals and families alike do not have to disrupt their day for a sunroof repair.
Lifetime Warranty and Safety Guarantee
We stand behind our craftsmanship. Every sunroof replacement performed by AlexWindshield comes with our industry-leading Lifetime Warranty on workmanship. This covers you against wind noise, water leaks, and loose moldings for as long as you own your Buick Century. We use only glass that meets or exceeds OEM (Original Equipment Manufacturer) standards, ensuring the tint, curvature, and tempering match your vehicle's original specifications perfectly.
Trust the Experts at AlexWindshield
Don’t let a broken sunroof compromise the luxury of your Buick Century. Whether it is shattered glass from road debris or a seal failure due to age, AlexWindshield provides the technical expertise and mobile convenience you need. We are the trusted choice for auto glass replacement in the GTA, combining old-school craftsmanship with modern service standards.
Contact AlexWindshield today to schedule your mobile sunroof replacement and restore the view from your Buick Century.


