The BMW F10 Aesthetic: Restoring the Hofmeister Kink on Your 5 Series
The BMW 5 Series (F10 chassis), produced between 2011 and 2016, represents a pinnacle of executive sedan design. A defining feature of this vehicle's profile is the legendary "Hofmeister kink"—the distinct counter-curve at the base of the rear window pillar. This design element is housed directly within the rear quarter glass. When this glass is damaged, shattered by road debris, or broken due to vandalism, it does more than just expose your vehicle to the elements; it disrupts the structural integrity and the carefully sculpted aerodynamics of your BMW.
At AlexWindshield, we understand that replacing the quarter glass on a luxury vehicle like the BMW F10 is not a simple swap. It requires a master technician's touch to navigate the complex door internals, delicate leather trims, and precise alignment required by the Shadowline or Chrome exterior trim. We provide a factory-standard restoration that ensures your 5 Series remains as quiet and secure as the day it left the Dingolfing assembly plant.
Premium Mobile Quarter Glass Replacement Across the GTA
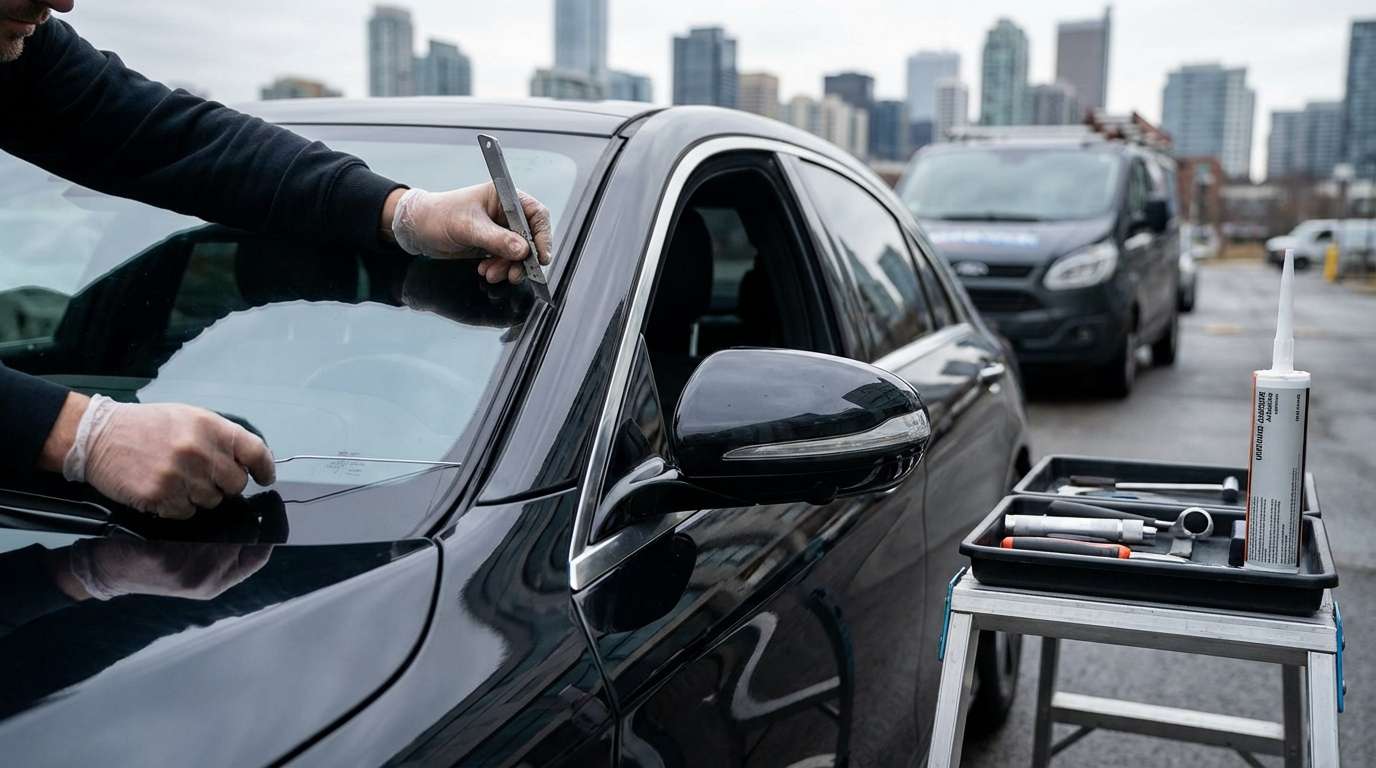
We know that driving a BMW with a shattered window is stressful and unsafe. That is why AlexWindshield brings the repair shop to your driveway or office parking lot. We specialize in high-end European vehicles and offer our mobile services throughout the entire Greater Toronto Area (GTA).
Whether you are located in the bustling heart of Vaughan, the residential avenues of Richmond Hill, or the business districts of Markham, our mobile units are fully equipped to handle complex F10 glass replacements on-site. We carry self-contained power sources, high-end vacuum systems for glass cleanup, and climate-controlled urethane storage to ensure a perfect bond regardless of the location.
Detailed Technical Process: BMW F10 Quarter Glass Replacement
Replacing the fixed quarter glass on a BMW 5 Series (2011-2016) is technically demanding. Unlike a roll-down window, the quarter glass is often integrated into the door frame channel and may require specific bonding procedures to prevent wind noise—a common issue with amateur installations. Below is our Master Technician certified protocol for the F10.
Phase 1: Vehicle Protection and Safety Assessment
- Interior Shielding: Before any tools touch the car, we cover the rear seats (specifically protecting Dakota or Nappa leather) and the center console with heavy-duty protective blankets.
- Exterior Masking: The exterior paint around the rear door frame and C-pillar is taped off using low-tack automotive masking tape to prevent accidental scratches during glass extraction.
- Damage Assessment: We inspect the window regulator and the main door glass to ensure the impact that broke the quarter glass did not damage adjacent components.
Phase 2: Door Panel Disassembly and Interior Exposure
To access the mounting points of the quarter glass on the F10, we must disassemble the rear door internals. This is a delicate process requiring specialized non-marring pry tools.
- Door Card Removal: We carefully remove the decorative trim strips to access the hidden Torx screws securing the door panel. The panel is then popped free from its retaining clips, and all electrical harnesses (for speakers, ambient lighting, and window switches) are disconnected.
- Vapor Barrier Management: The foam vapor barrier is carefully peeled back to expose the inner door shell. We treat this barrier with care, as tearing it can lead to water leaks into the footwell later.
- Seal Removal: The inner and outer weatherstripping (belt moldings) are removed to clear the path for the new glass.
Phase 3: Critical Cleanup – The Zero-Shard Policy
Quarter glass is typically tempered safety glass, meaning it explodes into thousands of small cubes when broken. These shards can hide inside the door frame, causing rattles, or lodge themselves in the seat tracks.
- Cavity Vacuuming: We use an industrial-grade vacuum with a flexible crevice tool to reach deep inside the bottom of the door shell. We ensure no glass remains to jam the window regulator or rattle while driving.
- Interior Detail: We vacuum the rear seats, the floor mats, and under the front seats. We also use compressed air to dislodge shards from the window run channels before vacuuming them up.
Phase 4: Extraction and Frame Preparation
- Divider Bar Manipulation: On the BMW F10, the quarter glass is separated from the main window by a vertical divider bar (guide rail). We loosen the bolts securing this bar and the main window regulator to create the necessary "slack" to remove the old quarter glass assembly.
- Glass Removal: Any remaining glass or the frame of the old unit is extracted. If the glass was bonded to the frame, we use a specialized cold knife to slice the existing adhesive without damaging the paint on the pinch weld.
- Surface Prep: If the replacement involves bonding, we trim the old urethane down to 1-2mm to serve as a base. The metal frame is cleaned with a chemical solvent to remove grease and dirt.
Phase 5: Priming and Adhesive Application
This is the step that defines the longevity of the repair. We do not rely solely on mechanical friction; we chemically bond the unit where necessary to ensure a watertight seal.
- Primer Application: We apply a high-quality Sika or DOW automotive primer to the pinch weld (metal frame) and the glass encapsulation. This primer prevents rust and maximizes the adhesion of the glue.
- Urethane Application: We apply a bead of high-modulus, non-conductive automotive urethane adhesive. This adhesive is crucial for maintaining the structural rigidity of the door frame and preventing water ingress.
Phase 6: Installation and Reassembly
- Setting the Glass: The new OEM-specification quarter glass is slid carefully into the channel. We ensure it sits flush with the exterior chrome or Shadowline trim to maintain the vehicle's sleek appearance.
- Securing the Divider Bar: Once the glass is positioned, the vertical divider bar is pushed back into place and torqued to factory specifications. This locks the quarter glass into position.
- Testing: Before reassembling the door panel, we test the main roll-down window to ensure it moves smoothly and does not bind against the new quarter glass or the divider bar.
- Final Assembly: The vapor barrier is resealed, the door panel is reattached, and all electronic switches are tested for function.
Why OEM-Spec Glass Matters for Your BMW F10
Not all glass is created equal. For a vehicle like the BMW 5 Series, the thickness of the glass contributes to the acoustic insulation of the cabin. Cheap aftermarket glass often has incorrect curvature, leading to wind noise at highway speeds—a common complaint in the Vaughan and Markham areas where highway commuting is frequent.
At AlexWindshield, we use only OEM (Original Equipment Manufacturer) or OEE (Original Equipment Equivalent) glass. This ensures that the tint matches your existing windows perfectly and that the glass fits into the tight tolerances of the BMW door frame without stress.
Lifetime Warranty and Local Trust
We stand behind our craftsmanship. Every quarter glass replacement performed by AlexWindshield comes with a Lifetime Warranty covering:
- Water Leaks: Guaranteed protection against rain and car wash infiltration.
- Air Noises: We guarantee a quiet ride with no whistling sounds from the replaced glass.
- Workmanship: Any issues related to the installation process or loose trim.
When you choose AlexWindshield, you are choosing the preferred auto glass experts of Richmond Hill, Vaughan, and Markham. We treat every BMW F10 with the respect a luxury performance sedan deserves. Do not compromise your vehicle's safety or aesthetics with sub-par repairs.
Contact AlexWindshield today to schedule your mobile BMW 5 Series quarter glass replacement and experience the difference of Master Technician service.