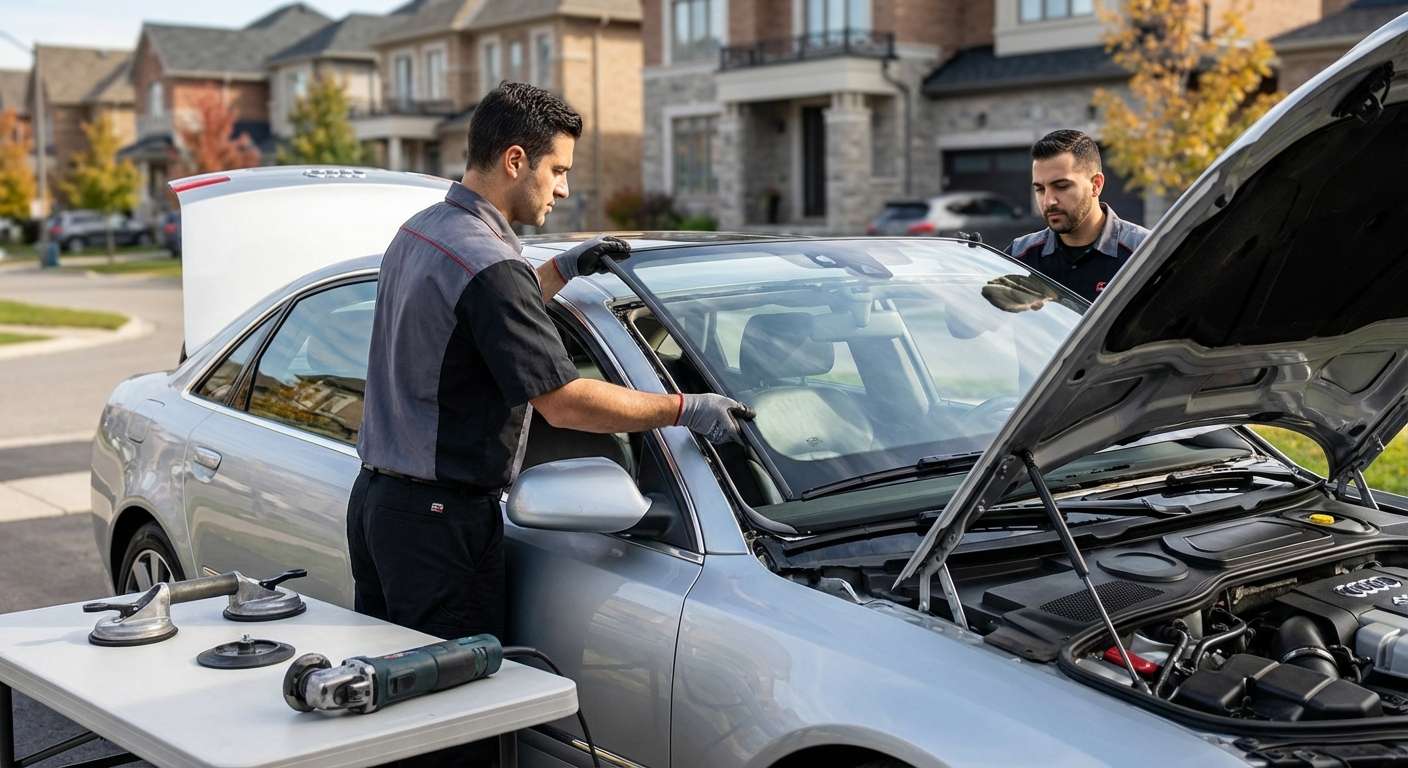
The Audi A8 (D3) Paradigm: Precision Glass Replacement for a Luxury Icon
The Audi A8 (D3 generation, 2004–2010) is not merely a vehicle; it is a seminal moment in automotive history. As the first mass-market luxury sedan built on the revolutionary Audi Space Frame (ASF) aluminum chassis, this vehicle redefined structural rigidity and weight distribution. When you drive an A8 D3, you are driving the car that starred in "The Transporter"—a symbol of robust German engineering and executive dominance. However, the unique aluminum construction and sophisticated acoustic engineering of the D3 mean that a windshield replacement is never just a simple swap. It is a structural repair that requires the hands of a Master Technician.
At AlexWindshield, we understand that the glass in your Audi A8 contributes up to 30% of the vehicle's structural integrity, specifically supporting the roof during a rollover. A generic installation shop might treat your A8 like a standard economy car, but we treat it like the flagship it is. Whether you are commuting through Vaughan, navigating the highways of Richmond Hill, or parked in Markham, our specialized team ensures your vehicle retains its factory safety specifications and acoustic silence.
Understanding the Complexity: The Audi A8 D3 Windshield
The windshield of the 2004–2010 Audi A8 is a marvel of optical engineering. Most D3 models come equipped with acoustic interlayer glass to dampen road noise, ensuring the cabin remains whisper-quiet. Furthermore, this generation of A8 heavily integrated Rain Sensors and Light Sensors directly into the glass mounting bracket. In later models (2008–2010), advanced driver assistance systems began to appear, requiring even higher precision.
Using sub-par aftermarket glass on an A8 D3 often results in increased wind noise, distorted heads-up displays (if equipped), and malfunctioning rain wipers. At AlexWindshield, we utilize only OEM (Original Equipment Manufacturer) or OEE (Original Equipment Equivalent) glass that matches the specific curvature and thickness required by Audi’s ASF tolerances.
Step-by-Step Replacement: The AlexWindshield Master Technician Protocol
Replacing the windshield on an Audi A8 requires a meticulous, surgical approach. Below is our detailed, A-to-Z process utilized by our mobile technicians across the Greater Toronto Area (GTA).
Phase 1: Pre-Installation Inspection and Site Preparation
Before we touch the glass, we secure the environment. Our mobile units in Vaughan and Markham are equipped to create a safe workspace anywhere.
- Vehicle Pre-Scan: We check the vehicle's dashboard for any existing warning lights regarding the rain sensor or ADAS systems to document the vehicle's current state.
- Interior Protection: The Audi A8 D3 features high-end leather dashboards and Alcantara headliners. We cover the front seats with heavy-duty covers and lay a protective barrier over the dashboard to prevent dust, debris, or adhesive from touching the luxury interior.
- Exterior Protection: We apply protective tape to the A-pillars and the roofline to prevent accidental scratches to the paint or the aluminum bodywork during the removal process.
Phase 2: Disassembly and Removal
Accessing the glass edge on a D3 requires careful removal of peripheral components.
- Wiper Assembly Removal: Using a specialized puller tool, we remove the wiper arms without damaging the splines. We then carefully unclip and remove the cowl panel (the plastic trim at the base of the windshield) to expose the bottom edge of the glass.
- Sensor Disconnection: We access the rear-view mirror housing. The plastic covers are gently pried open to disconnect the Rain/Light Sensor wiring harness and the auto-dimming mirror connection. The mirror is carefully slid off its mounting button.
- Molding Removal: The side moldings on the A8 D3 are often tight. We use non-marring tools to release them without bending the aluminum trim.
- Cutting the Urethane: This is the most critical step. Using a high-frequency oscillating tool or a focused Cold Knife, we cut through the old urethane adhesive. We must be incredibly precise to avoid scratching the pinch weld (the metal frame where the glass sits). Scratches on an aluminum body can lead to galvanic corrosion if not treated immediately.
- Extraction: Using heavy-duty suction cups, two technicians (or a specialized lifting arm) lift the damaged windshield away from the vehicle frame.
Phase 3: Surface Preparation and Primer Application
The longevity of the replacement depends entirely on the bond surface.
- Old Adhesive Trimming: We trim the old polyurethane bead down to approximately 1-2mm. This "bed" serves as the best bonding surface for the new adhesive.
- Decontamination: The pinch weld is cleaned with a specialized solvent to remove dirt, grease, and road grime.
- Priming the Pinch Weld: If any metal was exposed during removal, we apply a high-grade etching primer specifically designed for aluminum bodies. This prevents oxidation and ensures the structural glue bonds to the frame, not to rust or loose paint.
- Glass Preparation: The new windshield is cleaned thoroughly. We apply a glass activator and primer to the "frit" (the black band around the glass edge) to ensure the adhesive grabs the glass instantly upon contact.
Phase 4: Installation and Bonding
We do not use generic glue. We use high-modulus, non-conductive urethane compatible with Audi's safety standards.
- Adhesive Application: A triangular bead of Sika or Dow automotive urethane is applied to the glass or the vehicle frame (depending on the specific D3 sub-model requirement). The triangular shape ensures that when the glass is compressed, the glue spreads evenly without air bubbles or gaps.
- Setting the Glass: Utilizing "The Little Buddy" setting tool or a two-man team, the windshield is lowered onto the frame with millimeter precision. We align the VIN window and the top roofline perfectly.
- Compression: We gently press the glass to seat it into the adhesive, ensuring a watertight seal and proper deck height (flush with the roof).
- Sensor Gel Pad Replacement: The rain sensor relies on a clear silicone gel pad to function. We always replace this gel pad. Reusing the old one is the primary reason why automatic wipers fail after windshield replacement.
Phase 5: Reassembly and Post-Installation
- Cowl and Wiper Reinstallation: The cowl is snapped back into place, and wiper arms are torqued to factory specifications. We ensure the wipers are aligned correctly in the "park" position.
- Mirror and Trim: The rear-view mirror is reattached, and all sensors are plugged back in. Side moldings are clipped back securely.
- Cleanup: We vacuum the dashboard and front cabin area to ensure no glass shards or debris remain.
The Critical Step: ADAS and Sensor Calibration
While the 2004-2010 Audi A8 predates some modern autonomous features, it was a pioneer in sensor technology. If your A8 is equipped with the Lane Assist system (available on late D3 models) or the standard Rain/Light Sensors, calibration is not optional—it is mandatory.
Why is Calibration Necessary?
When a windshield is replaced, the angle of the camera or sensor may shift by a fraction of a degree. At highway speeds, a 1-degree variance can cause the car to miscalculate distances by several meters. This can result in:
- Automatic wipers failing to activate during rain.
- Headlights failing to auto-dim or turn on at dusk.
- Lane Departure Warnings triggering falsely or failing to warn you of a drift.
At AlexWindshield, we perform a Dynamic Calibration or Static Calibration depending on your specific VIN requirements. We reset the sensor parameters to the new glass, ensuring the vehicle's brain communicates perfectly with its eyes.
Mobile Service Across the GTA: We Come to You
We know that Audi A8 owners value their time. You shouldn't have to spend half a day sitting in a waiting room. AlexWindshield offers premium mobile service throughout the Greater Toronto Area.
- Vaughan: From Woodbridge to Maple, our technicians can perform the replacement in your driveway or office parking lot.
- Richmond Hill: Whether you are near Yonge Street or Bayview, we bring the shop to you.
- Markham: We service all areas of Markham, ensuring your luxury sedan is road-ready without you ever leaving your home.
Our mobile vans are fully equipped workshops, carrying generators, lighting, and all the specialized tools required for the Audi A8 D3.
Why AlexWindshield is the Authority on Audi Glass
Choosing a glass shop for a luxury vehicle like the Audi A8 (D3) is a decision that affects your safety and the car's value. Here is why AlexWindshield stands alone in the GTA:
1. Specialized Aluminum Knowledge
Most auto glass technicians are used to working on steel bodies. The Audi A8's aluminum space frame requires different primers and handling to prevent galvanic corrosion. Our Master Technicians are trained specifically on aluminum body protocols.
2. Leak-Proof Guarantee
The D3 A8 has complex drainage channels near the firewall. Improper installation can lead to water leaking into the ECU or interior fuse box. We understand these drainage paths and ensure the seal is 100% watertight.
3. The Lifetime Warranty
We stand behind our craftsmanship. AlexWindshield offers a Lifetime Warranty on our workmanship. If you ever experience air noise, water leaks, or molding detachment for as long as you own the vehicle, we will fix it free of charge.
Conclusion: Restore Your A8 to Factory Glory
Your Audi A8 2004-2010 (D3) is a masterpiece of automotive luxury. Don't compromise its integrity with budget glass or inexperienced labor. A windshield replacement is a significant technical procedure that demands the expertise of a Master Technician.
AlexWindshield is your trusted partner in Vaughan, Richmond Hill, Markham, and the entire GTA for premium auto glass solutions. We combine OEM quality materials, advanced calibration technology, and mobile convenience to get you back on the road safely.
Ready to schedule your service? Contact AlexWindshield today for a quote and experience the difference of true craftsmanship.


