The Hidden Complexity of the Acura MDX Vent Glass: More Than Just a Small Window
The 2007-2013 Acura MDX (Second Generation) stands as a testament to Honda’s luxury division capabilities—a robust, all-wheel-drive SUV that blends performance with refined comfort. However, when you walk out to your vehicle and find the rear vent glass shattered, that sense of security is instantly compromised. Often targeted by thieves under the mistaken assumption that "smaller glass is cheaper to replace," the triangular vent glass on the rear door is actually a complex assembly integral to the vehicle's weatherproofing and cabin quietness.
At AlexWindshield, we understand that a broken vent glass isn't just a cosmetic issue; it is a security breach and a safety hazard. This specific piece of glass on the MDX requires a precise, technical approach to replace correctly. It is not merely glued in; it is encapsulated within the door’s run channel system, requiring significant disassembly to install properly. As Master Technicians serving the Greater Toronto Area (GTA), we provide a factory-standard replacement service that restores your Acura to its original condition.
Why the 2007-2013 Acura MDX Vent Glass is Unique
The second-generation MDX utilizes a specific body geometry where the rear door window is split into two sections: the main "drop glass" (which rolls down) and the fixed vent glass (often called quarter glass). Unlike a windshield which is laminated, this vent glass is composed of tempered safety glass. When impacted, it is designed to shatter into thousands of dull, pebble-like pieces rather than sharp shards.
While this is excellent for safety, it creates a chaotic mess inside your door panel. If not addressed by a professional, these glass fragments can jam your window regulator, rattle incessantly while driving, or block the water drainage holes at the bottom of the door, leading to rust. Our specialized service addresses the glass replacement and the critical cleanup required for this specific model.
Service Availability: Expert Mobile Auto Glass in the GTA
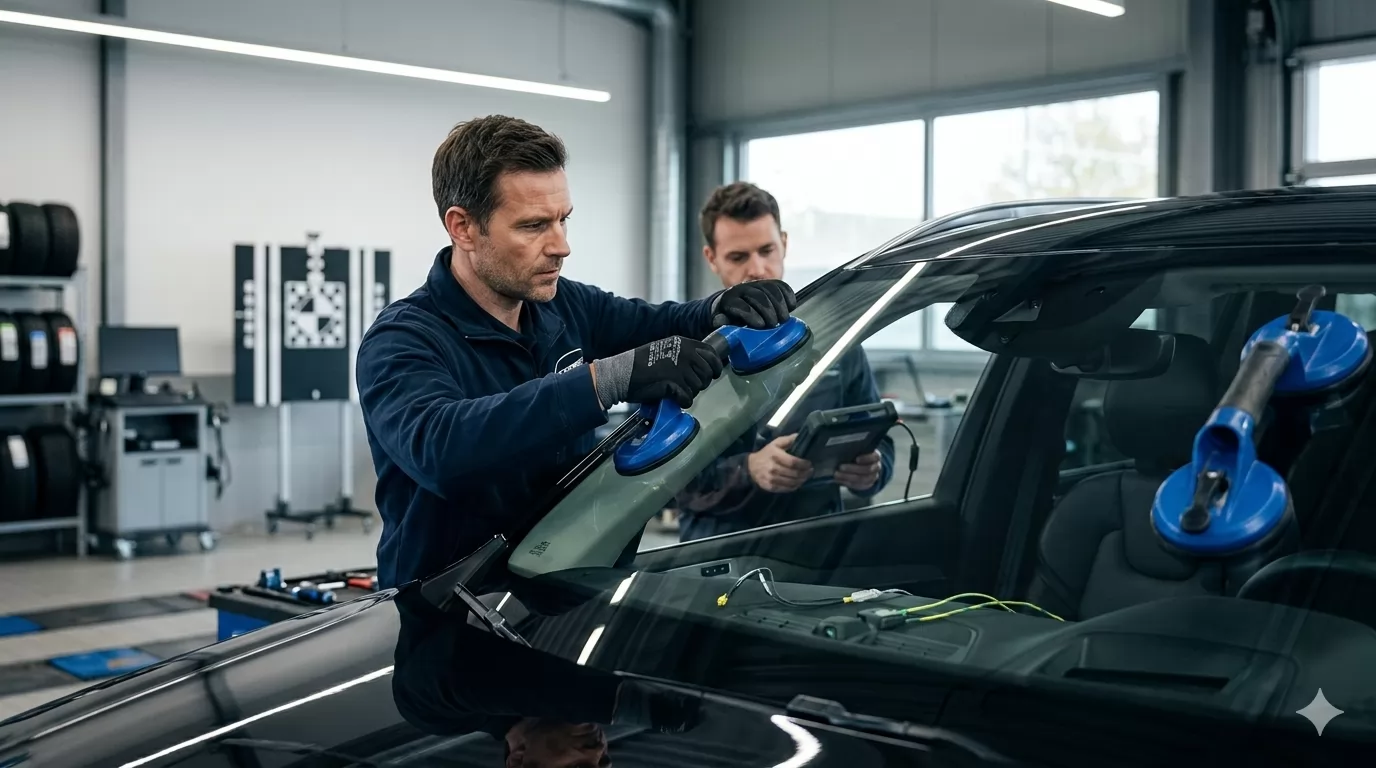
We know that driving a luxury SUV with a smashed window is stressful and unsafe. That is why AlexWindshield brings the repair shop to you. Our fully equipped mobile units operate extensively across the Greater Toronto Area. Whether you are parked in a driveway in Vaughan, at your office in Markham, or shopping in Richmond Hill, our technicians arrive ready to perform a dealership-level repair on-site.
Step-by-Step Technical Process: Replacing the Acura MDX Vent Glass
As a Senior Technician, I believe in total transparency. Replacing the vent glass on a 2007-2013 Acura MDX is an involved process that requires manipulating the internal mechanics of the rear door. Below is the detailed, A-to-Z protocol we follow to ensure the job is done right.
Phase 1: Site Preparation and Safety Protocols
Before we touch a single tool, we prepare the vehicle to prevent any collateral damage.
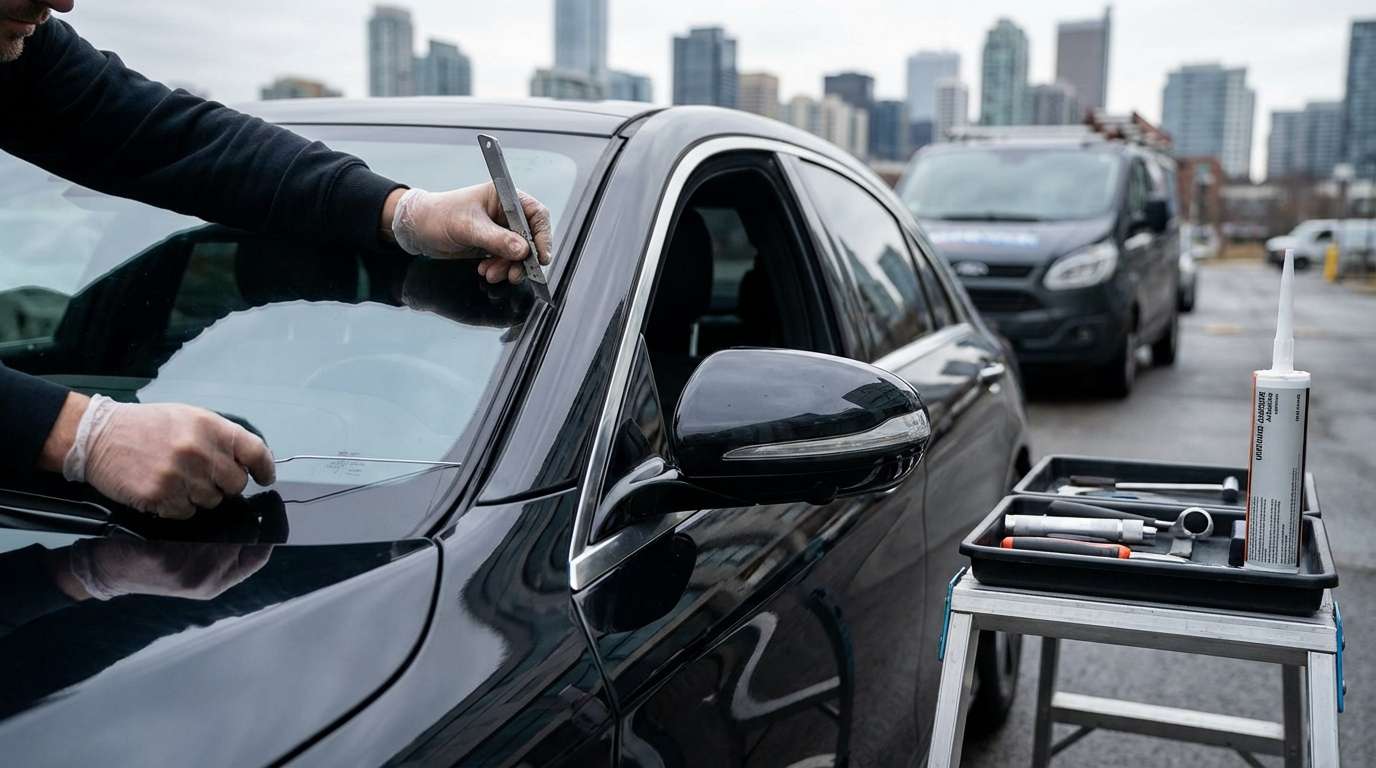
- Exterior Protection: We apply protective automotive-grade masking tape to the painted surfaces of the rear door and the pillar. This ensures that no tools or glass fragments scratch your MDX’s paint during the removal process.
- Interior Shielding: The 2007-2013 MDX often features premium leather interiors. We place heavy-duty protective covers over the rear seats and the floor mats to catch falling debris.
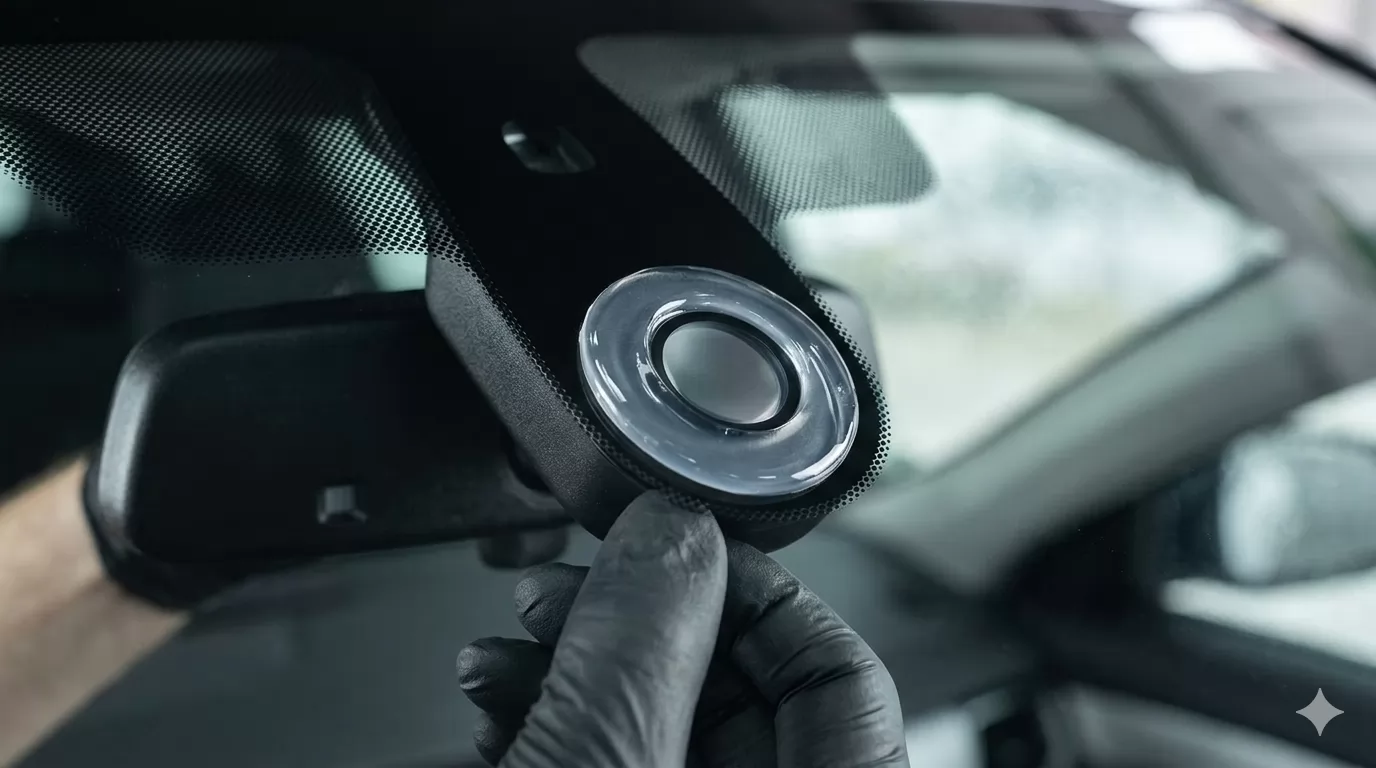
- PPE Compliance: Our technicians wear cut-resistant gloves and safety eyewear, as tempered glass fragments can be unpredictable.
Phase 2: Debris Removal and Initial Cleanup
This is the step that separates amateurs from professionals. Simply putting in new glass is not enough; we must remove the evidence of the break-in.
- Surface Vacuuming: We use industrial-grade vacuums to remove glass from the seats, floor, and the window sill.
- Seal Inspection: We meticulously pick out any remaining glass shards stuck in the rubber run channel (the track the window slides in). If these are left behind, the new glass will not seat correctly and may shatter upon installation.
Phase 3: Door Panel Disassembly
To access the mounting points for the vent glass on the MDX, the interior door panel (card) must be removed. This requires knowledge of Acura’s clip placements to avoid breaking plastic retainers.
- Removing Trim Pieces: Using non-marring nylon pry tools, we carefully pop off the cover behind the interior door handle and the small cap inside the grab handle to reveal the hidden Phillips-head screws.
- Disconnecting Electronics: We gently pry up the window switch control panel. The wiring harness is disconnected to prevent strain on the electrical connectors.
- Panel Removal: Once all fasteners are removed, we use a specialized leverage tool to pop the door panel clips loose from the metal door shell. The panel is lifted upward to clear the lock pin and set aside in a safe location.
- Vapor Barrier Management: We carefully peel back the plastic vapor barrier (moisture shield) without tearing it, exposing the inner door cavity.
Phase 4: The "Deep Clean" and Mechanical Prep
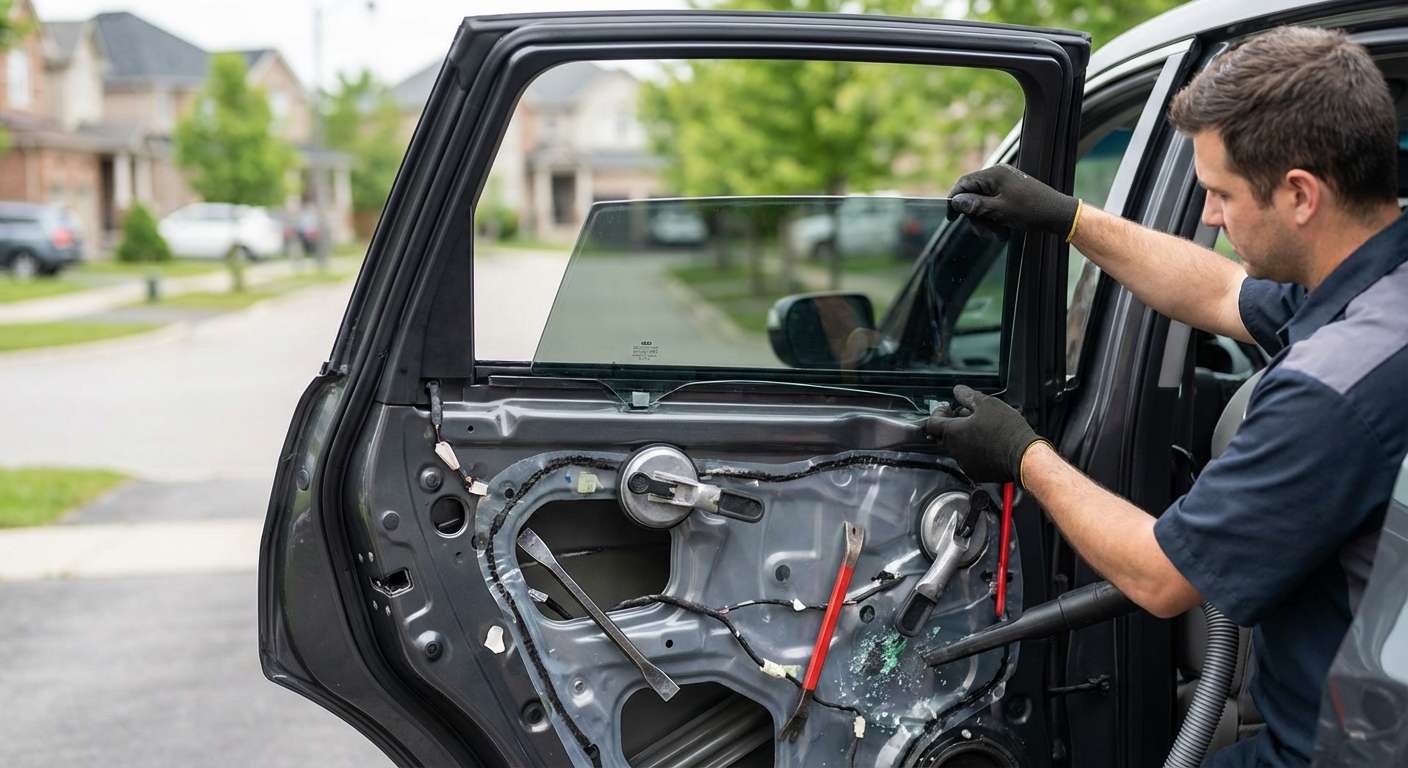
With the door panel off, we have access to the bottom of the door shell. This is where 90% of the broken glass ends up.
- Internal Vacuuming: We insert a flexible vacuum nozzle deep into the door cavity to extract all shattered glass. This prevents future rattles and ensures the window regulator (the motor that moves the glass) isn't obstructed.
- Division Bar Manipulation: On the 2007-2013 MDX, the vent glass is separated from the drop glass by a metal vertical bar called the division bar. To install the new vent, this bar must be loosened. We remove the 10mm bolts securing the division bar at the top and bottom.
- Run Channel Removal: We pull the rubber weatherstripping out of the channel to clean it thoroughly and prepare it to receive the new glass.
Phase 5: Installation of the New Vent Glass
We use only OEM-equivalent safety glass that matches the tint, curvature, and thickness of your original Acura specifications.
- Rubber Encapsulation: The new vent glass is fitted into its rubber gasket. This gasket is vital as it prevents water leaks and wind noise.
- Positioning: This is the most technical part of the maneuver. The technician must tilt the loosened division bar forward while simultaneously sliding the new vent glass assembly into the rear corner of the window frame.
- Alignment: Once the glass is in the frame, we push the division bar back into its original position. We ensure the main drop glass still slides smoothly within the track and that the vent glass is seated tightly against the B-pillar and C-pillar seals.
- Securing Hardware: We re-torque the 10mm bolts on the division bar to factory specifications, ensuring the structure is rigid.
Phase 6: Reassembly and Quality Control
The final phase involves putting the vehicle back together and verifying functionality.
- Vapor Barrier Re-sealing: The moisture shield is pressed back onto the factory adhesive. If the adhesive is dry, we apply new butyl tape to ensure a watertight seal.
- Panel Reinstallation: The door panel is hooked over the top of the door frame and firmly pressed until all retaining clips snap into place. All screws are reinserted, and trim covers are replaced.
- Functional Testing: We test the main power window to ensure it rolls up and down smoothly without binding. We also check the door lock mechanism and interior handle function.
- Final Polish: The new glass and the interior door panel are cleaned with professional detailing spray to remove any fingerprints or dust.
The Importance of Professional Installation for Vent Glass
Many vehicle owners attempt to tape up a broken vent glass or use "universal" plastic patches. This is highly dangerous. The vent glass on your Acura MDX contributes to the structural integrity of the cabin during a rollover accident. Furthermore, an improperly sealed vent glass allows moisture to enter the vehicle cabin, which can ruin the headliner, damage the leather upholstery, and cause electrical shorts in the door switches.
By choosing AlexWindshield, you are ensuring that the replacement is watertight, airtight, and structurally sound. We pay close attention to the weatherstripping and the division bar alignment, nuances that general mechanics often overlook.
Serving Vaughan, Richmond Hill, and Markham with Excellence
Our commitment to the local community is unwavering. We have optimized our routes to provide rapid response times to the suburbs north of Toronto. If you are located in the bustling neighborhoods of Vaughan, the residential hubs of Richmond Hill, or the tech centers of Markham, you are within our primary service zone. We understand the local climate and the specific wear-and-tear GTA roads inflict on vehicles, ensuring our installations are durable enough to withstand Canadian winters and humid summers.
Trust AlexWindshield: Your Auto Glass Experts
Your Acura MDX is a premium vehicle that deserves premium care. Don't settle for quick fixes or inexperienced technicians who might damage your door panels or leave glass rattling inside your door frame. At AlexWindshield, we combine technical mastery with exceptional customer service.
We stand behind our craftsmanship with a Lifetime Warranty on leakage and workmanship for as long as you own the vehicle. Whether it is a windshield calibration or a complex vent glass replacement, we treat your car as if it were our own.
Is your Acura MDX vent glass broken? Do not compromise your safety or security. Contact AlexWindshield today for a quote and let our mobile experts in the GTA restore your view and your peace of mind.