Dealing with the Toyota C1A11 Pre-Collision Camera Error
If you drive a modern Toyota and your dash suddenly lit up like a Christmas tree with a "Pre-Collision System Malfunction" message, you might have pulled a C1A11 code with your scanner. I see this exact issue roll into the shop all the time. Let's skip the fluff and break down exactly what this code means, why your safety systems just checked out, and how we fix it.
What Does the C1A11 Code Actually Mean?
In plain English, C1A11 points to a Forward Recognition Camera Communication Error. Your Toyota relies on a camera mounted right behind the rearview mirror to run the Pre-Collision System (PCS), Lane Departure Alert, and radar cruise control. When the main computer stops receiving signals from this camera, it throws the C1A11 code and shuts down those features to keep you safe.
Symptoms You Will Notice
- A flashing or solid PCS warning light on the dashboard.
- Adaptive cruise control refuses to set or engage.
- Lane tracing and departure warnings stop working entirely.
Common Causes Behind the Communication Drop
In my experience turning wrenches and fixing auto glass across Canada, this communication error doesn't happen by magic. Here is what usually goes wrong:
- Disconnected or loose harness: A bumped mirror cover or a sloppy interior detailing job can knock the connector loose.
- Pinched wiring: This often happens after a botched windshield replacement where the wires get crushed against the glass or roofline.
- Extreme cabin temperatures: Sitting in the blazing summer sun or freezing Canadian winters can sometimes fry the camera's internal circuit board.
- Blown fuses: A short in the system can pop the specific fuse linked to the ADAS (Advanced Driver Assistance Systems) circuit.
Step-by-Step Fix Guide
Before you throw expensive replacement parts at the problem, follow this diagnostic path.
Step 1: Visual Inspection and Reconnection
Pop off the plastic camera cover on your windshield. Unplug the main harness connector, check for bent pins, and click it back in firmly. Sometimes, a simple reseat is all it takes to restore communication to the module.
Step 2: Test Power and Ground
Grab a multimeter. You need to verify that the camera is actually getting 12 volts and has a solid ground connection. If the voltage is dead, trace the wire back to the fuse box and check for a blown fuse or a break in the harness.
Step 3: Camera Replacement and Recalibration
If the wiring is good but the code won't clear, the camera unit itself is likely dead. You will need to install a new OEM camera. Here is the catch: you cannot just plug a new camera in and drive away. The system requires a full ADAS recalibration using specialized target boards and a diagnostic scan tool to align the camera with the vehicle's center line.
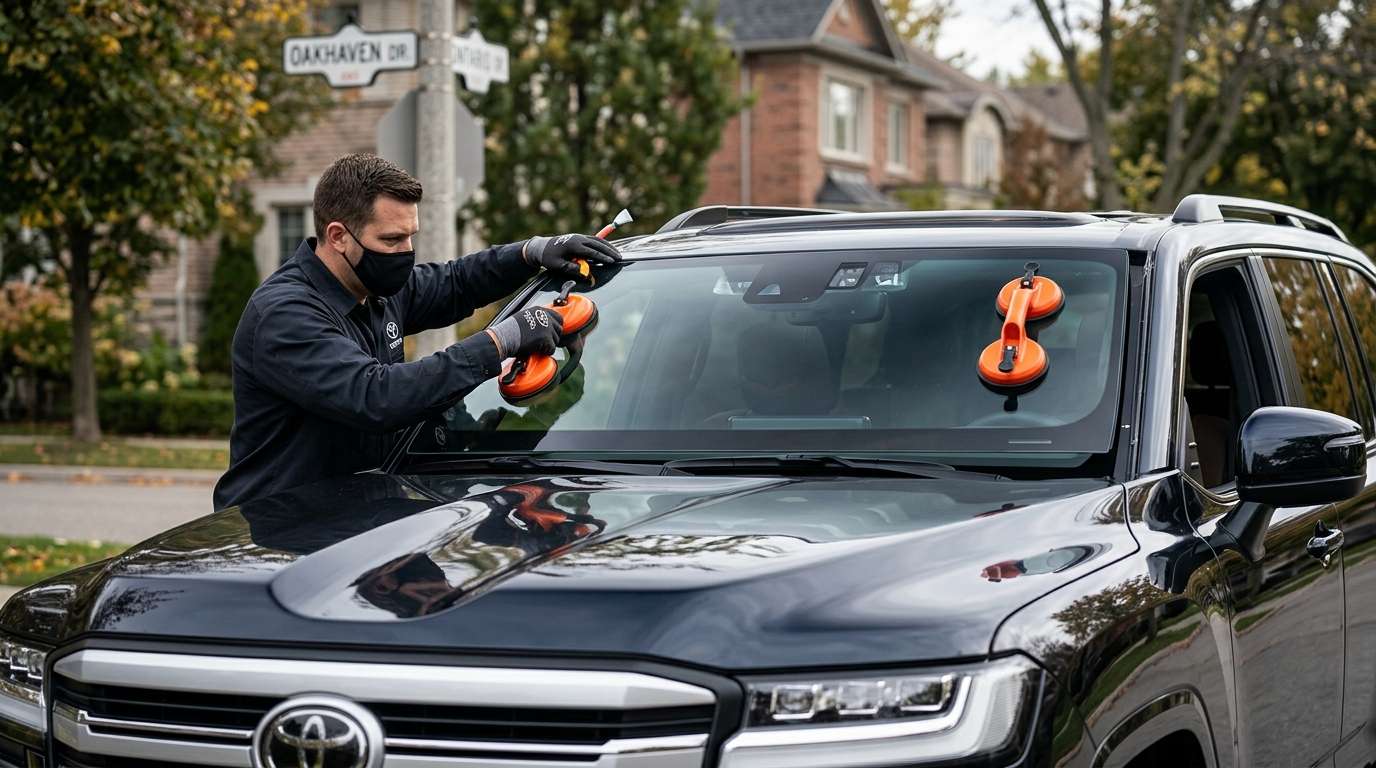
A Quick Note on Windshield Replacements
Because this camera mounts directly to the glass, the angle and clarity of your windshield directly impact how the system functions. A cheap piece of aftermarket glass with distortion can cause the camera to fail its self-check and throw communication errors.
Why Calibration Matters
If the camera is off by even a millimeter, your automatic braking might trigger at the wrong time—or worse, not trigger at all when you actually need it.
Need Help in the GTA? Call AlexWindshield
Dealing with camera codes and windshield electronics can be a massive headache. If you are in the Greater Toronto Area and suspect your windshield or camera is the culprit, reach out to AlexWindshield. As a Master Technician, I handle proper auto glass installations and precise ADAS camera recalibrations right in your driveway. We offer premium mobile auto glass services backed by a Lifetime Warranty. Give us a call, and we will get your Toyota's safety systems running right.


