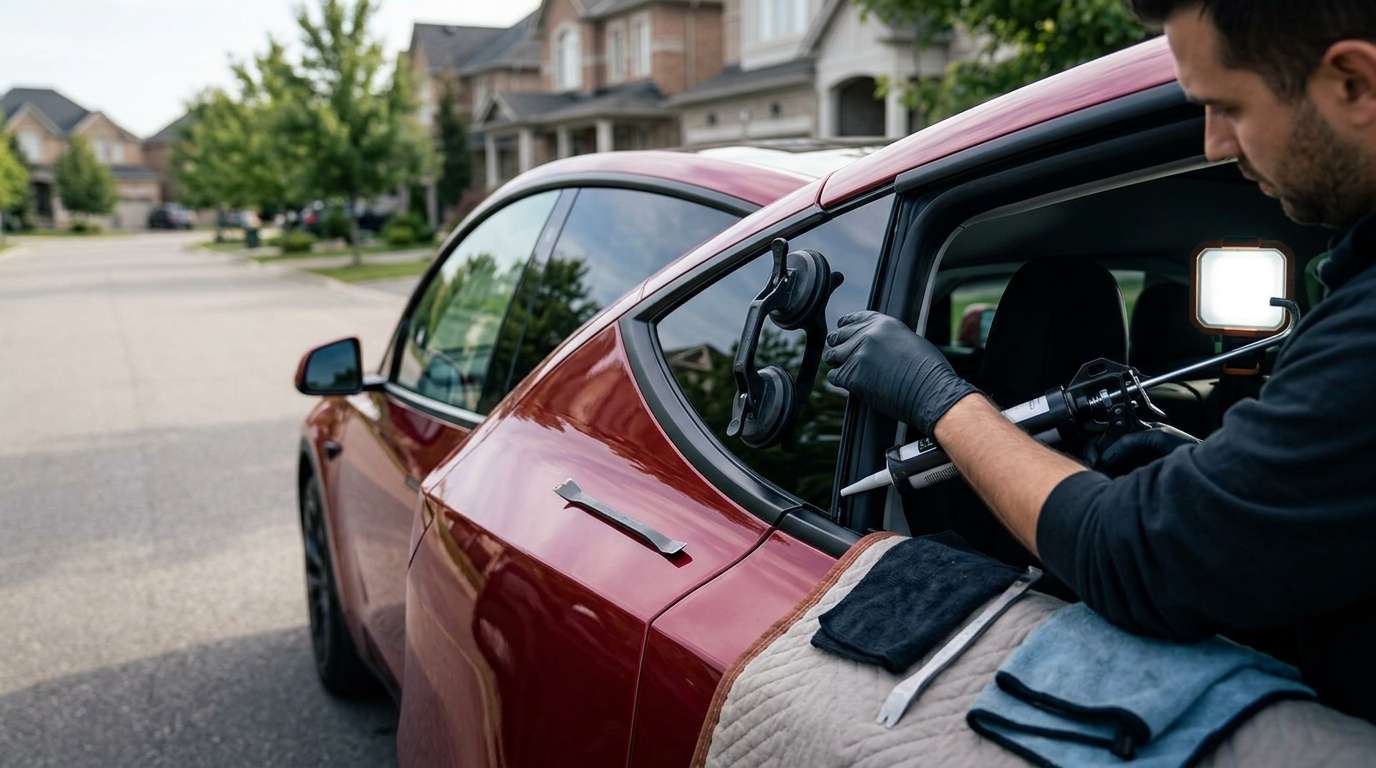
Verifying the Rear Quarter Glass on the Refreshed Model Y
Pinpointing the exact rear quarter window fitted to your vehicle comes down to confirming the updated acoustic lamination and the factory-integrated exterior surround. On this refresh, the fixed triangular panel mounted between the C-pillar and D-pillar carries dark privacy tint and a solar-reflective barrier directly embedded inside the laminate, rather than relying on surface film. Tesla designated the right-hand assembly under part number 1918868-21-C, which you can contrast against pre-refresh units by inspecting the perimeter moulding. Unlike older iterations that used separate clip-on brightwork, this glass arrives with an integrated satin-black trim permanently bonded to the outer edge, eliminating the need to reuse or transfer loose exterior surrounds.
Because there are no integrated radio antennas, heated defroster lines, or embedded camera housings in this glass, distinguishing variations between regional builds is straightforward. Checking your original window's corner bug reveals whether you have the acoustic sandwich construction engineered specifically to suppress rear-cabin road reverberation. I travel directly to your driveway or office parking spot anywhere across Toronto and the Greater Toronto Area to swap this glass on-site, ensuring the acoustic balance inside the cabin remains identical to the day the vehicle left the factory floor.
Interior C-Pillar Hardware and Hidden Retaining Fasteners
Unlike purely glued stationary glass, this window combines structural urethane with two dedicated mechanical mounting studs protruding inward through the vehicle's structural steel. Getting to these nuts requires disassembling the rear passenger cabin down to the bare inner quarter skin. The lower seat bench must be unlatched alongside the outer side seat bolsters before the multi-piece interior C-pillar trim can be unclipped. The trim panels rely on six to seven brittle retention tabs that lock directly into the body framing, sitting right above the cargo area parcel shelf guides.
Wiring behind the C-pillar plastics requires specific handling depending on your vehicle's rear seat configuration. Certain builds route electrical harness connections for the remote seat-back folding switches and the manual emergency charge port pull cord through the exact cavity where the forward mounting stud secures the glass frame. Disconnecting these harnesses without straining the fragile wiring pins is necessary before unfastening the mechanical retaining nuts from the inner body pinchweld.
Trim Clearances and Exterior Body Seals
The exterior architecture around this glass leaves virtually zero margin between the glass frame and surrounding painted surfaces. The upper body-side brightwork that travels back along the roofline overlaps the front edge of the quarter glass surround. Where these two trim pieces intersect, a delicate corner clip bridges the joint; this clip is susceptible to snapping if shifted out of alignment. Furthermore, winter freeze-thaw cycles frequently cause the secondary adhesive tape beneath these window trim junctions to lift, making proper reseating against the sheet metal essential.
Clearance along the bottom edge of the glass is equally tight against the primary rear door opening weatherstrip. The heavy rubber seal running along the rocker and wheel arch sits immediately adjacent to the lower perimeter moulding. Pulling that body weatherstrip clear of the quarter panel prevents tearing the vulcanized rubber edge while freeing the glass assembly from the vehicle.


