Factory Glass vs. Track Upgrades on GD and GG Imprezas
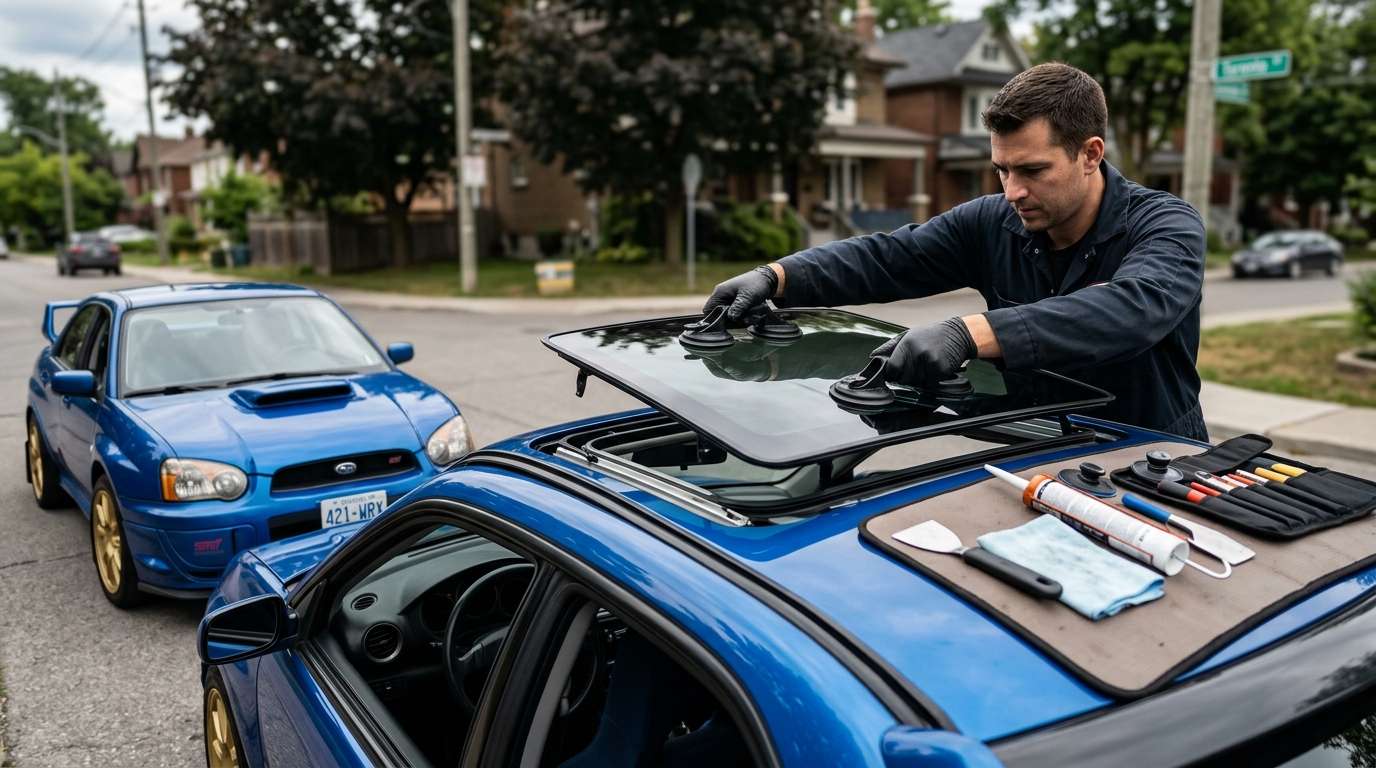
If your roof panel shatters or binds on a second-gen Impreza, the first hurdle is confirming what roof you actually have. Factory moonroof assemblies were cataloged under Subaru OEM part numbers 65430FE000 and 65430FE010. You will find this internal-sliding, tilt-up tempered glass unit on WRX And Limited packages, but Subaru omitted the moonroof completely from the standard WRX STI to save weight and preserve structural stiffness. The sole factory exception in North America is the rare 2007 STI Limited sedan.
The glass itself measures roughly 31 inches wide by 15.25 inches long and features a dark solar-control tint. It is a completely bare mechanical lid: no integrated radio antennas, no acoustic interlayers, and no heated grid lines. The primary issue unique to this setup is the factory perimeter rubber encapsulation. Unlike modern modular panels where the seal can be swapped independently, this seal was molded directly onto the metal support frame beneath the tempered edge. Once that rubber shrinks, hardens, or pulls away from the corners, extra rainwater bypasses the seal and cascades directly into the internal cassette tray.
Mounting Quirks, Tracking Failures, and Water Leaks
The glass lid secures to the sliding track mechanism through four Torx-head mounting screws hidden behind small plastic side trim finisher covers along the interior track edge. Over years of stiff suspension travel and track use on these cars, those Torx fasteners notoriously rattle loose, which causes the glass to misalign with the roof skin, chatter at highway speeds, or tilt crookedly when the overhead map light console rocker switch is pressed. When tracks bind, the electric drive motor at the front edge of the assembly will jam, forcing owners to manually turn the emergency hex slot drive located beneath the dome light trim to pull the lid closed.
Water intrusion on this model rarely stems from the glass alone; it is almost always how the glass interacts with the surrounding cassette. Underneath, a sliding interior sunshade uses delicate stopper brackets (Subaru part 65458AE00A) that easily break if forced back manually. Excess water that slips past a fatigued glass seal must drain through four rubber tubes routed down the A-pillars and rear C-pillars. If pine needles or debris plug those front A-pillar exits, the overflowing cassette dumps directly into the headliner, soaking the overhead console wiring and flooding the front footwells. When replacing this panel, I back my workmanship for the lifetime of your vehicle, along with a full one-year warranty on the replacement glass panel itself.
Post-Replacement Inspection for Your WRX
- Panel Height Flushness: The leading edge of the glass should sit roughly 1 mm below the steel roof skin to prevent wind buffeting, while the trailing edge should sit flush or up to 1 mm above it to direct airflow cleanly over the roof line.
- Spring-Loaded Wind Deflector: As the panel slides back inside the roof cavity, verify that the front pop-up wind deflector hinge rises smoothly without catching on the side seal edges.
- Perimeter Seal Compression: Check that the rubber seal sits uniformly against the roof opening on all four sides without pinching, buckling, or binding as the mechanism moves from full tilt to closed.
- Concealer Finisher Covers: Ensure the interior plastic side beauty covers snap tightly over the glass mounting brackets, as loose finishers will vibrate against the headliner opening.
- Cassette Drain Runoff: Before the interior is closed up, ensure water poured directly into the front cassette trough runs freely out of the lower fender exits rather than pooling near the map light harness.


