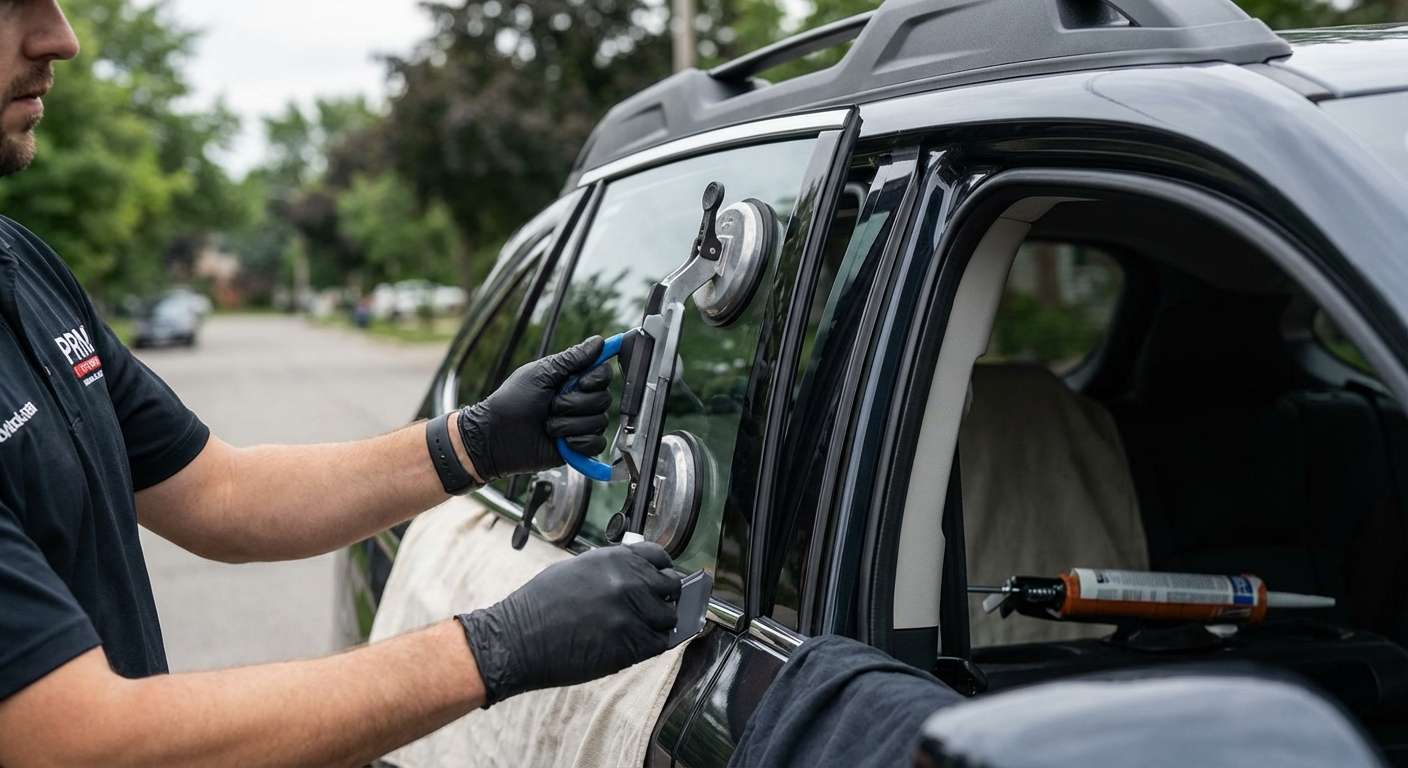
Redesigned Cargo Quarter Glass and Rear Pillar Architecture
The cargo bay glass on the redesigned Outback meets flush against reshaped D-pillar appliqués and sits right below the re-engineered roof rail bases. Unlike earlier layouts, this rear side window is bonded tight against an updated body shell with high-mounted exterior trim pieces that wrap closer to the glass edge. The glass panel itself is stationary tempered safety glass with dark factory solar-absorbing privacy tint baked directly into it, maintaining thermal control for the rear cargo area without relying on aftermarket film.
Replacing this rear side glass requires navigating the interior plastics before addressing the exterior body line. I have to unclip the rear interior cargo quarter trim and set aside the rear cargo threshold trim to access the antenna wiring harnesses and the factory alignment locator pins that extend through the sheet metal flange. Because broken side windows often leave vehicle interiors exposed to rain or road debris, I aim to arrive at your door roughly an hour after you set up your appointment to secure the vehicle and handle the glass swap on-site.
Trim Variations, Antenna Lines, and Moulding Finish
Subaru equips the rear side quarter glass with distinct features based on trim level, which dictates the correct aftermarket replacement unit:
| Trim Level | Perimeter Moulding Finish | Integrated Electronics | Frit Border Detail |
|---|---|---|---|
| Touring / Limited XT | Gloss black perimeter encapsulation | Embedded radio antenna grid | Standard solid black frit band |
| Wilderness | Matte black textured moulding | Embedded radio antenna grid | Adventure-themed topographic motif |
| Premier XT | Satin-chrome accented encapsulation | Embedded radio antenna grid | Standard solid black frit band |
The antenna lines fired into the glass grid handle FM, AM, or satellite radio reception depending on the infotainment setup. A sub-harness plugs directly into the lower inside corner of the window. Matching the trim-specific encapsulation is equally critical; putting a gloss black moulding from a Limited XT onto a Wilderness model disrupts the textured cladding profile that defines the vehicle's lower flanks and roof rail anchors.
Post-Installation Inspection Checklist
Once the replacement panel is bonded into position, verify that the unit interacts correctly with the surrounding panels and vehicle electronics:
- Check the perimeter rubber encapsulation against the exterior D-pillar appliqué to ensure an even reveal gap without binding or protruding corners.
- Ensure the interior cargo trim panels, lower carpet floor stops, and rear threshold plates have been fully re-seated into their factory clips without rattling.
- Tune across AM, FM, and satellite radio stations to verify that the integrated in-glass antenna grid connector is seated firmly and delivering static-free reception.
- Examine the roof rail lower footing trim directly above the upper edge of the window to confirm the rubber seal lays flat with no distortion.
- Confirm that the window's dark privacy tint density matches the opposite factory quarter glass and the rear liftgate window.


