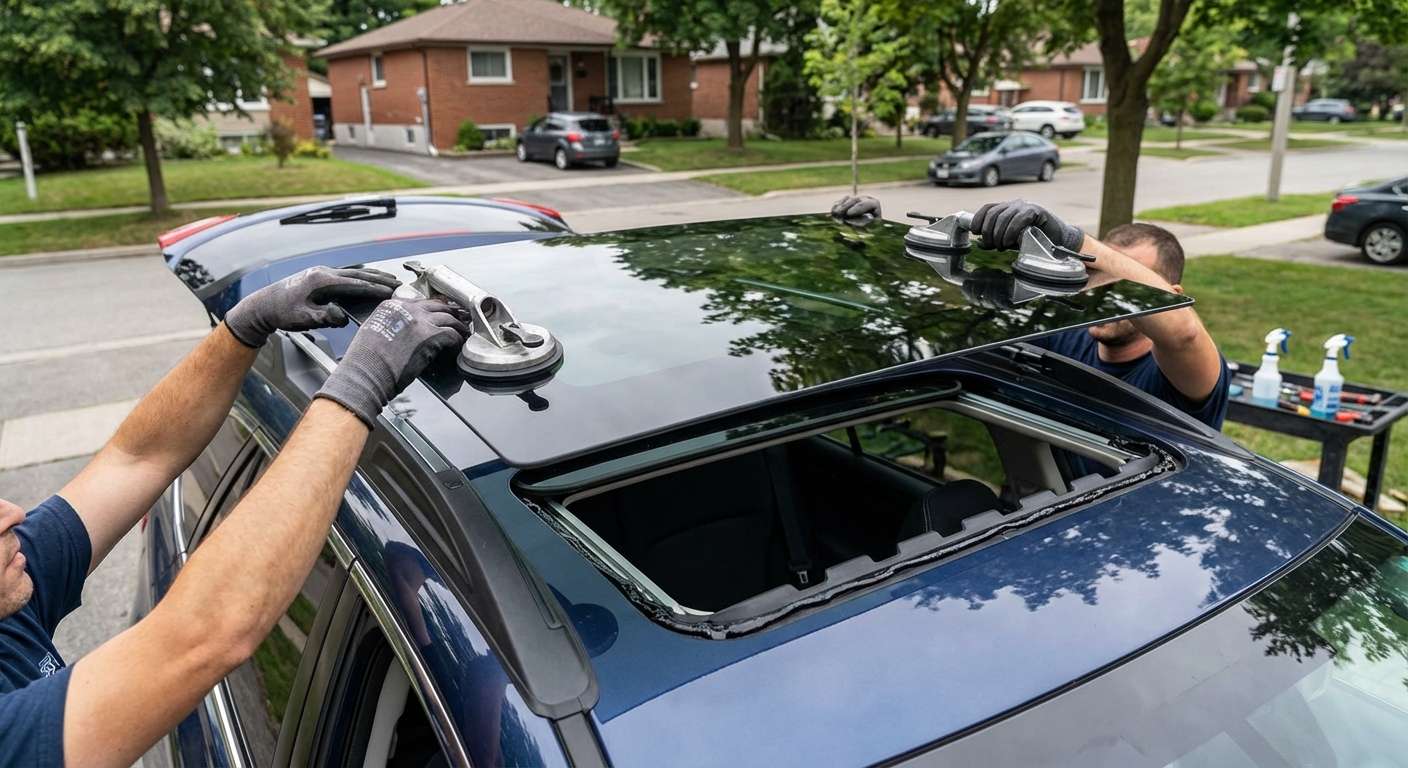
Inspecting the Outback Moonroof Glass Before Fastening
When unpacking the replacement lid assembly, the first item I examine is the factory-moulded perimeter rubber weatherstrip encapsulated around the edge of the panel. On this vehicle, Subaru uses part number 65430AL01A—an assembly shared directly with the same-era Legacy sedan—and the outer seal is bonded directly to the dark-tinted, solar-absorbing tempered glass rather than sold as a separate gasket. I check the continuous rubber edge for any deformities, tears, or uneven extrusion profiles, as a hardened or compressed seal on this frame causes immediate cabin wind whistle at highway speeds. Because this single-pane tilt-and-slide unit does not house defroster grids, rain sensors, or embedded antennas, the glass surface itself should be completely slick aside from the integrated encapsulation and the underlying fastener brackets.
I verify that the four threaded mounting anchor tabs match the vehicle's sliding track geometry before setting the panel in place. The factory moonroof was standard equipment on Limited and Touring trims and an added option on Models, meaning the track assembly underneath is identical across those variants, while the base 2.5i lacked the roof cut-out entirely. When sourcing these panels, I supply quality aftermarket glass manufactured by global leaders like Pilkington, PGW, or FYG rather than dealing in carmaker-branded units, and these aftermarket replacements mirror the original curvature and tint density precisely. I also check the lower channel of the glass lid to confirm the brackets are straight and clear of debris so the Torx screws seat smoothly through the interior track runners.
Mechanical Alignment Against the Roof Skin
Once the glass panel sits loosely in the cassette, dialling in the pitch and height relative to the exterior sheet metal dictates whether the cabin stays silent and dry. Accessing the side mounting hardware requires popping off the interior side plastic rail finishers beside the manual sliding sunshade. With those trim pieces aside, the panel adjusts upward, downward, and longitudinally through slotted bracket points. I adjust the leading edge so it rests roughly one millimetre below the outer roof skin; this slight drop prevents air from catching the leading edge of the seal. Conversely, I align the trailing edge to sit roughly one millimetre above the surrounding steel to ensure smooth aerodynamics over the roof rack crossbars and prevent wind buffeting.
If this height alignment is neglected, the integrated rubber moulding cannot compress evenly against the metal roof opening when the electric motor pulls the pane into its final closed seat. A panel that sits too high at the front forces rushing air past the seal, creating a constant highway hiss above the front map light console. A panel set too low allows pooled rainwater to overwhelm the interior catchment tray. I run the overhead console tilt and slide switches through their full travel cycle multiple times, verifying that the mechanical pop-up wind deflector at the leading edge rises and collapses cleanly without contacting the glass frame.
Post-Installation Clearance and Drain Channel Checks
After locking the mounting screws into their final positions and reinstalling the side finisher plastics, I run a functional water-routing test before considering the work finished. The cassette surrounding the glass lid incorporates a drip channel system plumbed to four flexible rubber drain hoses running down the front A-pillars and rear C-to-D-pillars. Because these specific vehicles often suffer from backed-up drains caused by pine needles and outdoor debris slipping past the perimeter seal, I flood the outer perimeter with clean water while the roof is closed, watching the outlet flow behind the front wheel wells and rear quarter sections.
Confirming that runoff drops straight into the catchment tray and flows out of the vehicle ensures water never backs up to soak the formed one-piece headliner or drip through the overhead map light switches. I also inspect the underside of the panel to ensure the manual sliding sunshade glides freely across its tracks without binding against the lower bracket hardware of the new glass. When the motor drives the glass backward into the roof cavity, there must be unobstructed clearance between the dark-tinted tempered pane and the inner roof framework.


