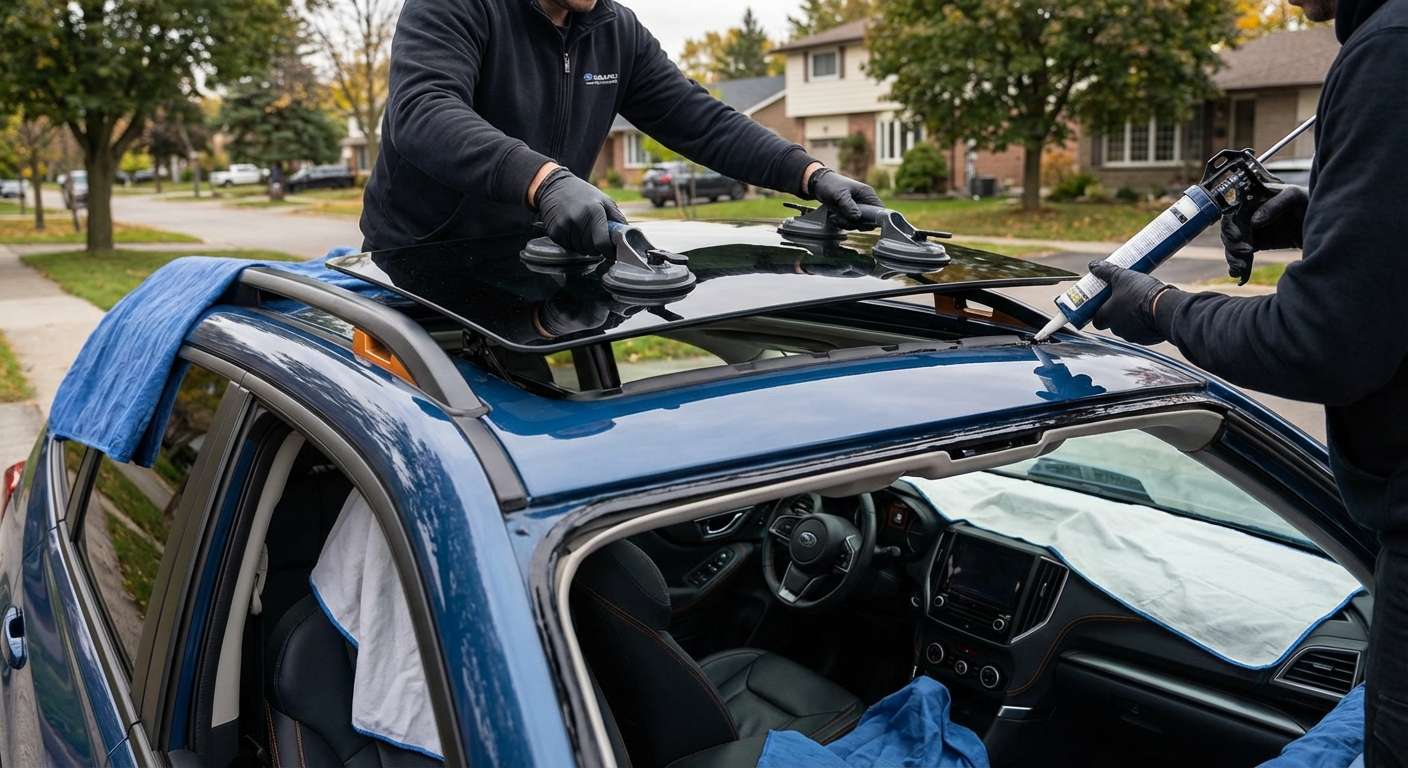
Inspecting the Replacement Sunroof Glass for the Forester Moonroof
Before any replacement panel goes near the roof opening of a Forester Premium, Sport, Limited, or Touring, I examine the new glass on my stand to ensure it matches the factory lid. Unlike the base trim which has a solid steel roof, these upper editions use an oversized single-pane tilt and slide moonroof with deep factory solar tinting. The panel relies on an encapsulated perimeter frame designed to seat against the outer rubber weatherstrip (matching the profile of dealer part 65476SJ010). Because this panel uses dark heat-absorbing tempered safety glass rather than laminated glass, any edge flaw or manufacturing stress point can lead to the spontaneous fractures that some sixth-generation Forester owners have experienced on the road.
I verify that the four metal carrier brackets bonded to the underside of the glass line up cleanly with the track mechanism. The factory mounting setup relies on two Torx-head bolts per side concealed behind clip-on plastic side trim covers. If these bonded tabs are misaligned by even a millimeter from the factory standard, the glass will bind inside the roof guide track rails or squeeze the replaceable rubber surround unevenly, creating annoying seal squeaks at highway speeds.
Mechanical Track Fit and Alignment Pitfalls on the Forester
Getting the new glass seated properly requires balancing the panel precisely within the roof cutout before tightening the Torx hardware. Because I run a strictly mobile operation across Toronto and the GTA, coming directly to your driveway or workplace parking space, I take extra care to level the panel against your Forester's exterior roofline so wind noise cannot develop during daily commuting.
The glass must sit flush with the forward sheet metal and roughly one millimeter higher at the rear edge to prevent buffeting against the deflector assembly. If the alignment is off, the express open and close function will trip its pinch-protection sensor and reverse immediately upon hitting the front seal. I also cycle the manual sliding fabric sunshade beneath the glass to confirm that the lower carrier clearance matches the factory clearance and will not scuff the interior headliner panel or bind against the dual flexible drive cables.
Owner Handover Checklist for the Forester Panoramic Glass
Once the replacement glass is installed, adjusted, and torqued down, you should verify that the moonroof operates smoothly and seals tightly against the elements:
- Outer weatherstrip compression: The perimeter seal should seat evenly against the painted roof opening all the way around, without pinched corners or gaps where rainwater could bypass the outer channel.
- Panel flushness: Run your hand across the front and rear roof seams; the front glass edge must sit flush with the roof skin, while the trailing edge should sit slightly proud to divert airflow cleanly.
- Express switch operation: Test the power tilt and express slide controls in the overhead console to ensure the drive motor glides open and closed without hesitating, catching, or auto-reversing.
- Interior sunshade glide: Pull the rigid, fabric-covered shade forward and back by hand to confirm it moves freely along its lower track without rubbing against the mounting brackets.
- Side trim covers: Check that the plastic cosmetic covers inside the glass mechanism are snapped tightly over the Torx carrier bolts on both the driver and passenger sides.
- Drain tray runoff: The internal drip channel must direct water toward the four pillar drain hoses rather than pooling near the pop-up front wind deflector.


