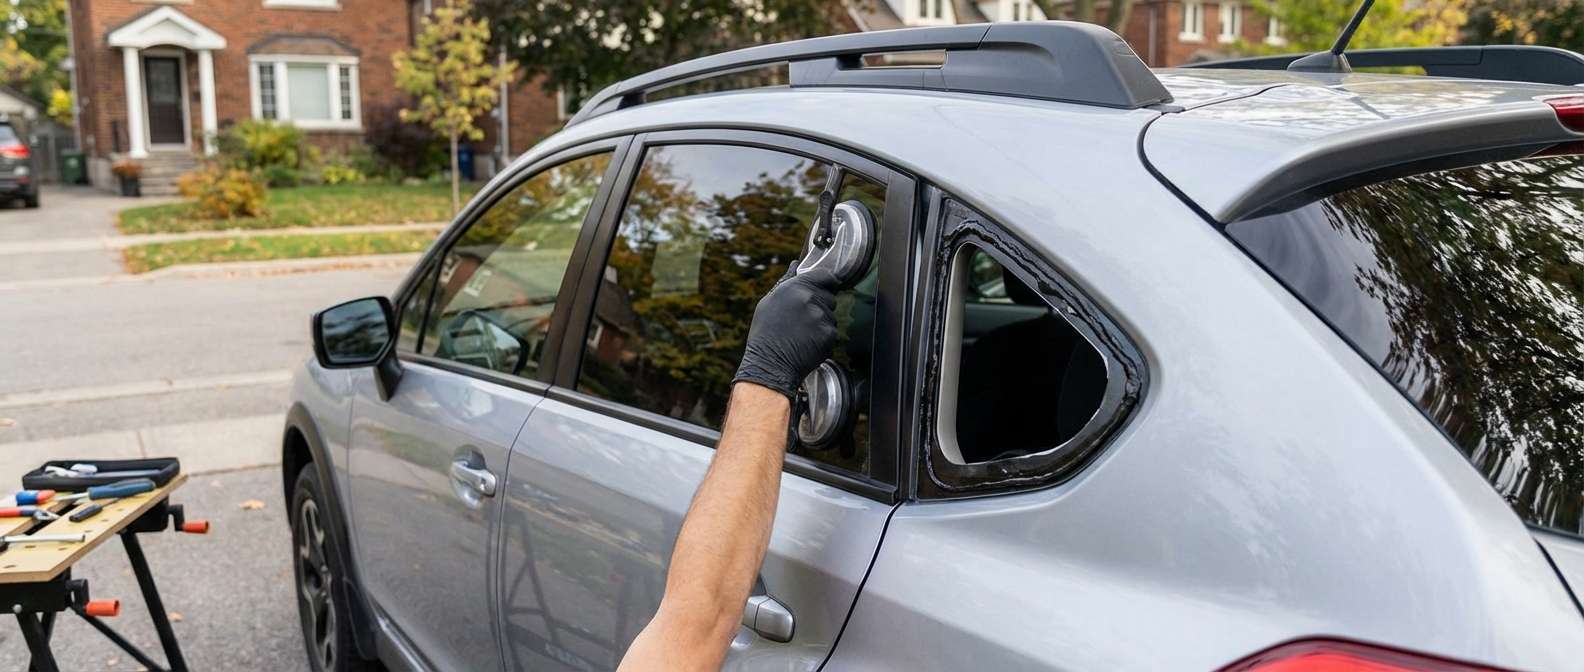
Expert Quarter Glass Replacement for Subaru Crosstrek 2013-2017 by AlexWindshield
The first-generation Subaru Crosstrek (2013-2017) completely revolutionized the compact crossover market. Blending Subaru's legendary Symmetrical All-Wheel Drive with a rugged, lifted chassis, this vehicle was built for urban commutes and backcountry adventures alike. However, whether you are navigating dense city parking or leaving your vehicle at a remote trailhead, the rear quarter glass is uniquely vulnerable. Due to its location behind the rear passenger doors, the quarter glass is a common target for vehicle break-ins by thieves attempting to fold down the rear seats and access the cargo area. When a shattered quarter window leaves your Crosstrek exposed to the elements, you need a highly specialized, technically flawless replacement.
As a Master Technician and senior auto glass specialist at AlexWindshield, I have replaced countless encapsulated body-glass panels on the first-generation Crosstrek. Replacing a quarter glass is not simply a matter of gluing a new piece of glass onto the frame. It requires a meticulous, multi-step process to ensure structural integrity, prevent water leaks, and completely remove the hazardous thousands of tempered glass shards left behind. We bring this dealership-level technical expertise directly to your driveway.
Premier Mobile Auto Glass Services Across the Greater Toronto Area (GTA)
Driving with a shattered or missing quarter glass in the Greater Toronto Area (GTA) is not an option. Between the freezing winters, unpredictable rain, and heavy highway traffic, an open cabin leaves your interior vulnerable to severe weather damage and poses a massive security risk. At AlexWindshield, we understand that your time is valuable. That is why we operate a fleet of fully equipped, state-of-the-art mobile service vehicles.
Whether you are at your office in Vaughan, parked in a residential driveway in Richmond Hill, or shopping in Markham, our technicians come directly to you. We carry top-tier tools, premium automotive urethane, and exact-fit OEM-equivalent glass designed specifically for the Subaru Crosstrek 2013-2017. You do not have to disrupt your day or drive a compromised vehicle across the GTA; we deliver master-class auto glass solutions right to your location.
The Complexity of Crosstrek Quarter Glass: Tempered Glass Dynamics
Unlike the front windshield, which is made of laminated safety glass that spiderwebs upon impact, the quarter glass on the 2013-2017 Subaru Crosstrek is constructed from tempered glass. During the manufacturing process, this glass is heated and rapidly cooled, creating immense internal tension. When struck by a hard object, tempered glass is designed to immediately shatter into thousands of small, granular pieces to prevent deep lacerations. While this is a brilliant safety feature, it creates an absolute nightmare for the vehicle interior. These tiny shards embed themselves deep into the carpets, seatbelt retractors, and behind the interior plastic trims.
A to Z: Our Step-by-Step Quarter Glass Replacement Process
At AlexWindshield, we strictly adhere to the highest industry standards, combining advanced chemistry, specialized tools, and technical mastery. Here is the comprehensive, step-by-step procedure we execute for every Subaru Crosstrek quarter glass replacement.
Step 1: Vehicle Preparation and Interior Protection
Before any tools are lifted, we secure the working environment. We apply high-quality automotive tape around the exterior painted body panels surrounding the quarter glass opening to prevent any accidental scratches during the extraction process. Inside the cabin, we drape heavy-duty, puncture-proof drop cloths over the Crosstrek's rear seats, cargo area, and floor mats. Protecting your vehicle's interior from debris and urethane stains is our absolute first priority.
Step 2: Interior Trim and Door Panel Removal
Because the quarter glass is structurally bonded to the vehicle body, and the shattered glass inevitably falls deep into the interior cavities, we must disassemble the surrounding interior trim. For the 2013-2017 Crosstrek, this involves carefully disengaging the interior C-pillar and D-pillar plastic panels. We use specialized non-marring nylon pry tools to unseat the retaining clips without breaking them. Removing these interior panels grants us unrestricted access to the inner pinch weld and exposes the hidden areas where broken glass has gathered.
Step 3: Meticulous Glass Shard Removal and Vacuuming
This is one of the most critical steps in replacing tempered side or back glass. Using high-powered, industrial-grade shop vacuums with specialized crevice nozzles, we meticulously extract all broken glass shards from the vehicle's interior. We vacuum the rear seats, the cargo floor, inside the seatbelt retractor housings, and deep within the lower body panels. Leaving even a few shards behind can cause a highly irritating rattling sound while driving down the highway, or worse, jam the seatbelt mechanisms. We ensure the cabin is immaculately clean before proceeding.
Step 4: Extracting the Old Encapsulation and Urethane
The original quarter glass on the Crosstrek is held in place by a thick bead of factory polyurethane adhesive. To remove the remaining glass chunks and the encapsulated rubber molding, we use specialized auto glass cut-out tools, such as a cold knife or a wire-extraction system. We carefully slice through the incredibly tough OEM urethane, separating the old molding from the vehicle's steel body. This step requires immense precision to ensure the underlying metal pinch weld is not damaged.
Step 5: Pinch Weld Cleaning and Surface Preparation
Once the old glass frame is removed, we prepare the bonding surface. The old bead of urethane is carefully trimmed down to a base layer of approximately 1 to 2 millimeters. This process, known as a "full cut," provides the ideal foundational substrate for the new adhesive. We then clean the entire pinch weld area using a highly formulated, alcohol-based auto glass cleaner to remove dirt, grease, and environmental contaminants.
Step 6: Primer Application for Structural Integrity
If there are any microscopic scratches on the painted pinch weld from the removal process, we immediately treat them. We apply a specialized, high-performance metal primer to any bare metal spots to prevent future rust and corrosion—a crucial step for vehicles exposed to the harsh, salted winter roads of the GTA. Next, we apply a glass-prep primer to the frit band (the black painted edge) of the new quarter glass. This primer acts as a chemical activator, ensuring the urethane bonds at a molecular level with the new glass.
Step 7: Applying the High-Quality Automotive Adhesive
With the surfaces primed and flashed (dried), we proceed to the chemical bonding phase. We use a premium, rapid-curing, high-modulus, non-conductive high-quality adhesive. Using an electric caulking gun, we apply the urethane in a perfectly uniform "V-bead" profile around the perimeter of the body opening. The V-bead is an industry-standard technique that ensures the adhesive compresses evenly when the glass is placed, eliminating any chance of air gaps or water leaks.
Step 8: Precision Installation of the New Quarter Glass
We take the brand new, OEM-equivalent encapsulated quarter glass and carefully align it with the Subaru Crosstrek body lines. Utilizing specialized suction cups, we gently press the glass into the fresh urethane bead. We apply even, sustained pressure to ensure the encapsulation sits perfectly flush with the adjacent body panels, restoring the precise aerodynamic profile of the vehicle. We then apply specialized retention tape to hold the glass firmly in place while the adhesive begins its initial chemical cure.
Step 9: Reassembly and Final Quality Control Check
While the urethane is curing, we begin the reassembly process. We carefully reinstall the interior C-pillar and D-pillar trim pieces, ensuring every clip snaps securely back into its factory position. We perform a secondary, highly detailed vacuuming of the entire rear interior to ensure absolutely zero glass dust remains. Finally, we clean both the inside and outside of the newly installed quarter glass with streak-free glass cleaner. We conduct a thorough inspection of the seals to guarantee a completely weatherproof, noise-free finish.
Why AlexWindshield is the Trusted Choice in the GTA
Replacing an encapsulated quarter glass requires the steady hand of a Master Technician. Improper installation can result in severe water leaks that flood your cargo area, rust that eats away at your quarter panel, or unbearable wind whistling noises at highway speeds. By choosing AlexWindshield, you are investing in top-tier craftsmanship and unparalleled attention to detail.
- Expertise: Deep technical knowledge of the Subaru Crosstrek's specific trim and body anatomy.
- Convenience: Comprehensive mobile service deploying to Vaughan, Richmond Hill, Markham, and the surrounding GTA.
- Safety: Complete removal of dangerous tempered glass shards from your interior and body panels.
- Durability: Utilizing only the finest primers and high-quality urethane adhesives engineered for Canadian climates.
Book Your Subaru Crosstrek Glass Replacement Today
Do not let a shattered quarter glass disrupt your life or compromise the safety of your Subaru Crosstrek. Trust the industry experts to restore your vehicle to factory-fresh condition. At AlexWindshield, we stand firmly behind our master-level craftsmanship, which is why every single quarter glass replacement we perform comes backed by our comprehensive Lifetime Warranty against leaks, wind noise, and manufacturer defects. Whether you are at home, at the office, or anywhere in the GTA, our mobile technicians are ready to serve you. Contact AlexWindshield today to schedule your precise, professional auto glass replacement.


