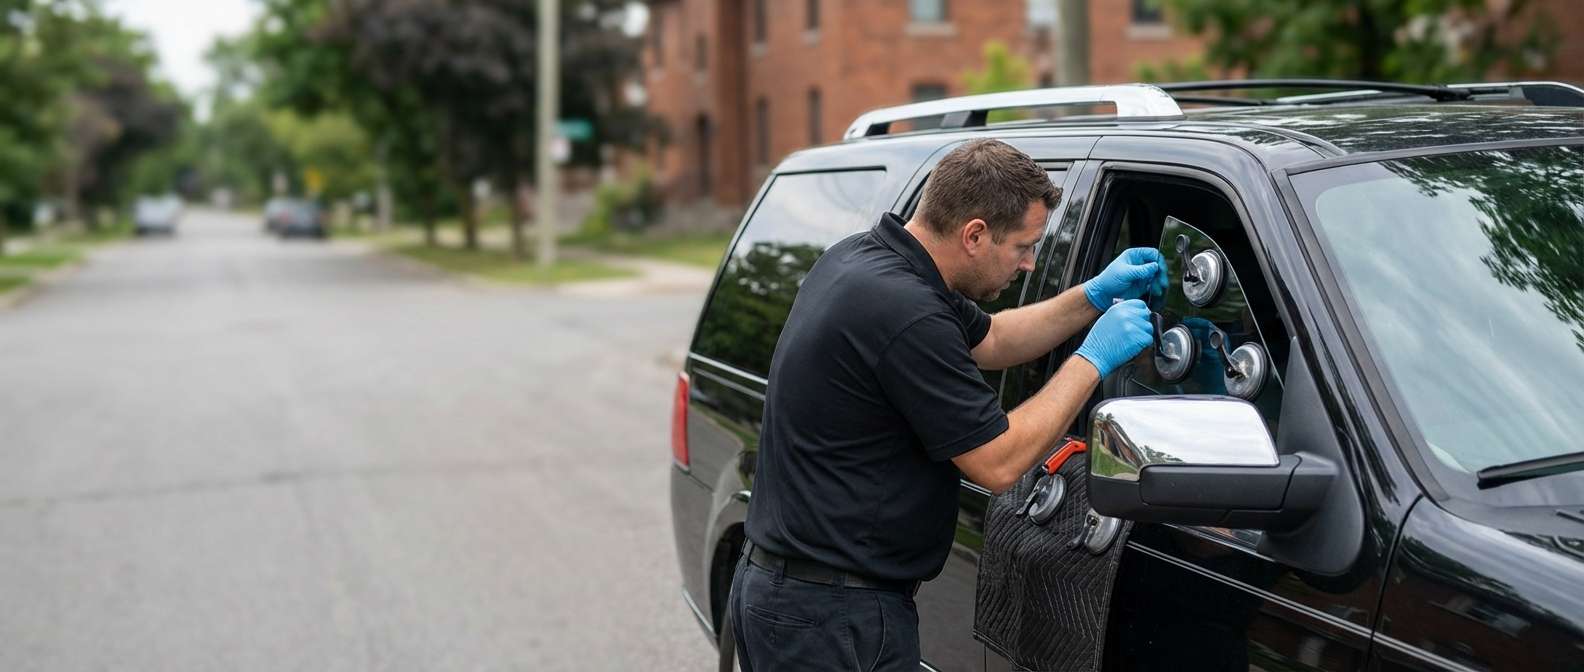
The 2003-2006 Lincoln Navigator introduced a bold new era of full-size luxury SUVs, blending a commanding, chrome-accented road presence with an exceptionally refined, whisper-quiet cabin. Designed to transport families in ultimate comfort, the acoustic engineering of this specific Navigator generation relies heavily on the structural integrity of every single piece of glass. When a piece of vent glass is compromised or shattered—whether due to an attempted break-in, road debris, or extreme temperature fluctuations—that carefully crafted luxury experience is immediately destroyed. Road noise infiltrates the cabin, the vehicle's interior is exposed to harsh weather elements, and the fundamental security of your premium SUV is put at serious risk. Restoring the pristine condition of your Navigator requires more than just a quick fix; it demands the precision, expertise, and high-quality materials of a master technician.
The Critical Role of Vent Glass in Your 2003-2006 Lincoln Navigator
Although the vent glass is one of the smaller windows on your 2003-2006 Lincoln Navigator, its role is disproportionately significant. Situated either at the front door or the rear quarter sections depending on the specific trim and configuration, this glass serves multiple critical functions. It provides structural support to the surrounding weatherstripping, aids in optimal driver visibility by eliminating blind spots, and forms a crucial barrier against the outside environment. Because vent glass is constructed from tempered glass, it is designed to shatter into thousands of small, blunt pebble-like pieces upon impact rather than dangerous, jagged shards. While this is an essential safety feature to protect passengers during a collision, it creates a monumental clean-up and replacement challenge when the glass breaks.
Premium Auto Glass Services Across the Greater Toronto Area (GTA)
When you are driving a high-end vehicle like the Lincoln Navigator, you cannot afford to leave it parked with a shattered window. AlexWindshield is proud to provide industry-leading, mobile auto glass replacement services right to your doorstep anywhere in the Greater Toronto Area (GTA). We understand that your time is valuable, which is why our fully equipped mobile service vans bring the auto glass shop directly to your home, office, or emergency location.
Dedicated Service in Vaughan, Richmond Hill, and Markham
We have strategically expanded our rapid-response mobile units to prioritize communities that demand excellence. Whether you are navigating the busy commercial districts of Vaughan, parked at a residential driveway in Richmond Hill, or running family errands in Markham, our master technicians are ready to deploy. We ensure that residents across these major GTA hubs receive prompt, reliable, and perfectly executed vent glass replacements without ever having to tow their compromised Lincoln Navigator to a physical garage.
Master Technician's Step-by-Step Vent Glass Replacement Process
Replacing the vent glass on a 2003-2006 Lincoln Navigator is a highly technical procedure that requires a meticulous, step-by-step approach. As a master technician at AlexWindshield, I ensure that every vehicle is treated with the utmost care, following a strict A to Z protocol to guarantee a perfect, factory-quality installation.
Step 1: Comprehensive Preparation and Protecting the Interior
The first and arguably most important step is vehicle preparation. Before any mechanical work begins, we must protect the luxurious interior of your 2003-2006 Lincoln Navigator. We drape heavy-duty, scratch-resistant protective covers over the leather seats, center console, and surrounding interior trim. Protective tape is applied to the exterior painted surfaces surrounding the vent glass area to ensure that our specialized tools do not scratch or blemish your vehicle's clear coat during the extraction process.
Step 2: Door Panel and Interior Trim Removal
Because vent glass components and their corresponding tracks are anchored deep within the door frame or rear quarter panel, accessing the mounting points requires professional disassembly. We carefully extract the hidden retaining screws, unclip the delicate electronic wiring harnesses for the power windows and locks, and gently pry off the interior door panels using specialized non-marring trim removal tools. This ensures that the luxurious wood grain and leather trim of your Navigator remain completely undamaged.
Step 3: Extensive Vacuuming of Broken Glass Shards
When tempered vent glass shatters, the thousands of resulting glass pebbles infiltrate every conceivable crevice. They fall into the door cavity, get lodged inside the window regulator tracks, and scatter across the vehicle's floorboards. We utilize high-powered, industrial shop vacuums fitted with specialized narrow nozzles to perform a deep extraction of all broken glass shards. We thoroughly vacuum the interior cabin, the seats, the floor mats, and deep inside the exposed door shell. Leaving even a single shard inside the door cavity can result in a highly irritating rattling noise while driving, or worse, it can jam the main window regulator mechanism.
Step 4: Removal of the Old Glass, Frame, and Adhesive
With the area clean and safe to work on, we proceed to extract what remains of the original vent glass. Using advanced cut-out knives and cold knives, we carefully slice through the old polyurethane bead holding the vent glass frame in place. The remnants of the shattered glass, along with the old weatherstripping and encapsulation, are completely removed. We then meticulously trim down the old adhesive bead on the vehicle's pinch weld to a thin, even layer of about 1-2 millimeters, which serves as the optimal base for the new adhesive bond.
Step 5: Rigorous Surface Cleaning and Preparation
A flawless installation relies entirely on the cleanliness of the bonding surface. The exposed pinch weld and surrounding metal framework are treated with a specialized, alcohol-based auto glass cleaner. This step removes all microscopic dust, grease, moisture, and residual debris. Any contamination left on the pinch weld can severely compromise the chemical bond of the new adhesive, leading to dangerous air leaks or water intrusion during heavy GTA rainstorms.
Step 6: Primer Application for Optimal Bonding and Rust Prevention
Once the surface is chemically clean and completely dry, we move to the priming stage. We apply a premium-grade, black auto glass primer to any bare metal scratches on the pinch weld that may have occurred during the removal phase. This is a crucial step for two reasons: it prevents future rust oxidation from forming on your Navigator's frame, and it acts as a chemical promoter that guarantees an unbreakable bond between the metal and the new adhesive. We also apply a specific glass primer to the ceramic frit band of the new vent glass, allowing it the exact required flash-off time to activate properly.
Step 7: Application of High-Quality Auto Glass Adhesive
With the surfaces prepped and primed, we load our heated caulking gun with an industry-leading, OEM-grade polyurethane high-quality adhesive. We apply a continuous, precise V-shaped bead of urethane directly onto the pinch weld. The height, width, and consistency of this bead are meticulously controlled. This advanced adhesive is specifically engineered to provide extreme structural strength, rapid curing times, and unparalleled resistance to the harsh temperature swings common in the Greater Toronto Area.
Step 8: Precision Installation of the New Vent Glass
Handling the new, pristine vent glass requires extreme precision. Using specialized suction cups to avoid transferring oils from our hands onto the bonding surface, we carefully align the glass with the Navigator's frame. We gently press the glass into the fresh urethane bead, ensuring uniform contact and perfect alignment with the surrounding body lines. Once seated, we apply specialized auto glass retention tape to hold the vent glass firmly in place, preventing any shifting or sagging while the urethane goes through its initial chemical curing phase.
Step 9: Reassembly, Final Cleaning, and Inspection
While the adhesive begins to cure, we reverse the disassembly process. We meticulously re-install the window run channels, reconnect the electrical harnesses for the door controls, and securely snap the interior door panels back into their factory positions. We conduct a final diagnostic check to ensure the main drop-glass operates flawlessly without any obstruction. Finally, we clean the newly installed vent glass with a streak-free, ammonia-free foaming cleaner, leaving your 2003-2006 Lincoln Navigator looking as immaculate as the day it rolled off the assembly line.
Why Choose AlexWindshield for Your Lincoln Navigator Glass Needs?
Your luxury SUV deserves the pinnacle of automotive care. Entrusting your 2003-2006 Lincoln Navigator to an inexperienced technician can lead to wind noise, severe water leaks, rust development, and costly interior damage. At AlexWindshield, we pride ourselves on elevating the auto glass replacement industry through rigorous training, top-tier materials, and an unwavering commitment to customer satisfaction.
- Unmatched Expertise: Our master technicians possess specific, hands-on experience dealing with the complex door assemblies and heavy-duty trims characteristic of the 2003-2006 Lincoln Navigator.
- Premium Materials: We exclusively use OEM-equivalent glass, scientifically advanced primers, and crash-proven high-quality adhesive to restore the structural integrity of your vehicle.
- Comprehensive Clean-Up: We never cut corners. Our obsessive attention to detail guarantees that every single piece of broken glass is vacuumed and removed from your vehicle's interior.
Enjoy Unrivaled Mobile Convenience and a Lifetime Warranty
Do not let a shattered vent glass disrupt your busy schedule. AlexWindshield is your definitive expert for mobile auto glass services across the Greater Toronto Area. Whether you are situated in Vaughan, Richmond Hill, or Markham, we bring our cutting-edge tools and premium service directly to you. Most importantly, we stand entirely behind our craftsmanship. Every single auto glass replacement we perform is backed by our comprehensive Lifetime Warranty, covering any leaks, whistling, or manufacturer defects for as long as you own your Lincoln Navigator. Contact AlexWindshield today to restore your luxury SUV with absolute confidence and unparalleled convenience.


