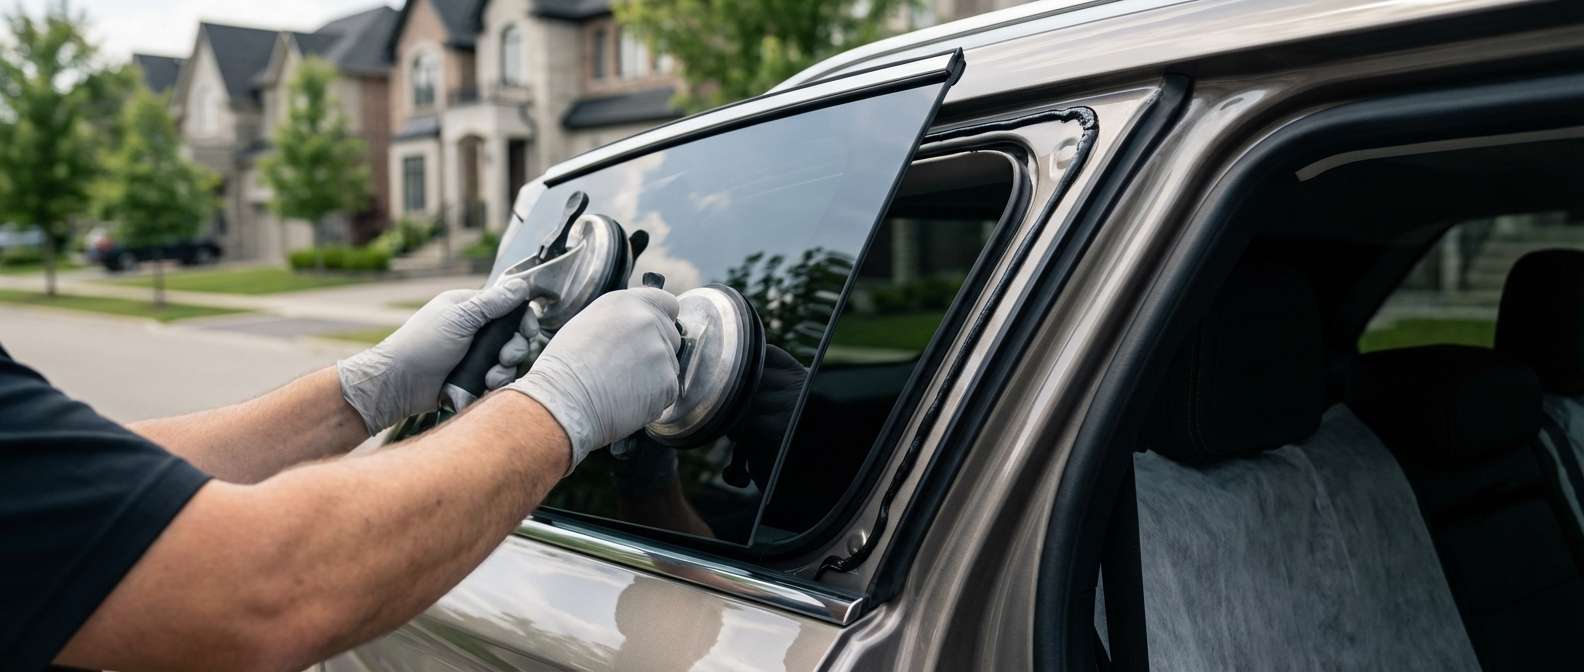
Replacing the Fixed Cargo Quarter Glass on the Nautilus
The side profile of this crossover relies on a bonded rear quarter window mounted between the C-pillar and D-pillar, designed flush against the exterior styling line to eliminate wind drag along the cargo area. Unlike previous iterations built in Ontario, this vehicle is manufactured in Hangzhou, China, introducing different structural sheet metal profiles and tight tolerances along the rear side aperture. The window itself is completely stationary—meaning there is no division bar, drop mechanism, or motorized regulator to address—yet its proximity to structural pillar trims requires precise attention during removal and placement.
Because the encapsulated exterior frame is matched directly to exterior appearance packages, ordering the correct variant is critical. A standard Premiere trim uses a bright outer surround, while models equipped with the Jet Appearance package require glass with a distinct dark gloss or satin black encapsulated moulding. The left-hand driver side assembly corresponds to base part reference R2TZ-5829711-D, paired with standard factory-baked dark grey privacy glass across all North American trim levels. When you book a mobile visit with me, I typically pull up to your driveway roughly an hour after we confirm the appointment, ensuring the vehicle is not left exposed to weather with an open cargo bay.
Interior Surround Panels and Airbag Clearance
Servicing the rear quarter glass requires stepping inside the rear luggage compartment before any work begins on the exterior. The perimeter of the aperture is enclosed by the upper D-pillar plastic moulding, the trailing edge of the molded fabric headliner, and the large lower cargo-quarter side panel. These interior trim components conceal the glass retention hardware and vehicle wiring.
Directly beneath the upper interior trim sits the side curtain airbag module, anchored along the roof rail and C-to-D pillar transition. Working near this section demands steady mechanical care to ensure the interior fasteners release cleanly without stressing the airbag inflator paths or tearing the headliner edge. Beneath the lower garnish, I disconnect the vehicle wiring leads tied to the glass assembly's integrated alignment studs, preventing broken plastic snap-clips from rattling inside the inner quarter cavities once everything is reassembled.
Post-Installation Inspection Checklist
Once the new stationary window is set and the cargo area plastics are reinstalled, take a few minutes to inspect these vehicle-specific areas around the rear quarter:
- Moulding finish: Confirm the encapsulated exterior perimeter matches your specific trim, whether it is the bright accent trim or the dark satin border of the Jet Appearance package.
- Pillar reveal alignment: Check that the exterior glass edges sit completely flush with the C-pillar leading edge and the black D-pillar applique without protruding.
- Headliner transition: Verify that the rear headliner edge sits naturally over the upper pinch weld area without kinks, pinches, or gaps near the D-pillar seam.
- Cargo trim seating: Ensure the lower molded luggage compartment side wall is fully snapped back into place and fits tight against the lower glass seal line.
- Factory privacy match: Ensure the solar privacy tint on the replacement matches the rear door glass and opposite quarter window hue.


